Difference between revisions of "User"
| Line 63: | Line 63: | ||
:::: [[File:ContactButtons.png|border]] | :::: [[File:ContactButtons.png|border]] | ||
| + | ====Importing Contacts==== | ||
===Activating a User=== | ===Activating a User=== | ||
====From Their Profile==== | ====From Their Profile==== | ||
Revision as of 13:08, 4 June 2019
Contents
Overview
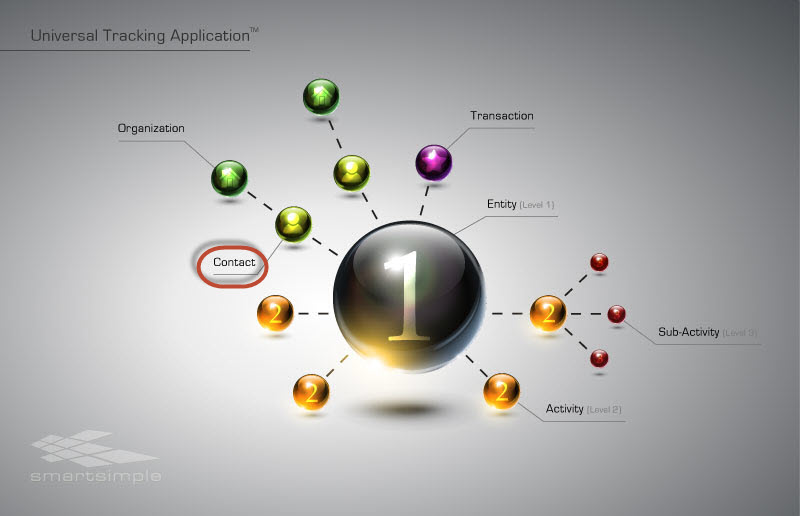
A user is a contact that can log in and access a SmartSimple instance. If you use the enable login feature when adding contacts, they will be able to log into the system and you can consider them "users"; otherwise, you can consider them simply as "contacts." When enabling login access for contacts, you can choose to send each person an email containing their username, password, and the URL to access your instance of SmartSimple.
- Because Organization Terminology will vary between instances, remember that your specific instance may use different nomenclature for users/contacts. The related functions such as how to activate or add users in every instance will remain the same.
As part of the contact setup process, you assign contacts "roles." A user can access and manipulate information only to the extent permitted through their membership of specific roles, combined with those roles' ability to manage system-wide permissions. Roles therefore define user access to system resources such as the interface they see, the applications they can access, the fields they see within each application, and the reports they can run.
- Example: A user who is a System Administrator will have increased control and visibility to the system than a user whose role is simply Employee.
- Note: Although a user can be attributed with multiple roles, the system will always default to the minimum level of access.
Configuration—Essentials
Depending on your role, you may or may not be able to add, delete, and modify contacts. Typically, the System Administrator role will have the highest amount of security access to all contacts. In some instances, internal Staff roles may similarly be able to modify contacts.
All users are able to edit their own contact profile.
Adding Users and Contacts
You can add people to the organization hierarchy using any of the following techniques:
- Manually entering contacts
- Uploading in bulk through Import Wizards
- Uploading in bulk through Autoloader
- Enabling one or more company sign up pages
- Importing contacts from Microsoft Outlook using the Outlook Plug-in feature
- Importing using the API functionality and a custom program that your organization could create
Manually Adding Users
Note: If you enable the login feature when adding people, they will be able to log into the system and you can consider them "users." Without this user activation, they are simply contacts.
People are always added to some level of the hierarchy; so, when you wish to add a new person, you must first select the appropriate organization level.
1. Click the 9-square menu icon on the top right of your screen.
2. Under the heading Organizations, select Organization Hierarchy.
3. Select the organization to which you wish to add the new person.
- The root organization is listed first underneath both the internal and external tabs.
- The internal records are listed underneath the first tab; the external records are listed underneath the second.
- Depending on the instance, the terminology of your internal vs external headings will vary.
4. Click the New button, which will reveal drop-down that allows you add a new user.
-
-
- Our duplication check relies on email information, so if a user has the same email as someone who is already in the system, they will not be added as a new contact.

6. If Roles are available to your SmartSimple instance, you may have to select which role you want this contact to fit into.
-
-
- Keep in mind that even if you select multiple roles, our system will default to the minimum level of access.
- If it is a brand new instance, there may be no users in any role. In this situation, simply change the Role to No Role Assigned.

7. You may choose to Save Draft or Save the contact record. If you select Save Draft, it will only store the information on the page. If you select Save, it will validate the information on the page.

Importing Contacts
Activating a User
From Their Profile
Adding a user to a level of the hierarchy does not mean that when they log in they will be able to access the system. You must manually enable the user to have access to the system.
1. On the profile page of the newly added user, select the Options button to reveal a drop-down menu.
2. Under the heading Properties, select Roles and Access.

3. Once the modal window of Roles and Access opens, look to the top left of the window to enable Advanced Options to open up Access Types.
4. To enable typical User Access, toggle on User Access. If you would like to make a new user a System Administrator, then toggle that option on the right.

5. After saving the access options that you have selected, the buttons at the bottom of the modal window will display password setting and sending options.
-
-
- If you select Send Password, the user will receive an automated password in an email. From there, they can log into the SmartSimple system and change their password manually.
- The option to Set Password is not typically recommended except in necessary situations, such as if a client on the phone demands for a timely setting of the password.

After following these steps, your new user is now enabled to log into the system with their password.
From the Organization Hierarchy
This process will change a contact into a user, therefore enabling them to specifically log in and access SmartSimple.
1. Access the contact(s) you are looking for with the 9-square menu icon on the top right of your screen.

2. For a comprehensive list of all contacts, select People under the Organizations heading.
3. From the Organization Hierarchy under Organizations, you may access contacts by finding them under their associated internal or external organization. If the contact is inactive, they will have a lock icon next to their name.
![]()
- To the right of each user the following icons are displayed:


- To the right of each user the following icons are displayed:
The Envelope icon will open the Message Center to send a message to the user. Another inter-user communication method is Instant Message, although its function is more effectively used to see which users are currently online.
The Key icon indicates that this user can log into SmartSimple - their Status is set to Enabled in the User Settings. This status also means that they will receive emails or a new password if they select Forgot Password from their account.
4. Click on the contact name to go to their profile.
5. To enable the contact, select the grayed-out Key icon on the top right of their profile.

6. A confirmation pop-up will appear. You may choose to activate the user automatically (without password), active them and send an automated password to their email, or cancel the activation process.
