Difference between revisions of "Adding Standard and Custom Fields to Level 1"
Julia Decker (talk | contribs) (→Level 1 Standard Field Features) |
Mark Bridger (talk | contribs) m (next button fix) |
||
| (25 intermediate revisions by 3 users not shown) | |||
| Line 3: | Line 3: | ||
In this article, you will choose from the built-in field lists for Level 1 and then add [[Custom Field|custom fields]] to complete the [[Level 1 Entity]]. | In this article, you will choose from the built-in field lists for Level 1 and then add [[Custom Field|custom fields]] to complete the [[Level 1 Entity]]. | ||
| − | As standard fields can only be added through the | + | As standard fields can only be added through the [[UTA Settings - Entity]] page you need to access this page before you begin. There are a number of methods to access the [[UTA Settings]] pages. |
| − | 1. | + | 1. On the [[Configuration Menu]], click '''Tracking Applications'''. |
| − | [[Image: | + | [[Image:TrackingApplications.png|link=|450px]] |
| − | 2. Click the '''Edit''' button for the | + | 2. Click the '''Edit''' button for the relevant application. |
| − | Alternatively, you can access the | + | Alternatively, you can access the [[UTA Settings - Entity]] page from the [[Application|application]]. |
| − | 3. Click the '''Application name''' in the | + | 3. Click the '''Application name''' in the Application [[Menu|menu]]. |
4. Click the '''Settings''' tab. | 4. Click the '''Settings''' tab. | ||
| − | 5. Click the ''' | + | 5. Click the '''Entity''' tab. |
| − | The | + | The [[UTA Settings - Entity]] page is displayed. |
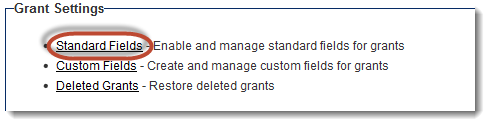
| − | 6. Click | + | 6. Click on the hyperlink for '''Standard Fields'''. |
| − | [[Image: | + | [[Image:StandardFieldLink.png|link=]] |
The Standard field list is displayed. | The Standard field list is displayed. | ||
| − | + | {{StandardFieldEditPage}} | |
This page is used to determine which standard [[Level 1 Entity]] fields you wish to use in your [[Application|application]]. | This page is used to determine which standard [[Level 1 Entity]] fields you wish to use in your [[Application|application]]. | ||
| − | ==Level 1 | + | ==Selecting the Standard Fields for the Level 1 Entity== |
| − | + | Next you will select and rename the standard fields that you will need to use for your [[Application|application]]. | |
| − | |||
| − | |||
| − | |||
| − | |||
| − | |||
| − | |||
| − | |||
| − | |||
| − | |||
| − | |||
| − | |||
| − | |||
| − | |||
| − | |||
| − | |||
| − | |||
| − | |||
| − | |||
| − | |||
| − | |||
| − | |||
| − | |||
| − | |||
| − | |||
| − | |||
| − | |||
| − | |||
| − | |||
| − | |||
| − | |||
| − | |||
| − | |||
| − | |||
| − | |||
| − | |||
| − | |||
| − | |||
| − | Next you will select and rename the standard fields that you will need to use for | ||
1. Set the standard fields as follows: | 1. Set the standard fields as follows: | ||
| − | + | {| border="1" | |
| + | |'''Standard Field''' | ||
| + | |'''Add Caption''' | ||
| + | |- | ||
| + | |Application Name | ||
| + | |''Not Required'' | ||
| + | |- | ||
| + | |Application Template Type | ||
| + | |Type | ||
| + | |- | ||
| + | |Branch | ||
| + | |Branch | ||
| + | |- | ||
| + | |Close Date | ||
| + | |''Not Required'' | ||
| + | |- | ||
| + | |Contacts | ||
| + | |Contract Contacts | ||
| + | |- | ||
| + | |Currency | ||
| + | |Currency | ||
| + | |- | ||
| + | |Customer | ||
| + | |Customer | ||
| + | |- | ||
| + | |Description | ||
| + | |Description | ||
| + | |- | ||
| + | |End Date | ||
| + | |To | ||
| + | |- | ||
| + | |End Time | ||
| + | |''Not Required'' | ||
| + | |- | ||
| + | |Folders | ||
| + | |''Not Required'' | ||
| + | |- | ||
| + | |Modified Date | ||
| + | |Last Updated | ||
| + | |- | ||
| + | |Owner | ||
| + | |Manager | ||
| + | |- | ||
| + | |Probability | ||
| + | |''Not Required'' | ||
| + | |- | ||
| + | |Requirement | ||
| + | |''Not Required'' | ||
| + | |- | ||
| + | |Revenue | ||
| + | ||''Not Required'' | ||
| + | |- | ||
| + | |Status | ||
| + | |Status | ||
| + | |- | ||
| + | |Start Date | ||
| + | |From | ||
| + | |- | ||
| + | |Start Time | ||
| + | |''Not Required'' | ||
| + | |- | ||
| + | |Workflow | ||
| + | |''Not Required'' | ||
| + | |} | ||
All other fields will be added as [[Custom Field|custom fields]]. | All other fields will be added as [[Custom Field|custom fields]]. | ||
| Line 85: | Line 110: | ||
==Adding Custom Fields to the Level 1 Entity== | ==Adding Custom Fields to the Level 1 Entity== | ||
| − | [[SmartSimple]] supports over | + | [[SmartSimple]] supports over 50 [[Custom Field|custom field]] types, which can be added to any [[Entity|entity]] within the system. For a full description of each field type see the Wiki category [[:Category:Custom Field Types|Custom Field Types]]. |
1. Click the '''Settings''' tab. | 1. Click the '''Settings''' tab. | ||
| Line 91: | Line 116: | ||
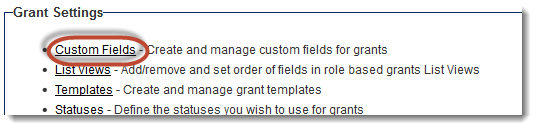
2. Click the [[Custom Field|Custom Fields]] link. | 2. Click the [[Custom Field|Custom Fields]] link. | ||
| − | [[Image: | + | [[Image:CustomFieldLinkonUTALevel1.png|link=]] |
The custom field window is displayed. | The custom field window is displayed. | ||
| − | [[Image: | + | [[Image:CustomFieldListHeader.png|link=]] |
| − | ==Custom | + | ==Adding Custom fields to the Level 1 Entity== |
| − | + | 1. Add the following fields: | |
| − | + | {| border="1" | |
| − | + | |'''Order''' | |
| − | + | |'''Field Name''' | |
| + | |'''Field Type''' | ||
| + | |'''Options''' | ||
| + | |- | ||
| + | |10. | ||
| + | |Contract Information | ||
| + | |Title Bar - Multiple Columns | ||
| + | |2 | ||
| + | |- | ||
| + | |20. | ||
| + | |Date Signed | ||
| + | |Text Box - Single Line | ||
| + | |Set validation to "Date" | ||
| + | |- | ||
| + | |30. | ||
| + | |Signed by | ||
| + | |Select One - Internal People | ||
| + | |''n/a'' | ||
| + | |- | ||
| + | |40. | ||
| + | |Contract Duration | ||
| + | |Select One - Combo Box | ||
| + | |Select from List;Month to Month;90 Days;Annual;Two year;Three year | ||
| + | |- | ||
| + | |50. | ||
| + | |Contract Scan | ||
| + | |Link - Single File | ||
| + | |''n/a'' | ||
| + | |} | ||
| − | + | Once complete, the field list will look as follows: | |
| − | |||
| − | |||
| − | |||
| + | [[Image:Uta38.png]] | ||
| − | + | Note that unique [[Custom Field ID]]s have been associated with your new custom fields. | |
| − | |||
| − | |||
| − | |||
| − | |||
| − | |||
| − | |||
| − | |||
| − | |||
| − | + | These fields will be associated with all {{l1}} items that you create in this application. | |
| − | |||
| − | |||
| − | |||
| − | 1. | + | {| cellpadding="5" style="background-color:#F0F0F0;border-style: solid; border-width: 2px" |
| + | | [[Image:Previous.png|link=Terminology Settings]] [[Terminology Settings]] | ||
| + | | | ||
| + | | [[Standard Level 1 Field List]] [[Image:Next.png|link=Standard Level 1 Field List]] | ||
| + | |} | ||
| − | |||
| − | |||
| − | |||
| − | |||
| − | |||
| − | |||
| − | [[Category:Universal Tracking Application | + | [[Category:Universal Tracking Application]] |
Latest revision as of 11:14, 27 July 2016
Contents
Adding the Standard fields for Level 1
In this article, you will choose from the built-in field lists for Level 1 and then add custom fields to complete the Level 1 Entity.
As standard fields can only be added through the UTA Settings - Entity page you need to access this page before you begin. There are a number of methods to access the UTA Settings pages.
1. On the Configuration Menu, click Tracking Applications.
![]()
2. Click the Edit button for the relevant application.
Alternatively, you can access the UTA Settings - Entity page from the application.
3. Click the Application name in the Application menu.
4. Click the Settings tab.
5. Click the Entity tab.
The UTA Settings - Entity page is displayed.
6. Click on the hyperlink for Standard Fields.
The Standard field list is displayed.
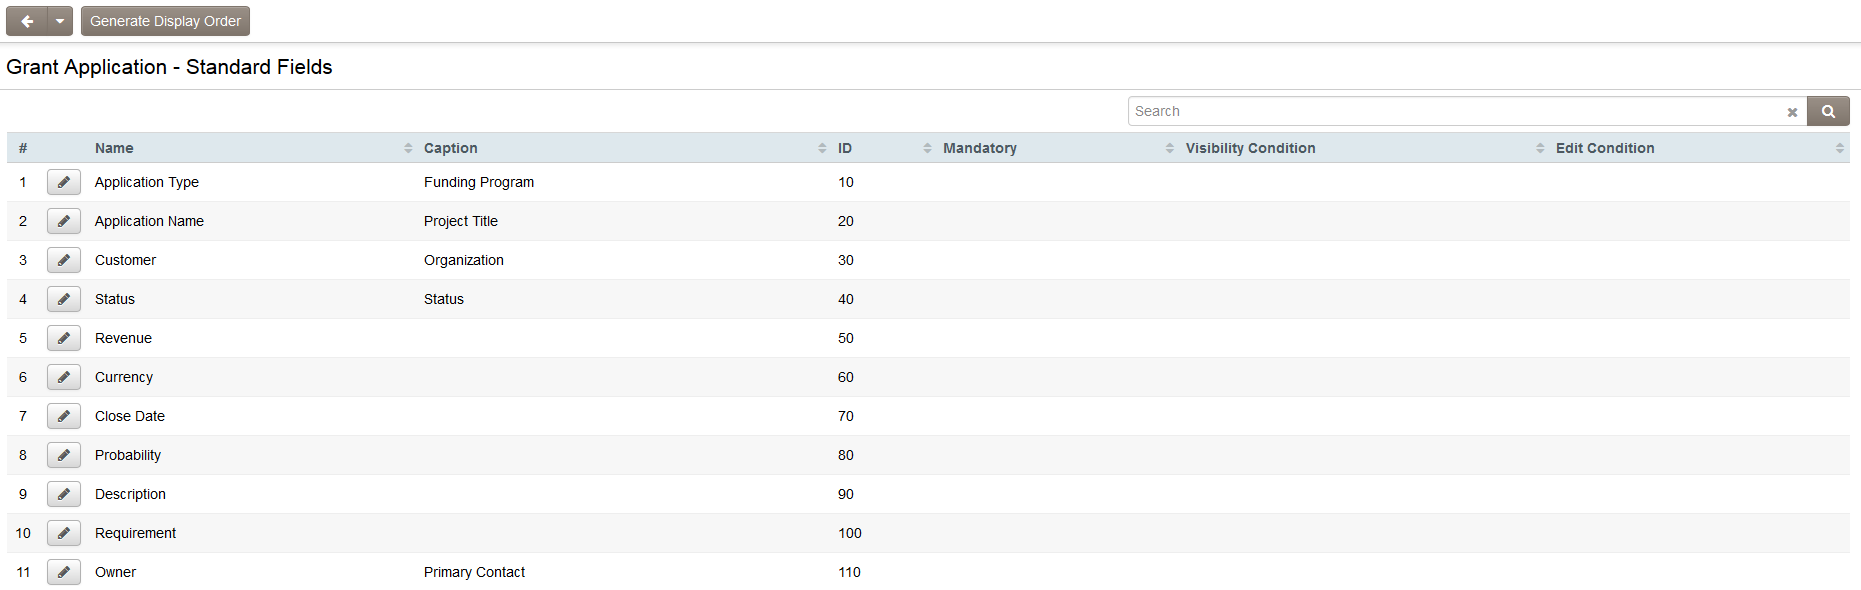
This page is used to determine which standard Level 1 Entity fields you wish to use in your application.
Selecting the Standard Fields for the Level 1 Entity
Next you will select and rename the standard fields that you will need to use for your application.
1. Set the standard fields as follows:
| Standard Field | Add Caption |
| Application Name | Not Required |
| Application Template Type | Type |
| Branch | Branch |
| Close Date | Not Required |
| Contacts | Contract Contacts |
| Currency | Currency |
| Customer | Customer |
| Description | Description |
| End Date | To |
| End Time | Not Required |
| Folders | Not Required |
| Modified Date | Last Updated |
| Owner | Manager |
| Probability | Not Required |
| Requirement | Not Required |
| Revenue | Not Required |
| Status | Status |
| Start Date | From |
| Start Time | Not Required |
| Workflow | Not Required |
All other fields will be added as custom fields.
2. Click the Save button.
The standard fields required for Level 1 are now complete.
Adding Custom Fields to the Level 1 Entity
SmartSimple supports over 50 custom field types, which can be added to any entity within the system. For a full description of each field type see the Wiki category Custom Field Types.
1. Click the Settings tab.
2. Click the Custom Fields link.
The custom field window is displayed.

Adding Custom fields to the Level 1 Entity
1. Add the following fields:
| Order | Field Name | Field Type | Options |
| 10. | Contract Information | Title Bar - Multiple Columns | 2 |
| 20. | Date Signed | Text Box - Single Line | Set validation to "Date" |
| 30. | Signed by | Select One - Internal People | n/a |
| 40. | Contract Duration | Select One - Combo Box | Select from List;Month to Month;90 Days;Annual;Two year;Three year |
| 50. | Contract Scan | Link - Single File | n/a |
Once complete, the field list will look as follows:

Note that unique Custom Field IDs have been associated with your new custom fields.
These fields will be associated with all Level 1 items that you create in this application.
| |
Standard Level 1 Field List |