Custom Fields – General Information
Contents
The following settings are common to almost all Custom Field types:
- Custom Field ID
- Field Type
- Field Name
- Caption
- Display Order
- Description
Field Name and Field ID
- The field name is mandatory and can be up to 255 characters in length.
- The name should not include special characters that could be misinterpreted by the browser.
- The Field ID is automatically generated by the system as a number value and is displayed to the right when viewing the list of custom fields.
Referencing Field Names and Field IDs in other Custom Field Types
You can reference fields by name or by ID in other fields. The following field types support this type of referencing:
- Display Only – External Entity Details.
- Display Only - Web Page View.
- Special – Calculated Value.
The syntax for these field types varies (some are processed on the server and other in a JavaScript in the client) and is explained for the individual field type.
Field Type The field type is used to define the characteristics of the field. There are over 50 field types currently available.
Display Order
- This setting determines the order that the field will be displayed on the page. The first field that is added to an entity will use a display order of 10.
- Additional fields that you add will automatically increase the display order by increments of 10.
- If you wish to insert a field between two fields you can set the display order to a number that will position the field where required.
- You can change the display order by setting the display order to a different number. For example, if you set the display order on a field to 5000 then the next field added will automatically become 5010.
Display Order with Related Entities
If you add custom fields to the basic contact entity and then add fields to roles associated with contacts, you will need to take care, as the fields will become mixed if they have the same number sequence.
The following table outlines where you need to be careful:
| Entity | Related Entity |
| Contact | Roles |
| Companies | Categories |
| UTA Level 1 Entities | UTA Level 1 Template Entities |
You should start the number sequence for these types of related fields at some higher level. For example, role 1 starts at 5000, role 2 starts at 8000.
Common Custom Field Settings
Each custom field contains a button at the top linking it to the three following settings pages:
- Field Data - displays all the values that have been saved to the field.
- Update History - displays all the updates to field settings.
- Search Reference - displays all locations where the custom field is referenced in the system.
Tab Name
- If you add a text value to the tab Name, the field will be displayed on that tab.
- The tab name can be any text string.
- Custom fields that are not associated with a tab will be displayed on a tab named Default.
- The Tab Name option appears once the Advanced Options are enabled, on the Classic Options tab.
Visibility Condition
Whether or not a custom field is visible can be controlled using conditional statements in this box. (Appears on the Permissions and Availability tab, once the Advanced Options are enabled.)
See Visibility Condition for more information.
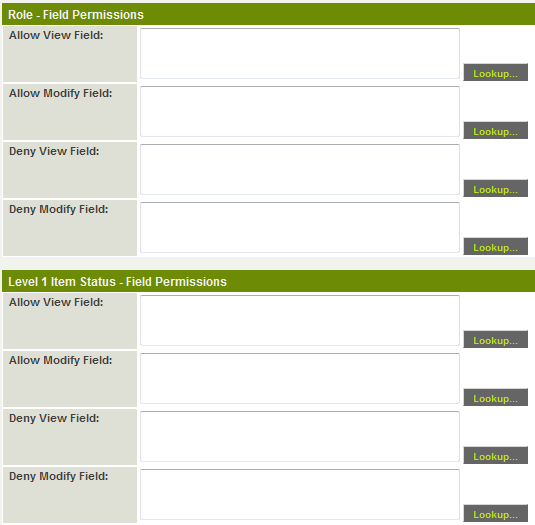
Role Field Permissions and Status Field Permissions
Access to a custom field is controlled by permissions.
See Role Field Permissions or Status Field Permissions for more information
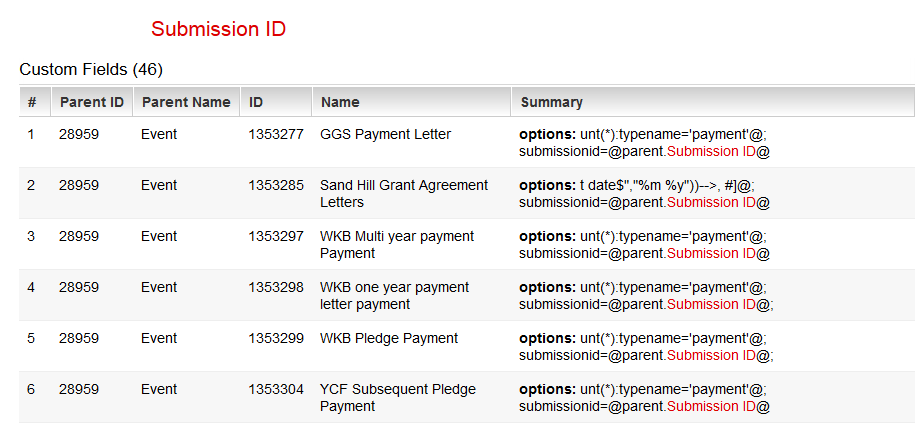
Custom Field References
This feature is intended to help determine the impact of a custom field change by highlighting where the custom field is referenced within the system
Each Custom field has a Search Reference
When used the feature will search references to this custom field via variable syntax in various areas, including:
- Other custom field options/visibility condition, including JavaScript Validation, Visibility Condition, calculated values, etc.
- Template formulas
- Submit buttons
- Submit Logic
- SmartCheck Validation
- Workflow Task
- Workflow connectors
- Data class policy
Import and Export Custom Fields
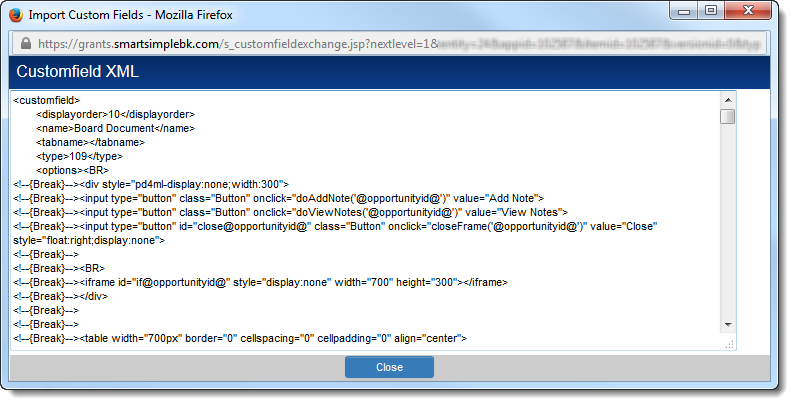
You can use the custom field Import and Export features to move or copy custom fields from one entity to another (or even another instance of SmartSimple). The custom fields are exported and importing by using XML format.
To export a block of custom fields, simply click the Export button at the top of a list of custom fields. A window will pop up showing the custom field settings in XML format:
The XML block for the entire set of custom fields in the list will be displayed. Individual custom fields are delineated by the tags. Simply copy the block of custom fields you want to copy (you can make edits, e.g. to the display order in a text editor), click on the Import button at the top of the list of custom fields where you want to place the new fields, paste the XML block into the blank text area and confirm that you want to import the fields by clicking Import at the bottom of the Import pop-up.
The majority of field settings will be included in the copied fields. Exceptions include:
- any Field Permissions
- any Field Permission Matrix assigned to the original custom field
- any Value Stores To setting assigned on the original custom field
- the Description setting
However, Field Permissions and Field Permission Matrices can be assigned to the new fields using the Batch Update feature.
As the custom field ID is unique to each custom field in the system, the custom field IDs will not be copied. Any newly created custom fields using the Export/Import feature will be assigned new custom field IDs.
Also see Custom Field Import Wizard
Custom Field Types
The full list of Custom Field Types can be found on the Custom Field Types page.


