Difference between revisions of "Installing the SmartSimple Outlook Synchronization Add-In"
| Line 50: | Line 50: | ||
{{PrevNextStart}} [[Downloading the SmartSimple Outlook Synchronization Add-In]] | {{PrevNextStart}} [[Downloading the SmartSimple Outlook Synchronization Add-In]] | ||
| − | {{PrevNextMid}}[[ | + | {{PrevNextMid}}[[Configuring Settings for the SmartSimple Outlook Synchronization Add-In]] {{PrevNextEnd}} |
[[Category:SmartSimple Microsoft Outlook Synchronization]] | [[Category:SmartSimple Microsoft Outlook Synchronization]] | ||
Latest revision as of 07:54, 28 August 2013
Depending on the version of Windows you are running and the security settings applied on your computer, you may need Administrative access to install the plug-in.
Be sure to download the appropriate version from your copy of SmartSimple before proceeding.
Use the following step-by-step instructions to install this feature.
The images in this example are taken from Outlook 2010.
1. Launch Microsoft Outlook.
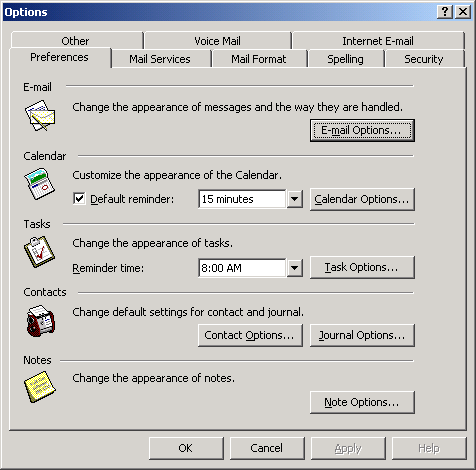
2. Choose the Tools, Options menu.
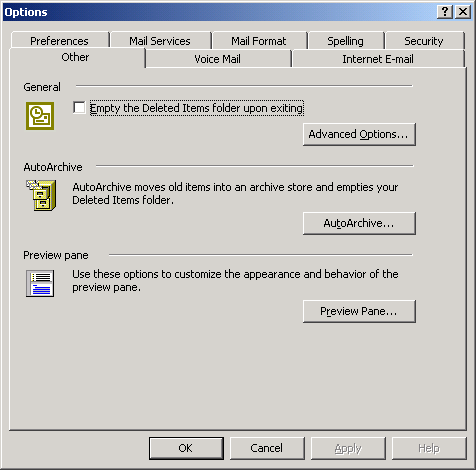
3. Click the Other tab.
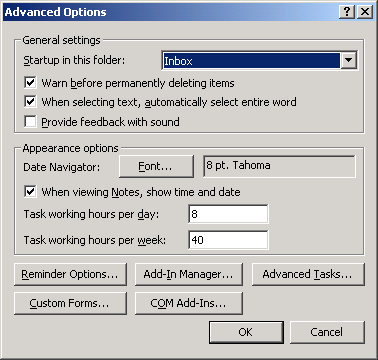
4. Click the Advance Options button.
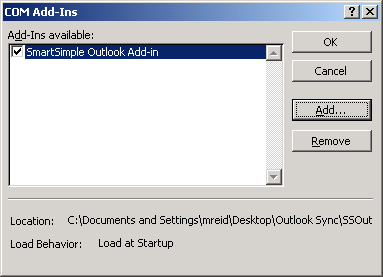
5. Click the COM Add-ins button.
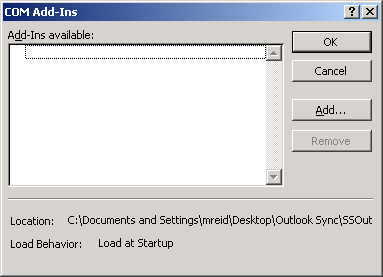
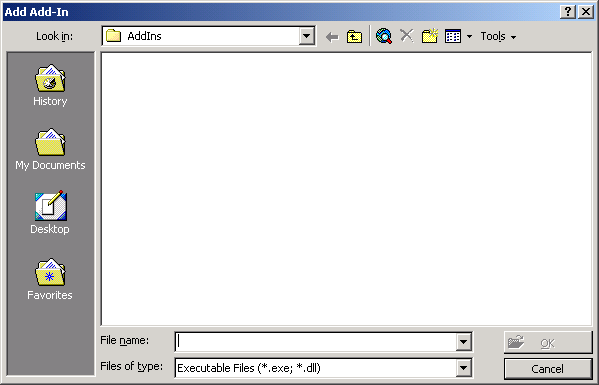
6. Click the Add button.
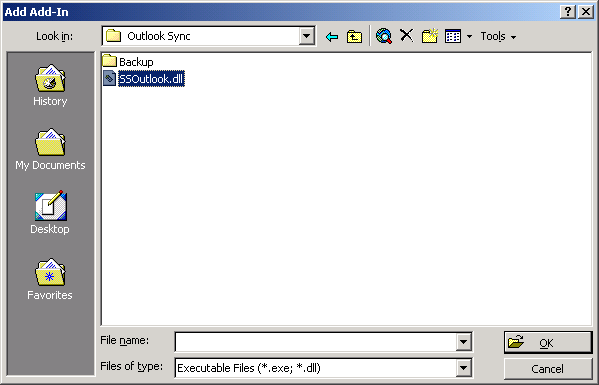
7. Browse to the folder where you stored the file SSOutlook.dll.
8. Select the File - SSOutlook.dll.
9. Click the OK button.
The Add-in is added and selected.
10. Click the OK button on each screen until you are returned to Outlook.
The new buttons will be added to the Outlook toolbar – Setting and Sync.
You are now ready to configure the settings.
