Subscribing to Job Tracking and Setting Manager Permissions
In this example, you will first enable Job Tracking, then create a job template and the associated statuses, and finally create a job.
The following steps show how to subscribe the Job Tracking application.
1. Click on the Organization, Internal People menu.
The Organization Chart is displayed.
2. Click the Root Company name.
The Root Company details are displayed.
3. Click the Enable Applications link.
The Application Subscription window is displayed.
4. Click the Job Tracking check box.
5. Scroll to the bottom of this window.
The Update options are displayed.
These options determine the scope of the subscription.
6. Click the Subscribe applications to all internal sub-companies option button.
This option permissions all internal companies to access these applications.
7. Click the Save button.
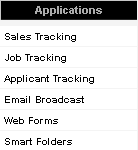
Job Tracking is added to the Applications menu.
8. Click the Job Tracking menu.
The current tabs indicate that you are not in a role that has manager permission in this application.
Setting Job Tracking Manager Permission
A number of key Applicant Tracking functions are controlled by the role-based manager permission.
You must be a member of a role with manager permission to applicant tracking if you need to:
- Manage Job Templates.
- Manage the available list of assignment statuses.
1. Click the Configuration, Roles & Permissions menu.
2. Click the Manager Permissions tab.
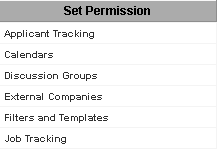
3. Click the Job Tracking permission.
4. Enable the Employees role to use this permission.
5. Click the Save button.
6. Click the Applications, Job Tracking menu.
The manager tabs are displayed.
You can now create a Job Template.


