Methods of Adding an Applicant to a Folder
Applicants can be added to folders in four ways:
- Applicant can self-register via a web site.
- Create the applicant information from their MS-Word document resume.
- Import the applicants using the Applicant Import Wizard.
- Manually add the applicant to the system.
In this article you will use the manual signup process and the import process.
In later examples, you will learn how the MS-Word SmartResume and Signup pages work.
Manually Adding a Applicant
Applicants are added to a folder by first selecting the folder, and then using the Add Applicant tab.
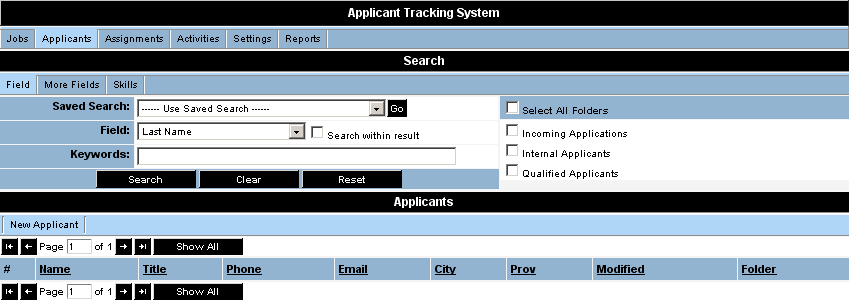
1. Click the Applications, Applicant Tracking menu.
2. Click the Applicants tab.
3. Click the New Applicant button.
The New Applicant window is displayed.
This first window is the general contact window.
Once you save the basic information you will be able to set the skills and upload a resume – if required.
4. Set the First Name field to Toya.
5. Set the Last Name field to Glass.
Associating an Applicant with an Account
If this person works for an existing company in the system, then you have the option of associating this applicant as a contact within that company, and also as an applicant.
1. Set the Title field to Communications Manager.
2. Set the Phone field to 416-555-6783.
3. Set the Email field to tglass@ics.com.
- The email field will be used as the unique identifier for each applicant, and is used throughout the Applicant Tracking system to ensure applicants are not duplicated.
4. Click the Save button.
The applicant is saved and additional tabs are displayed at the top of the applicant window.
Always use the contact address for the applicant home address.
Applicant Tabs
Applicants are contacts within SmartSimple, with specific roles, and are stored in Applicant folders.
- New – Add an additional contact or a new activity for this contact.
- View Applicant - switch the window from edit to view mode.
- Forms – associate a Web Form with this applicant.
- Settings – change the setting for this applicant.
- Print Preview – display a print preview page for this applicant.


