Difference between revisions of "Import multiple contact/companies to uta objects"
| Line 32: | Line 32: | ||
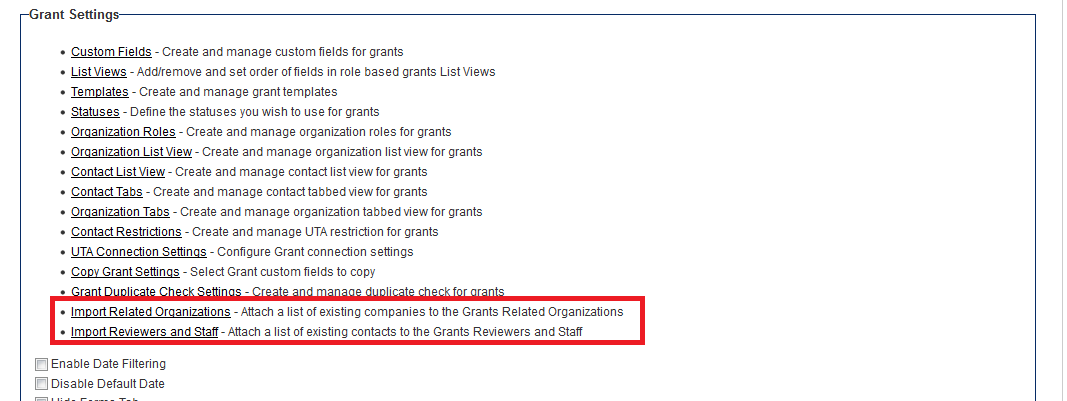
* '''Import Organizations''' - Associate existing organizations in your system with existing Level 1 objects. | * '''Import Organizations''' - Associate existing organizations in your system with existing Level 1 objects. | ||
* '''Import Contacts''' - Associate existing contacts in your system with existing Level 1 objects. | * '''Import Contacts''' - Associate existing contacts in your system with existing Level 1 objects. | ||
| + | |||
| + | |||
==Paste information into Import Window== | ==Paste information into Import Window== | ||
| Line 37: | Line 39: | ||
Once you click on the import option then you will be presented with the relevant Import Wizard for the type of data to be imported. | Once you click on the import option then you will be presented with the relevant Import Wizard for the type of data to be imported. | ||
| − | [[Image:ImportOrgtoUTA.png]] | + | [[Image:ImportOrgtoUTA.png|900px]] |
Revision as of 16:04, 19 June 2014
The main UTA Settings page includes sections specific to the level one, two and three records. Each of these sections includes options for importing contact and company records using an import wizard.
Contents
Import Process Overview
The import process consists of five steps:
1. Navigate into the Import option for the UTA level you are interested in.
2. Paste the information into the SmartSimple Import Window.
3. Map the fields in the pasted data to the system data. This must include mappings to
- identify the contact or organization to be imported
- the role or category they are to be imported as
- mappings to identify the individual record (level 1, 2, or 3) that the data is to be imported against.
4. Validate the information mapping before uploading.
5. Upload the data to SmartSimple.
Each step of this process is described in detail below.
1. Go to the Settings page for the UTA that the data will be imported against.
2. Scroll down to the Settings section for the level you wish to import the data agains.
3. Click on the import option for the type of data you intend to import
- Import Organizations - Associate existing organizations in your system with existing Level 1 objects.
- Import Contacts - Associate existing contacts in your system with existing Level 1 objects.
Paste information into Import Window
Once you click on the import option then you will be presented with the relevant Import Wizard for the type of data to be imported.

1. Click the mouse in the import text box.
2. Select the Edit Paste menu or press Control + V.
The data is added to the text box.

3. Press Control + Home to see the start of the pasted data.
This data contains the field names and is delimited by tab.
4 Set the Column delimiter as required.
5. Click the First row contains field names check box if the first row is column headers rather than real data.
6. Click the Analyze button.
Validate the information

- In this instance only the branch name can be set.
15. Map the first field to the Organisation Name field.
![]()
If you were importing external accounts you would also need to set the account owner to the correct manager.
16. Click the Parse Branch button.
![]()
You are prompted to continue with the current owner and category.

17. Click the OK button.
The analyzed data is displayed.

Many of these branch records appear as duplicates because the department is repeated for each person.
- The duplicate departments are not marked for uploading, so only one of each department will be created.
- When you upload the same data into the contact table, the contacts will be associated with the correct department.
18. Click the Upload button.
The department records are uploaded.

19. Click the link to view the uploaded branches.

Undoing an Upload
Note the arrow icon to the left of each department name.
This icon indicates that these are the most recently uploaded organisation records. If these records were uploaded in error you can undo the upload by clicking the Undo Branch Upload tab.
![]()
When you click this link all the organisation records last uploaded will be removed.
Importing User Data
Next you will use the same data but this time use the data to create the users. The system will use the department name in this data to determine the correct department to associate with each user. Since these are internal people you need to use the Organisation Internal menu.
1. If you are not in the Organisation Hierarchy view – click the Organisation, Internal People menu.
2. Click the root organisation name.
The root organisation details are displayed.
3. Choose the Import, Users menu.
Step 1 of the User Import Wizard is displayed.

Unless you have copied some other data to the clipboard, the same data is available to be pasted.
If there are no user roles displayed in the User Roles section then you are not in a role that can set any roles.
4. Paste the data into the Import Wizard.

5. Set the Role to Employee.
6. Set the Column Delimiter to Tab.
