Creating a Sample Job Page
1. Set the following general Job page details:
You can add the standard templates by clicking the Insert Sample Templates links.
2. Click the Insert Sample Templates links for the List and Details templates.
3. Set the Job Type to Clerical.
4. Set the Job Status to Approved – Posted Internally.
5. Click the Save button.
The job page is saved and the page URL generated.
6. Click the View button.
The job list page is launched in a new window. No jobs are visible.
The job that you previously created is still at the Pending Approval stage and will not be displayed until it reaches the Approved – Post Internal stage.
You will need to change the status of this job for it to appear on the job list page.
7. Press Alt + Tab to switch back to Job Page window.
8. Choose the Applications, Job Tracking menu.
9. Click the Job Title.
The job details are displayed.
10. Click the Edit Job tab.
11. Click the Approved – Posted Internally status.
12. Click the Save button.
13. Press Alt + Tab to switch back to Job List window.
14. Refresh the page.
The job is now displayed.
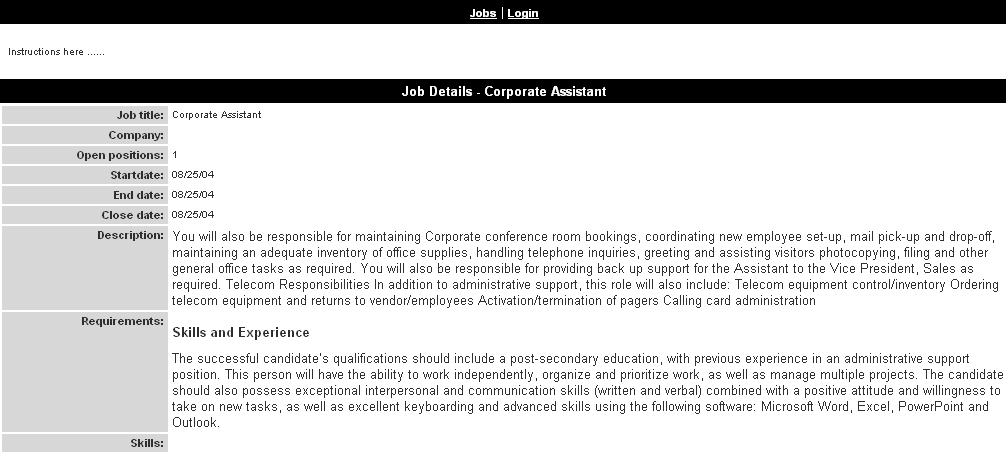
15. Click the Job Title.
The Job Details page is displayed.
Custom Fields in Job Page
If you would like to address a opportunity custom field in a job page then access by [##customfieldname##].
[##location.city##]
Custom Fields in Job Page
If you would like to call custom fields from a job in a job page then access by #customfieldname#.


