Difference between revisions of "Login Screen Content"
(→Branch specific Forgot Password) |
(→See Also) |
||
| Line 84: | Line 84: | ||
==See Also== | ==See Also== | ||
*[[Adding the SmartSimple Login to your Website]] | *[[Adding the SmartSimple Login to your Website]] | ||
| + | *[[AODA Compliance]] | ||
[[Category:Global Settings]][[Category:System Management]] | [[Category:Global Settings]][[Category:System Management]] | ||
Revision as of 16:24, 26 February 2014
Contents
You can “brand” the login page by creating your own login page.
1. Click the Login Screen Content link.
The Login screen content is displayed.
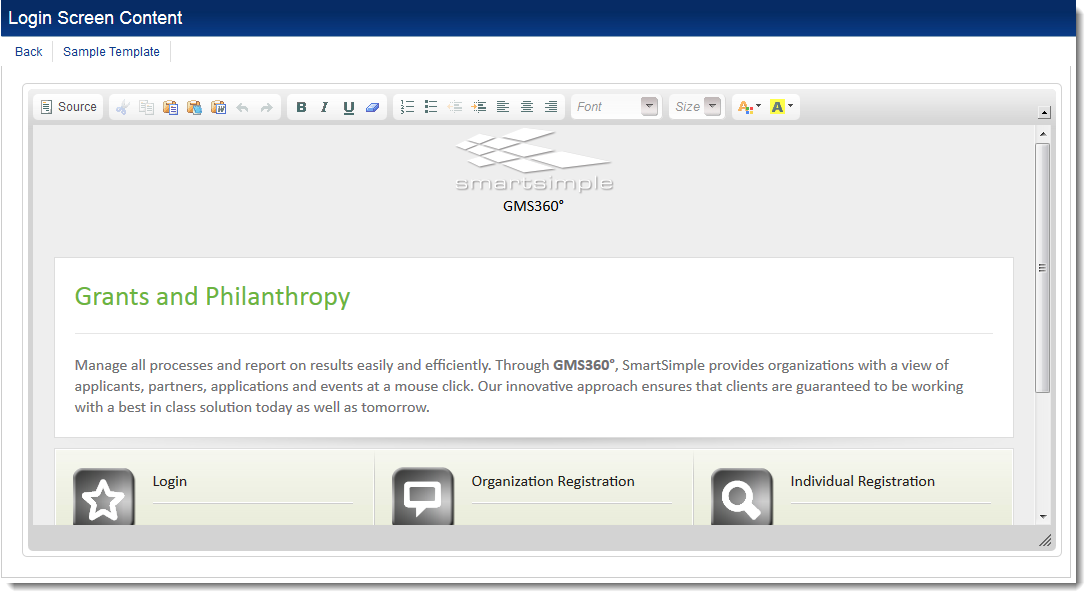
2. Modify the content as required.
3. Click the Save button.
You are returned to the Global Settings page.
SmartSimple recommends that users should login through their web site.
In order to add the username and password boxes to your web site, download the instructions from the SmartSimple Wiki – www.smartsimple.org
Title Type
The Title Type defines whether text or a login should be displayed in the top left corner of the main window.
![]()
When the organisation first registers, the title text displayed on the top left of the SmartSimple page is set to the organisation name.
Title Image
This setting is used to upload and display a logo, or other image files that you may wish to display on the login page, and in the top left corner of the SmartSimple main window.
For the best presentation, this image should be pre-sized to 133 by 46 pixels.
If you need to resize the image you can use a program such as Adobe Photoshop that allows you to set an exact height and width in pixels.
Title Text
You can define alternative text to be displayed on the login page, and in the top left corner of the SmartSimple main window as an alternate to the image.
JavaScript
The following JavaScript can be added to the page:
Forgot Password
HTML:
Forget your password? Please click <a href="javascript:passwdwin()">here</a>.
JavaScript:
function passwdwin(){
  window.open('/s_requestpassword.jsp','pwdwin',
  'left=200,top=200,toolbar=0,width=300,height=214,directories=no,status=no,
  scrollbars=no,resizable=no,menubar=no,alwaysRaised=yes');
}
The e-mail sent can be configured on the User Email Templates page.
Branch specific Forgot Password
This functionality is used when a user can exist in the system multiple times with the same email address, but against different branches. The configuration means that only the password for the user account under a specific branch will be updated.
HTML:
Forget your password? Please click <a class="Login" href="javascript:passwdwin(12345)">here</a>
Where 12345 is the companyid.
JavaScript:
function passwdwin(branch) {
window.open('/s_requestpassword.jsp?branchid='+branch,'pwdwin','left=200,top=200,toolbar=0,width=300,height=214,directories=no,
status=no,scrollbars=no,resizable=no,menubar=no,alwaysRaised=yes');
}
A login page can be configured with multiple Forgot password links, each including a different companyid as the parameter, or the user can create multiple login pages with a single link/companyid included on each.
When the user clicks on the link, enters their password and submits it then the underlying code searches for the entered email address in the company and all its sub-organizations. It will then e-mail a new password for that branch specific user account.
The e-mail sent can then be configured with sslogic to tailor the content of the email to the specific branch.
The error message displayed on this page when an invalid email is entered can be altered using the Language Library.
Error Message
In order to display an error message when an incorrect login username or password is provided include the following variable in the Login Screen HTML:
- @errmsg@