Difference between revisions of "Exporting List View Results to Microsoft Word"
From SmartWiki
| Line 19: | Line 19: | ||
# Click on the "Export" tab. | # Click on the "Export" tab. | ||
# Select the {{EnableExport}} option. | # Select the {{EnableExport}} option. | ||
| − | # Enter | + | # Enter semicolon-delimited list of [[Custom Field Type: Special - MS Word Merge|MS Word Merge field]] names. |
# Click the "Save" button. | # Click the "Save" button. | ||
Revision as of 16:46, 25 June 2013
 Click here to watch a video on creating and editing List Views.
A major feature of SmartSimple list views is that list view results can be exported to a Microsoft Word Mail Merge with the click of a button. This feature works in conjunction with the Special - MS Word Merge field type.
When this feature is enabled and configured, an Export button will be visible at the top of the list view:
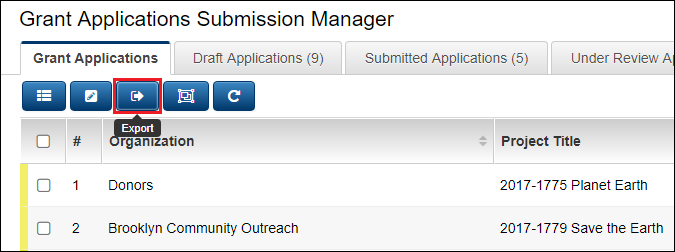
When the "Export" button is clicked, the user will be presented with a dropdown from which they will choose a Word Merge field.

Once your list view has been created and you have configured one or more Word Merge custom fields, take the following steps to enable exporting list view results to a Microsoft Word Mail Merge:
- Go to the list view configuration page.
- Click into the list view for which you wish to enable exporting.
- Click on the "Export" tab.
- Select the
 option.
 - Enter semicolon-delimited list of MS Word Merge field names.
- Click the "Save" button.
- The Export button will now be enabled for your list view.
See Also
- List View Overview
- Accessing the List View Configuration Page
- Configuring List Views
- Setting the Sort Order on a List View
- Exporting List View Results to Microsoft Excel
- Exporting List View Results to Microsoft Word
- Download files from List View
- Preparing Existing Word Template for List View Export
- Quick Edit
- Historic List View
- Configuring Interactive List View Charts
- Import/Export and Integration Techniques Overview