Difference between revisions of "Accessing Level 1 from Other Screens"
From SmartWiki
Julia Decker (talk | contribs) |
Mark Bridger (talk | contribs) m (next buttons) |
||
| (2 intermediate revisions by 2 users not shown) | |||
| Line 29: | Line 29: | ||
| − | [[ | + | {| cellpadding="5" style="background-color:#F0F0F0;border-style: solid; border-width: 2px" |
| + | | [[Image:Previous.png|link=Determining the Level 1 Tabs Displayed to the User]] [[Determining the Level 1 Tabs Displayed to the User]] | ||
| + | | | ||
| + | | [[Working with Level 2 – Activities]] [[Image:Next.png|link=Working with Level 2 – Activities]] | ||
| + | |} | ||
| + | |||
| + | |||
| + | [[Category:Universal Tracking Application]] | ||
Latest revision as of 11:28, 27 July 2016
When you configured the application you enabled Level 1 items to be added from the account window.
1. Go to any account in the system.
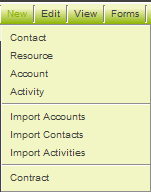
2. Click the New menu.
The Contract entry is displayed at the bottom of the new item list.
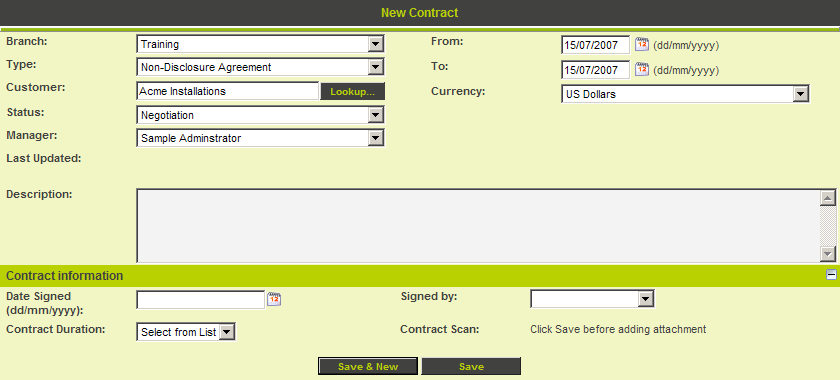
3. Click Contract.
The Level 1 item window is displayed with the account name automatically added.
There is no need to save this record.
4. Click on Contract Tracker in the left menu.
Summary
You have now created a simple Contract Tracking application.
- This application can handle different type of contracts with different statuses.
- Some custom fields have been added that are common to all contracts.
- Two contracts have been added.
| |
Working with Level 2 – Activities |

