Import Skills Process Overview
The import process consists of four steps:
- Copy the information to the Windows Clipboard.
- Paste the information into the SmartSimple Import Window from the Clipboard.
- Map the fields in the import data to the fields: category, skill and optionally the skill description fields.
- Validate the information mapping before uploading.
- Upload the data to SmartSimple.
1. Launch Microsoft Excel.
2. Open the spreadsheet Simple Skill List.xls. (or any spreadsheet applicable to you for this purpose)
3. Review this data.
This spreadsheet consists of two columns: Category and Skill. When you upload this data into Applicant Tracking, the categories will be automatically created and the skills added.
Pasting Information into SmartSimple
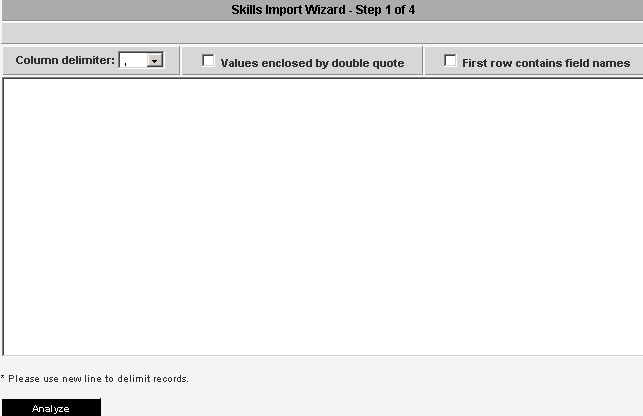
- Once the required information has been copied to the clipboard, it is pasted into the data window in the first step of the import wizard.
- The Browser Edit Paste menu is used to paste the copied information into the SmartSimple import wizard data window.
- Delimiters - The import process requires that a delimiter separate each field of information. This delimiter can be a comma “,”, a semi-colon “;” or a tab, with each row of information delimited by a “return”.
- The delimiter is selected from the combo box at the top of the data window.
- Field Names in the First Row.
- In some instances, the data will contain the field names in the first row. Clicking the check box can indicate this: First row contains field names will enable this feature.
- Removing Double Quotes - If the export process from the other application placed double quotes around each value, these are removed by clicking the Values enclosed by double quote check box.
- Once the data is pasted into a window, and the appropriate options set, the Analyze button is clicked and SmartSimple will determine the fields
1. Select all the data – use Edit, Select All or press Control + Shift + End.
2. Select the Edit Copy menu or press Control + C.
3. Switch back to SmartSimple.
4. Click Applications, Applicant Tracking menu.
5. Click the Skills tab.
The Categories and Skill window is displayed.
- You can use this window to manually add categories and skills, or use the import skills tab to add skills.
- The Questions check box is used to indicate a question category.
6. Click the Import Skills window.
The Import Skill Wizard is displayed.
7. Press Control + C or use browser Edit Paste.
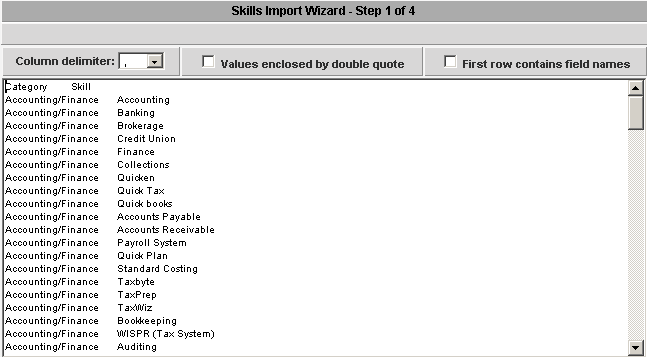
The categories and skills are added to the import box.
8. Press Control + Home to move to the top of the list.
This data contains the field names and is delimited by tab.
9. Set the Column delimiter to Tab.
10. Click the First row contains field names check box.
11. Click the Analyze button.
The analyzed data is displayed.
12. Map the second field to Skills.
13. Click the Parse data button.
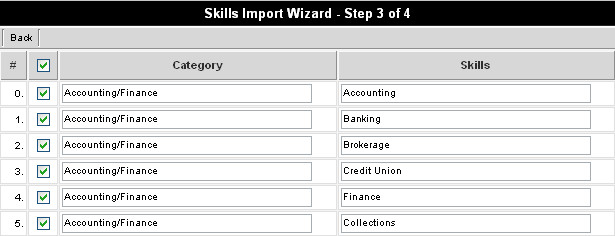
The Category and Skill information is displayed.
You can now de-select any skill that you do not wish to load.
14. Click the Upload button.
The skills are uploaded, and the categories created from these skills are displayed.
This skill list will be used when:
- You manually add skills to an applicant profile.
- An applicant creates a skill profile using a career site.
- SmartResume scans a resume for applicant skills.
- You use SmartSearch to match applicants to jobs.


