Report Builder (Neo)
Contents
Overview
The Report Builder Neo is used to construct a report by selecting the required fields and setting the way the field should be used within the report. The Report Builder Neo allows for greater control of reports and features a more intuitive user interface.
Report Builder Neo can only be used to create brand new reports. Existing reports cannot be updated to the new format.
Video Introduction
Configuration - Essentials
1. Click on the 9-square menu on the top right of your page.
2. Under the Tools menu, click on Reports.
The reports that are available to you in your SmartSimple system will be displayed as a list.
3. Click on the + icon on the top left of the page in order to create a New Report.
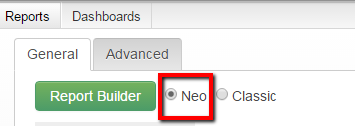
4. The New Report form will be displayed. For the field Report Builder, select Neo.
- The Report Builder Neo will be selected by default unless you explicitly change it to Classic.
Every time you create a report, you can choose whether you want the Neo or the Classic Report Builder functionality.
5. After filling in the rest of the fields, click Save. The new report will be saved into the system.
- For more detailed instructions, see Creating a Basic Report.
6. Once the report is created, the page will refresh and a four square icon will appear at the top left, above the report name.
Click on this icon to open up the Report Builder Neo.
Building a Report Builder Neo
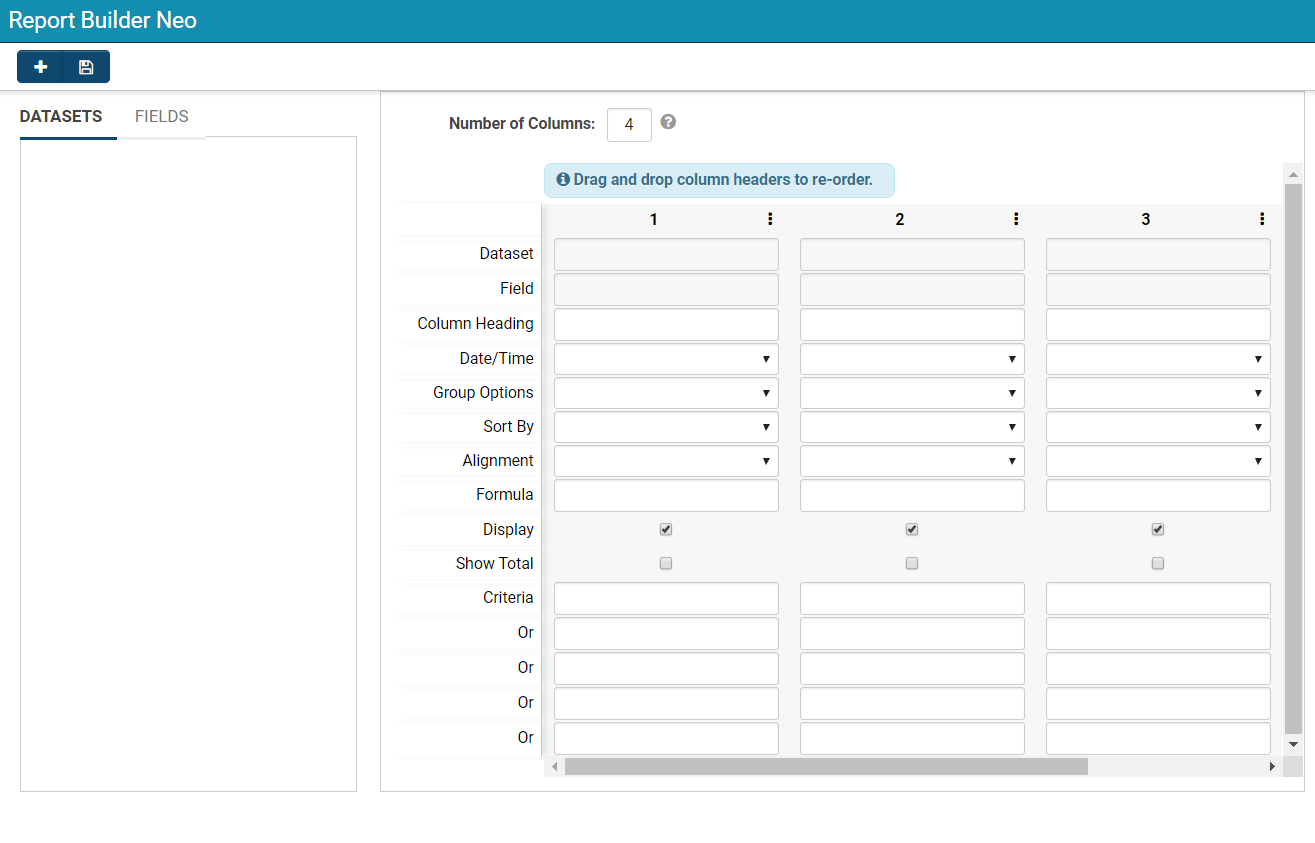
The Report Builder Neo allows you to manually build you a report. The empty report builder will look like this:
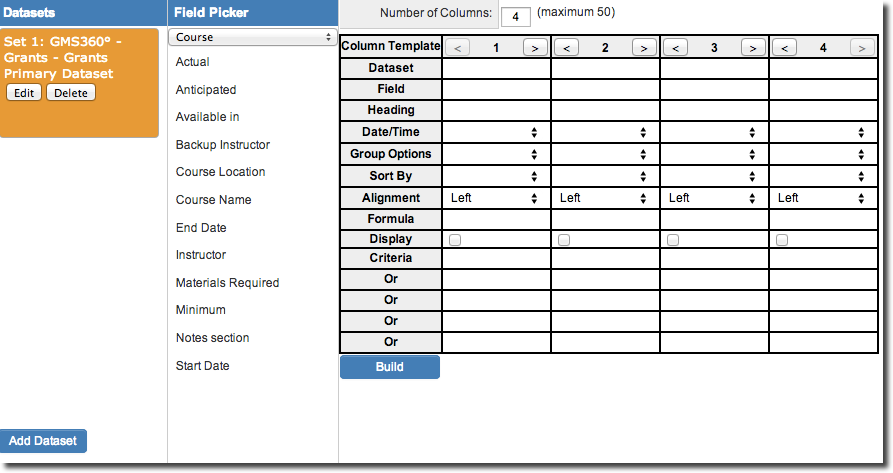
The leftmost pane gives you the option to select datasets. The middle pane allows you to select the fields to be used. The user can select upto 100 columns for each report. Each report column consists of the following settings:
- Dataset - Refers to the dataset selected in the dataset pane.
- Field - The field you wish to display in this column. All fields from all selected tables will be displayed in the field list. Fields are sorted alphabetically by table name, and by field name.
- Column Heading - The text you wish to appear above each column in the report.
- Date/Time Translation - Used to “extract” the day, month, week, or year from a date field for comparison purposes.
- Group Options - Used in summary reports to group by, sum, count, or calculate the average of the field. Also provides Total Group options for configuration of report groupings and easier retrieval of total rows.
- Sort By - Determines the display order of the report results, Ascending or Descending.
- Alignment - Determines the alignment of the column header and the column values. Options are Left (the default setting), Center and Right.
- Formula - Allows you to build out further complexity such as mathematical operators, concatenation, and supports MySQL syntax.
- Display - This flag is used to suppress the display of a field that you may need to use for criteria, but not display in the reports. For example, you may wish to produce a list of salaries over 100,000 per year and use the salary as criteria, but not show the result.
- Criteria - Sets the criteria for the records to be displayed in the report. There are ten rows for criteria.
Note: If you have many custom fields, access the reports tab within the application you are creating the report from. If you are creating a report from a particular , access the reports tab from that UTA.
There is also a field name search box included within the data set field picker. You can use this search box to narrow down your field set to those which include matches to a key word search.
Configuration - Advanced
Show or Hide Column Totals
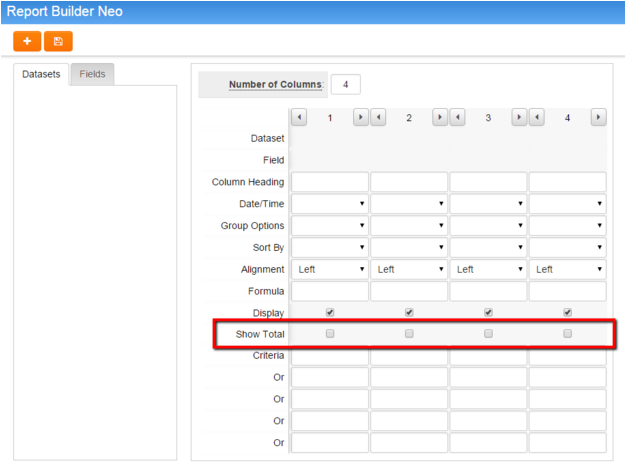
This enhancement adds the ability to show column totals in Report Builder Neo.
1. Under the Tools menu, select the Reports option
2. Click on the New Report hyperlink
3. Click on the Report Builder
4. Add a check mark to the Show Total option
5. Complete all necessary fields in the Report BuilderSh


