Difference between revisions of "Adding the Plug-In to Excel"
| Line 41: | Line 41: | ||
14. There are two buttons: the first – '''SmartSimple Settings''' is used to configure your [[Username|username]] and [[Password|password]] for [[SmartSimple]] access and the second – '''SmartSimple Reports''' is used to display the reports you have permission to execute. | 14. There are two buttons: the first – '''SmartSimple Settings''' is used to configure your [[Username|username]] and [[Password|password]] for [[SmartSimple]] access and the second – '''SmartSimple Reports''' is used to display the reports you have permission to execute. | ||
| − | [[Category:System Management]][[Category:View It]][[Category:Plug-Ins]][[Category:Reports]] | + | [[Category:System Management]][[Category:View It]][[Category:Plug-Ins for Microsoft Office]][[Category:Reports]] |
Revision as of 10:46, 30 April 2009
1. Launch Microsoft Excel.
2. Choose the Tools, Customize menu.
3. Click the Commands tab.
4. Scroll to the Tools Category.
5. Scroll to the COM Add-Ins command.
6. Drag this item to an existing toolbar.
7. Click the Close button.
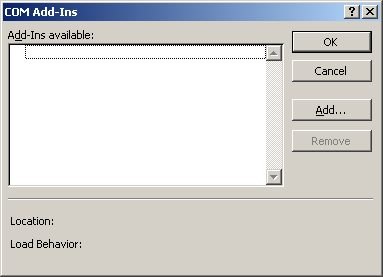
8. Click the COM Add-Ins button to display the Com add-ins window.
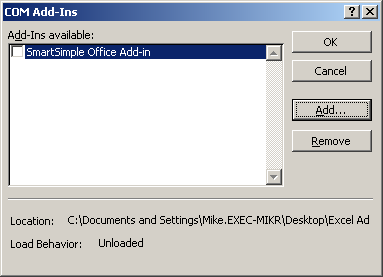
9. Click the Add button.
10. Navigate to the folder where you stored the Excel Add-in file.
11. Select the file SSExcel.dll from this folder.
12. Click the check box next to the file name, then click OK.
13. The SmartSimple toolbar is added to Excel.
14. There are two buttons: the first – SmartSimple Settings is used to configure your username and password for SmartSimple access and the second – SmartSimple Reports is used to display the reports you have permission to execute.


