Selecting the Connector Trigger Types in a Request for Approval Workflow
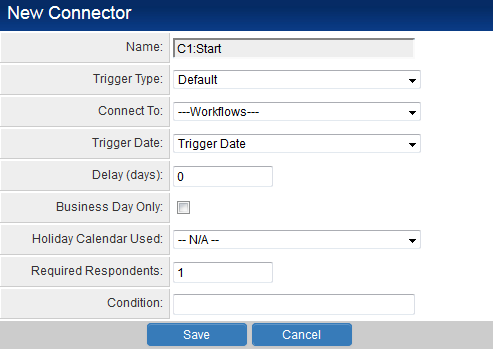
1. Click the New Connector at the right of the Start event.
The New Connector window is displayed.
2. Leave the Name as default C1: Start.
3. Set the Connect to: to the New File Alert! task.
4. Click the Save button.
The start event is connected to the step.
5. Click the New Connector at the right of the New File Alert! task.
The New Connector window is displayed.
6. Click the Trigger Type combo box. The Default and Expired trigger options, and the list of the options that were entered in the Routing Options is displayed.
7. Select Approved as the Trigger Type.
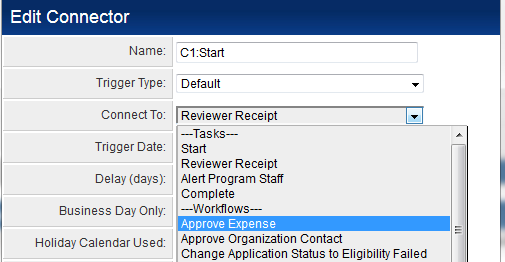
8. Click the Connect To combo box. The Tasks and Workflows that can be connected are displayed.
9. Select File Approved Message as the Connect To task.
10. Click the Save button.
Since the New File Alert task has three options in the Routing Options box, the task must have three connectors. Each connector will trigger if its option is selected by the [User|user]].
11. Create the connectors for the Reject and Revise options as follows:
12. The task list should now display three connectors for the New File Alert task.
See Also


