Creating Job Templates and Statuses
Creating a Job Template
1. Click the Manage Job templates tab.
The templates page is displayed.
2. Click the New Template tab.
The New Template window is displayed.
3. Complete the name and description as shown below.
4. Click the Save button.
The new template is added to the list.
5. Click the Clerical link.
There are no statuses associated with this template.
Creating Job Template Statuses
Next you need to create the statuses you must associate with this type of job template.
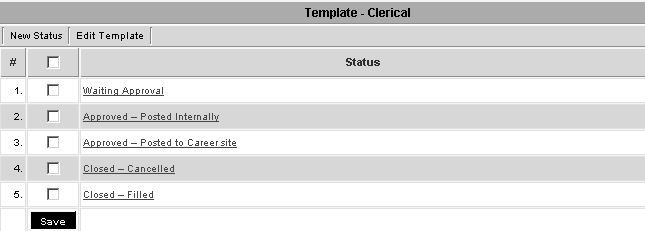
In this instance, these statuses will be: Waiting Approval, Approved – Posted Internally, Approved – Posted to Career site, Closed – Cancelled, Closed – Filled.
1. Click the New Status tab.
The Job Status window is displayed.
Two values are required:
- Display Order – determines the order the status will be displayed.
- Status Name – name of the status.
2. Complete the Status as shown below.
3. Click the Save button.
4. Click the Clerical template.
The new status is added.
5. Add the following statuses:
You can now create a job based on this template, and set the appropriate status.
6. Click the Assign All check box to associate all these statuses with the template.
7. Click the Save button.
Important Notice!
If you don’t associate any statuses with a job template, you will not be able to save a job based on that template.


