Creating Campaigns for Incoming Leads
From SmartWiki
You define the sources of the different types of leads anticipated, by using the campaign feature.
- If you plan to get leads directly from your web site, you can create a campaign sign up page and connect this page to your website.
- You can also upload calling lists as leads into specific campaigns for follow-up.
- This feature is only available if you are in a role with manager permission for Sales Tracking.
1. Click on the Campaign tab.
The campaign page is displayed.
Currently there are no campaigns defined.
2. Click the New Campaign tab.
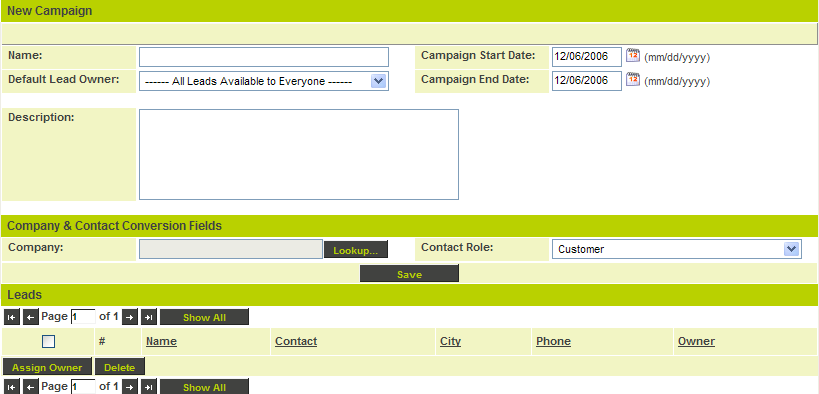
The New Campaign window is displayed.
The following fields must be defined:
- Name - A name for the campaign. For example, Website leads, Trade show leads, Partner leads, etc.
- Default Lead Owner - Controls who will “own” leads associated with this campaign. The default value is that all leads are available to everyone with access to Sales Tracking. See below for further details.
- Campaign Start and End date - Narrative dates indicating the start and end of the campaign – if applicable.
- Description - Narrative description of the campaign.
- Company & Contact Conversion Fields - Company - The position on the external company hierarchy where a company should be placed when converted from a lead.
- Company & Contact Conversion Fields - Contact Role - The role that should be assigned to contact when they are converted from lead to contacts.
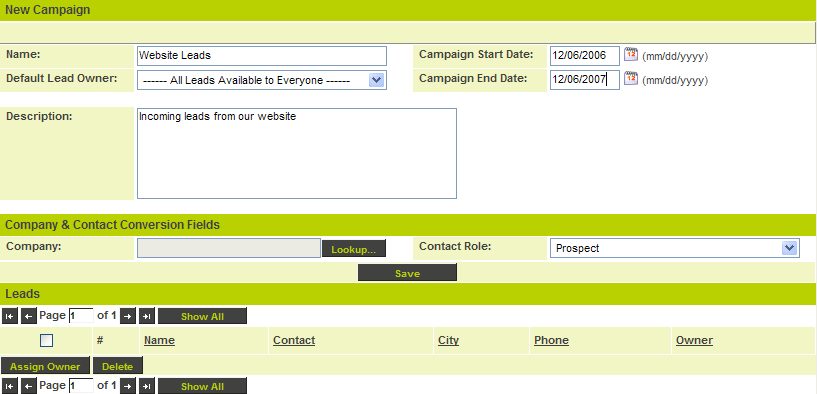
3. Set these values as shown below:
In this example:
- The Campaign will run for one year.
- All leads will be available to everyone with access to sales tracking on a first come, first serve basis.
- Converted lead company will be stored in the root of the external company list.
- Converted lead contacts will get the role “prospect”.
4. Click the Save button.
Deleting Leads:
1. Choose the Campaign where the leads are stored.
2. Select the leads that you want deleted.
3. Hit Delete button.


