Creating Associates/Associations
If your organisation needs to track a contact’s relationships with more than one company, then you will need to activate and use the Associates/Associations feature. This feature provides for:
- A contact to be associated with any number of organisations.
- The role that the contact has with each organisation can be defined differently to their normal roles within the system.
- An associate record can be automatically created when you move the contact to a new organisation.
- When you review an organisation the associates will be listed under the Associates tab.
- When you review a contact their associations will be listed under the Associations tab.
- This feature can be used for internal or external contacts and internal contacts can be associated with external companies and external contacts with internal companies.
Activating the Associates/Associations Feature
In order to explore this feature fully you will need to add two roles to the system:
- Previous Department – this role will be automatically selected when you move an employee to another department.
- Consultant – this role will be used when you associate an internal person with an external company.
1. Add these two roles using the Configuration, Roles and Permission menu.
2. Choose the Configuration, Global Settings menu.
3. Scroll to the Association Settings.
There are two options:
- Enable Associates/Associations – this check box will activate the feature displaying the Associates tab in the company view page and the Associations tab on the contact page.
- Association Role – you select the role that you wish to associate with a contact when they are moved from one company to another. Generally, this will be a specific role that you create such as ex-employee.
4. Select the Associates/Associations check box.
5. Set the Association Role to Previous Department.
6. Click the Save button.
Next you will move an employee to a different department to create the associate record for their relationship with the previous branch.
7. Choose the Organisation, Internal Users menu.
8. Locate Bill Morris in the Information Technology branch.
9. Click on the user’s name.
10. Click the Edit button.
11. Click the Lookup button next to the current branch name.
The Select Company window is displayed.
12. Click O for Operations.
13. Click the Operation branch.
14. Click the Save button.
15. Click the View, Contact menu.
16. Click the Associations tab.
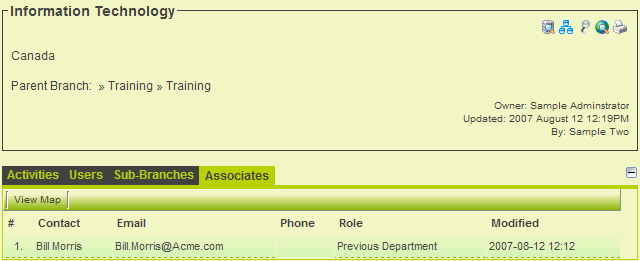
- Information technology is indicated as a previous department for this user.
17. Click the Information Technology branch link.
18. Click the Associates tab.
Manually creating an Association
You can also manually create a relationship between any one and any company. In this instance you will associate Bill Morris with an external company in the role of consultant.
These types of associations are created by editing the company record and adding the associate. You cannot add the company to the user associate record.
1. Choose the Organisation, External Contacts menu.
2. Click on any external company.
3. Click the Edit button.
The company is displayed in Edit mode and the Associates section is enabled.
4. Click the Lookup button.
The Users & Contacts lookup is displayed.
5. Set the First Name to Bill and click the Find button.
6. Click the Bill Morris record.
7. Click the OK button.
You can set the role of this association to any role within the system, but in this instance the role is correct.
8. Click the Add button.
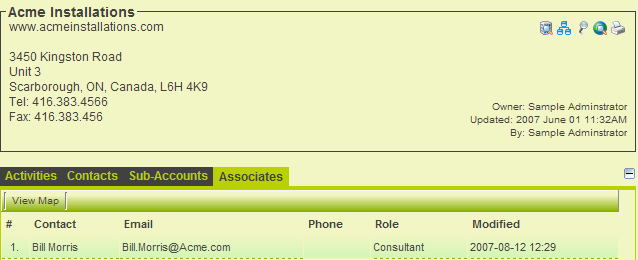
The user is associated with the external company through the role of consultant.
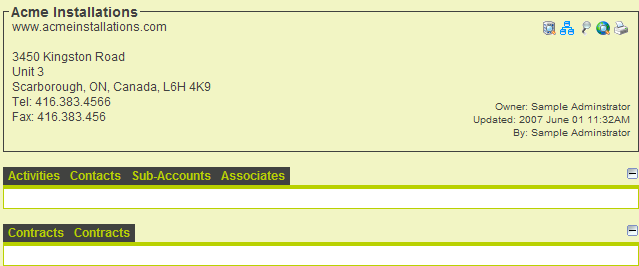
9. Click the View, Account menu.
The associate record is displayed.
10. Click the Bill Morris link in the Associate record.
The user record is displayed.
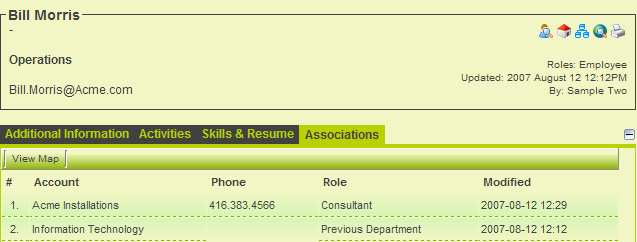
11. Review the Associations tab.
Two associations are displayed; one to the previous department and one to the external company.


