Difference between revisions of "Triggering the Level One UTA Workflow"
From SmartWiki
Julia Decker (talk | contribs) |
|||
| Line 1: | Line 1: | ||
| + | {{SeqWFPageHeader}} | ||
| + | |||
1. In your [[UTA]], click the '''Level One New''' button to create a new '''Level One''' item. | 1. In your [[UTA]], click the '''Level One New''' button to create a new '''Level One''' item. | ||
| Line 17: | Line 19: | ||
[[Category:System Management]][[Category:Workflows]][[Category:Applications]] | [[Category:System Management]][[Category:Workflows]][[Category:Applications]] | ||
| + | |||
| + | {{PrevNextStart}} [[Creating a Level One Workflow]] | ||
| + | {{PrevNextMid}} [[Creating a Level Two Workflow]] | ||
| + | {{PrevNextEnd}} | ||
Revision as of 10:38, 8 May 2013
1. In your UTA, click the Level One New button to create a new Level One item.
2. Select the template type that has workflows enabled.
3. Select the status type that will trigger the workflow.
4. Click Save.
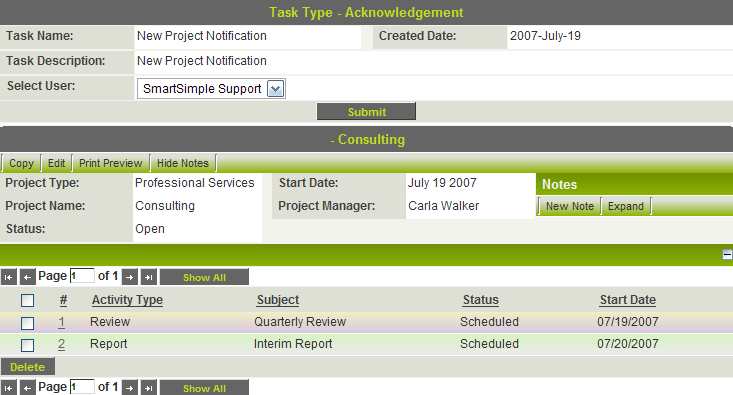
The new workflow is triggered and the workflow window is displayed.
The workflow window allows the user to select the recipient of the acknowledgment message and also displays the details of the Level One item that triggered the workflow.
5. Select the user to send the message to and click Submit. The message is sent to the recipient.
