SmartFileRetriever
From SmartWiki
THIS PAGE IS UNDER CONSTRUCTION
The UTA Browser is standalone tool that will allow you to download all files that are stored in Single File or Multiple Files custom fields at Level 1 within any SmartSimple UTA.
If you wish to have access to this Tool please contact SmartSimple support.
Instructions
- Install the UTA Browser application, following the instructions that came with the tool.
- If you are logged into SmartSimple via a Web Browser you should log out. Your browser session will be disconnected as soon as you connect via the UTA Browser.
- Open UTA Browser from your Programs menu.
- Enter your SmartSimple Server URL, Alias, User Name and Password:
- Click to Enable SSL if you wish to encrypt the connection to SmartSimple.
- Click Login
- In a few seconds the Application pull-down list will populate with a list of the UTAs in your SmartSimple instance, and the Launch and Download buttons will become active
- Select the desired UTA from the Applications list and click Launch
- You will then be presented with the Level 1 interface for your UTA.
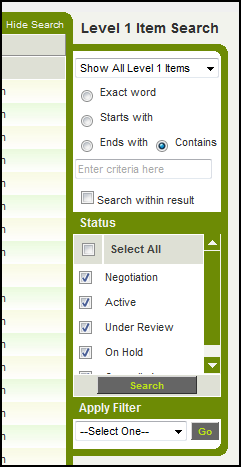
- On the right-hand side of your screen you should now filter the records as desired. If you wish to download the files stored in Single File or Multiple Files fields for all records you should select "Show All Level 1 Items" and ensure that all Statuses are selected. Then click on the Search button:
- Important: if you have more records than are shown on a single page be sure to click on the Show All button in the upper-right corner of the screen before proceeding to the next step:
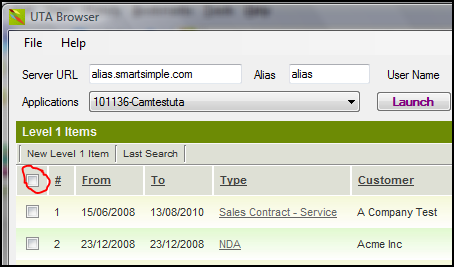
- You should now click on the check-box in the upper left corner of the screen in order to select all records:
- If you do not see the check boxes in the first column of the Level 1 list view you will need to close the UTA Browser, open your UTA via a Web Browser, go to Settings >> Application Configuration. Then check to Enable Calendar in the Level 1 Settings section.
You can filter the records that are included in the normal fashion.
You then select which custom fields storing files you wish to include, for the records selected.


