Difference between revisions of "Login Screen Content"
| Line 17: | Line 17: | ||
When user then goes to the login page they should see a drop-down for languages, listing all languages against which a login page has been configured. By default it will be set to English, but will display the language specific page when that language is selected from the drop-down. | When user then goes to the login page they should see a drop-down for languages, listing all languages against which a login page has been configured. By default it will be set to English, but will display the language specific page when that language is selected from the drop-down. | ||
| − | [[Image:Lan_login2. | + | [[Image:Lan_login2.png|700px]] |
==Title Type== | ==Title Type== | ||
Revision as of 11:15, 1 June 2016
Contents
Login Screen Content
You can “brand” the login page. By doing the following:
1. Under the Configuration menu, click on Global Settings
2. Click on the Branding & Terminology tab
3. Click on Login Screen Content
4. You will be presented with 2 tabs:
- Primary: a list of all configured login pages, including the Language name and ID for that login page
- Alternate: a list of all configured Content Management login pages, including the alias and ID for that login page
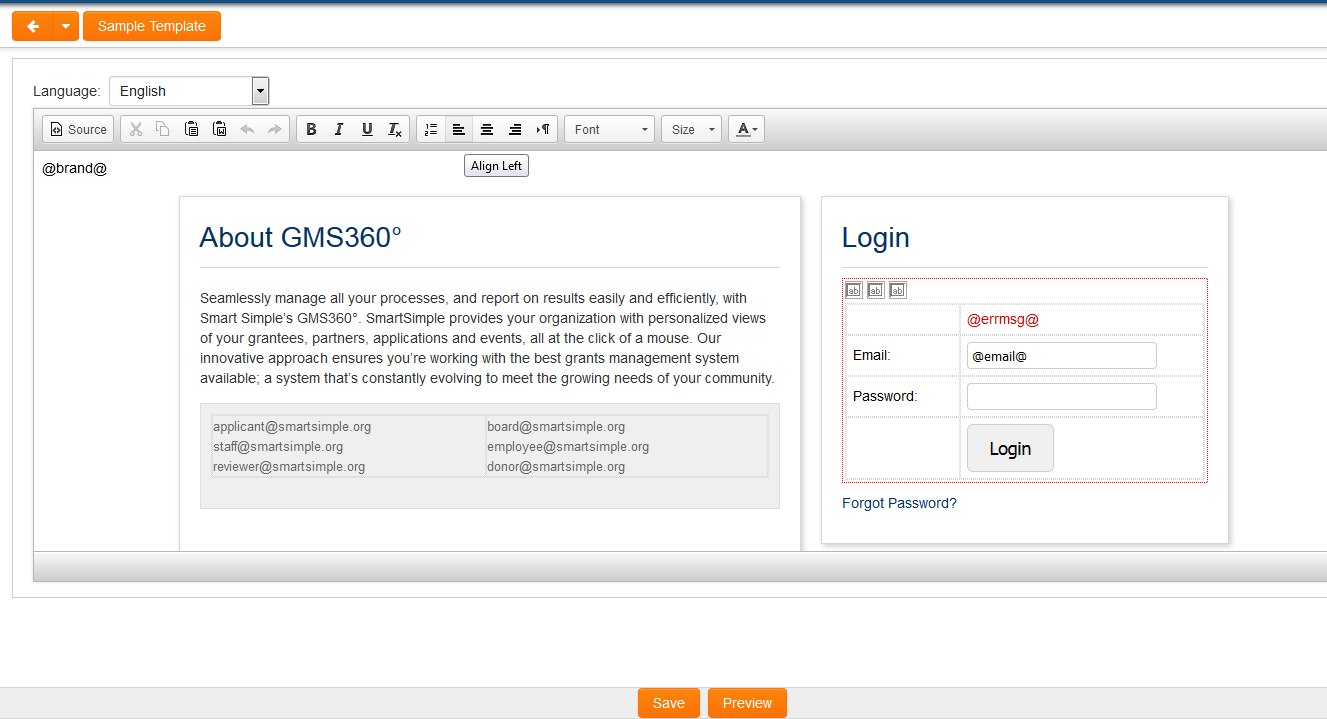
5. Stay on the Primary tab and click on the New Login Page button to access the new Login page.
6. You can use the Sample Template button to populate the content of the Rich Editor field, and then modify as necessary
7. Click Save
Language Type
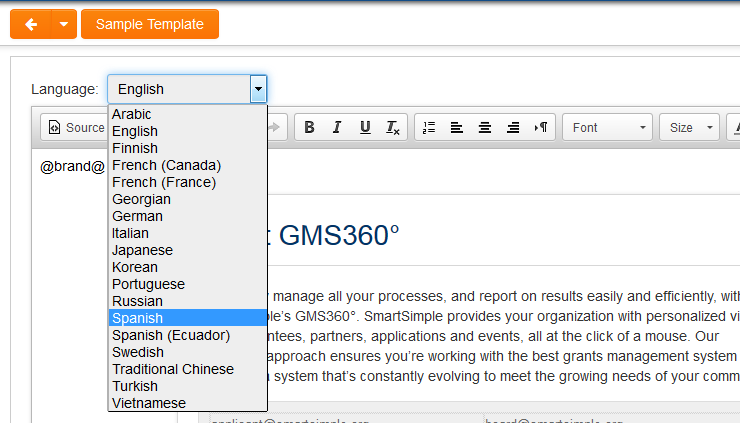
By default the language used when creating the login page is English, but you can create login pages for other languages:

- Under the Configuration menu, click on Global Settings
- Click on the Branding & Terminology tab
- Click on Login Screen Content
- Select language from the relevant drop-down
- Use the Sample Template button to populate the content of the Rich Editor field, and then modify as necessary.
- Click Save
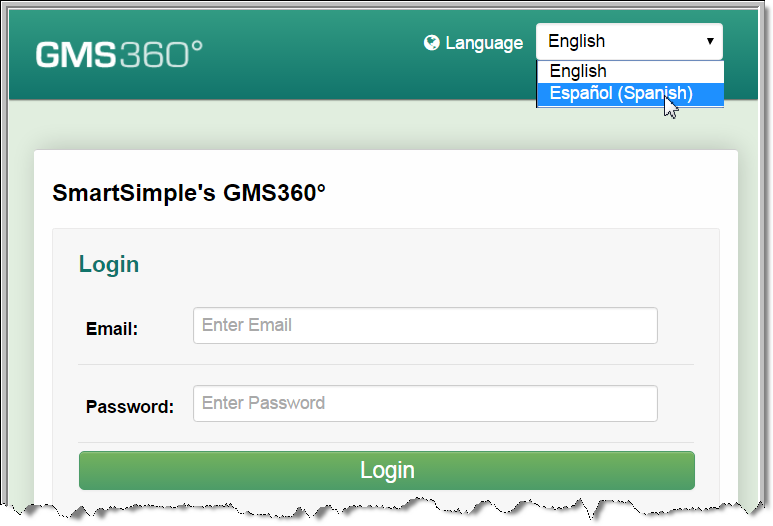
When user then goes to the login page they should see a drop-down for languages, listing all languages against which a login page has been configured. By default it will be set to English, but will display the language specific page when that language is selected from the drop-down.
Title Type
By default the alias name of your instance will appear in the top left of your login page. You can change the text that appears here by doing the following:
- Under the Configuration menu, click on Global Settings
- Click on the Branding & Terminology tab
- In the Title Text field, enter your desired text
- Make sure the text radio button is selected
- Click Save
Title Image
You can display an image (example: your company logo) in the top left corner instead of text by doing the following:
- Under the Configuration menu, click on Global Settings
- Click on the Branding & Terminology tab
- Under Small Logo click “browse” to find the logo you want to display then click “upload”. The small logo should be pre-sized to 133 pixels wide by 46 pixels high.
- Under Large Logo click “Browse” to find the logo you want to display then click “upload”. The large logo can be any size but we recommend 70 pixels high by any width.
- Make sure the Image radio button for “Title Type” is selected.
- Click Save
JavaScript
The following JavaScript can be added to the page:
Forgot Password
HTML:
Forget your password? Please click <a href="javascript:passwdwin()">here</a>.
JavaScript:
function passwdwin(){

window.open('/s_requestpassword.jsp','pwdwin',

'left=200,top=200,toolbar=0,width=300,height=214,directories=no,status=no,

scrollbars=no,resizable=no,menubar=no,alwaysRaised=yes');

}
The e-mail sent can be configured on the User Email Templates page.
Branch specific Forgot Password
This functionality is used when a user can exist in the system multiple times with the same email address, but against different branches. The configuration means that only the password for the user account under a specific branch will be updated.
HTML:
Forget your password? Please click <a class="Login" href="javascript:passwdwin(12345)">here</a>
Where 12345 is the companyid.
JavaScript:
function passwdwin(branch) {

window.open('/s_requestpassword.jsp?branchid='+branch,'pwdwin','left=200,top=200,toolbar=0,width=300,height=214,directories=no,

status=no,scrollbars=no,resizable=no,menubar=no,alwaysRaised=yes');

}
A login page can be configured with multiple Forgot password links, each including a different companyid as the parameter, or the user can create multiple login pages with a single link/companyid included on each.
When the user clicks on the link, enters their password and submits it then the underlying code searches for the entered email address in the company and all its sub-organizations. It will then e-mail a new password for that branch specific user account.
The e-mail sent can then be configured with sslogic to tailor the content of the email to the specific branch.
The error message displayed on this page when an invalid email is entered can be altered using the Language Library.
Error Message
In order to display an error message when an incorrect login username or password is provided include the following variable in the Login Screen HTML:
- @errmsg@


