Copying UTA Records
Contents
Introduction
This page contains detailed instructions on how to configure your system to allow users to copy records.
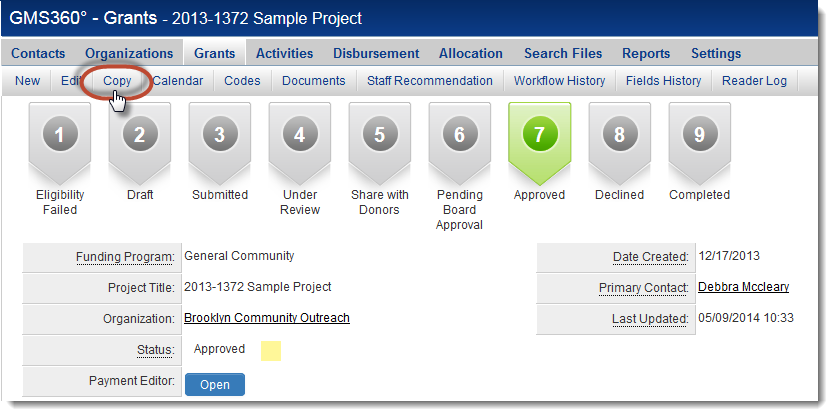
Controlling the Copy button
The visibility of the Copy button is managed by the Advanced Logic settings in each . By default, the Copy button is visible.
Using Advanced Logic you can make the Copy button unavailable, or only visible under certain conditions, such as the user's role.
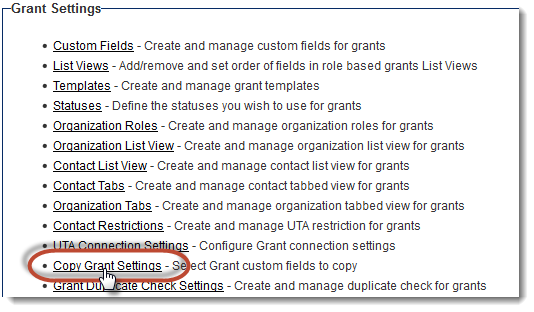
Setting the Elements of a Record to be Copied
The behavior of the Copy button is configured on the main UTA Settings Page. Go to Settings and click on the Copy Level 1 Settings hyperlink for the type of record you are configuring.
In the example below, Level 1s have been renamed to "Grants":
You will now see a list of all the fields that can be copied to the new record.
Custom fields that are common to all records, Global Custom Fields, are shown first, followed by the fields specific to a record's template or type.
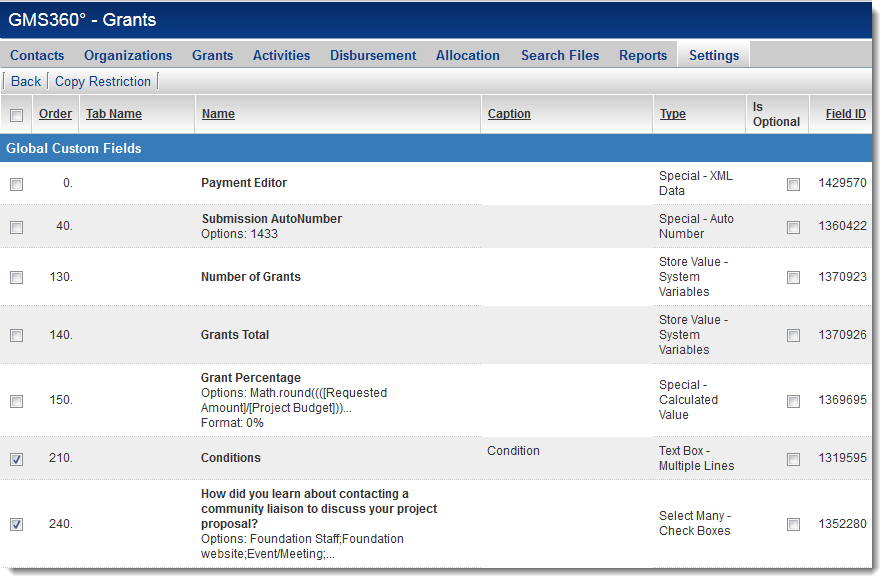
Put a checkmark in the leftmost checkbox next to each field that should be copied to the new record.
If you want to allow the user the discretion of whether or not to copy a field's value, also put a checkmark in the "Is Optional" column for that field.
Then scroll down to the bottom of the page and click the Save button.
What the User Will See
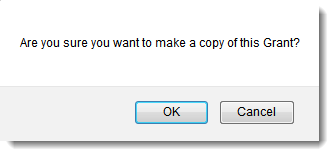
When a user clicks the Copy button, they will first be prompted to confirm that they want to copy the record:
If the user clicks OK, they will see the following page:
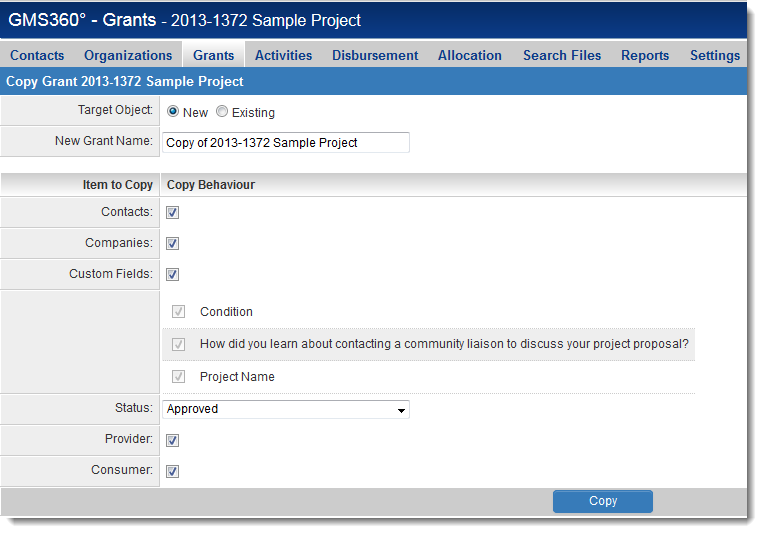
- The Target Object allows the user to select New or Existing.
If the user selects New, they will be prompted to choose a name for the new record: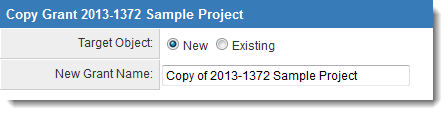
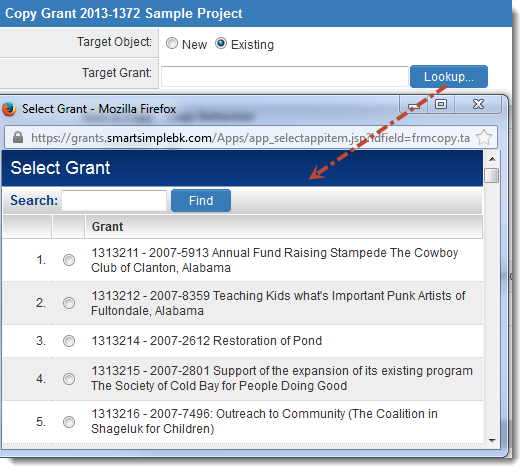
- If the user selects Existing, they will be prompted to select the record that should be overwritten with the copied field values:
- The Items to Copy are then listed below:
- any contacts attached to the originating record,
- any organizations attached to the originating record,
- the custom fields that have been selected to be able to be copied from the configuration page
- the status of the new copied record, etc.
Once these have all been selected, the user then clicks Copy to copy the record.
Note that any workflows that have been configured to be triggered on a status will be triggered by the creation of the new copied record.
Setting Copy Restrictions
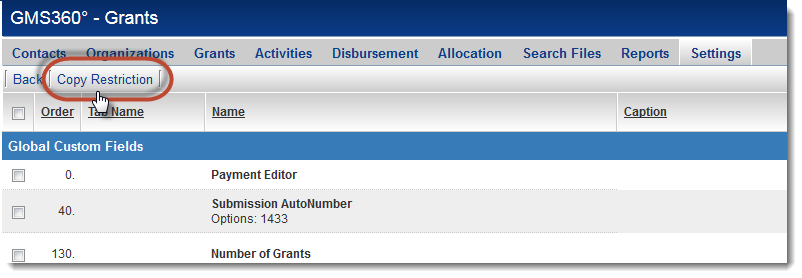
On the UTA Settings Page