Branding & Visual Settings
From SmartWiki
Revision as of 17:28, 26 November 2015 by Alvin Thompson (talk | contribs)
Branding & Visual Settings
Changing the visual settings, including logos, and system-wide terminology are done from the Branding & Terminology options.
- Under the Configuration menu, click on Global Settings
- Click on the Branding & Terminology tab
- Modify the visual settings, organization terminology, and label terminnology
- Click Save
Options
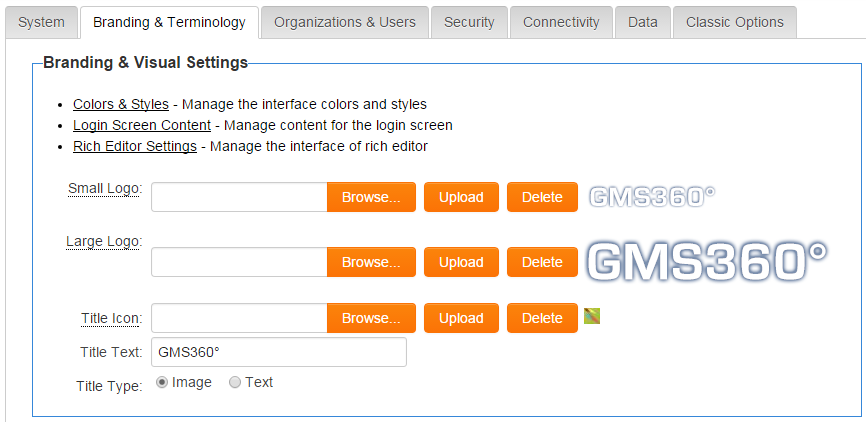
- Click on the Colors & Styles to manage the interface colors and styles.
- Click Login Screen Content to manage content for the login screen.
- Click Rich Editor Settings to manage system-wide options for the Rich Text field type.
Logos
- A "Small Logo" will appear on the Login Page, Administrative, Portal and Arcadia interfaces. The small logo must be 133 pixels wide x 46 pixels high.
- The "Large Logo" will override the Small Logo on the Login Page, Portal and Arcadia interfaces. This will not override the Small Logo in the Administrative interface. The recommended height for a "large logo" is 70 pixels high.
- File Formats - JPEG or PNG (300 dpi preferred)
Title Icon and Title Type
- "Title Icon" allows a favicon icon (also called the shortcut icon) to be uploaded. This icon will appear on the browser's address bar on compatible web browsers. Typically title icons are 16px x 16px.
- The "Title Type" settings determine whether an image or text is shown in the top left-hand corner of your SmartSimple home page. If "Text" is selected, the text typed into the "Title Text" box will be used in place of a logo.