Difference between revisions of "Adding a Table to a Report"
From SmartWiki
| Line 7: | Line 7: | ||
1. Scroll and set the '''Primary table''' option for the '''Contacts''' table. | 1. Scroll and set the '''Primary table''' option for the '''Contacts''' table. | ||
| − | [[Image:Tble.png]] | + | [[Image:Tble.png|link=]] |
Selecting the primary table automatically selects that table for the report. | Selecting the primary table automatically selects that table for the report. | ||
| Line 19: | Line 19: | ||
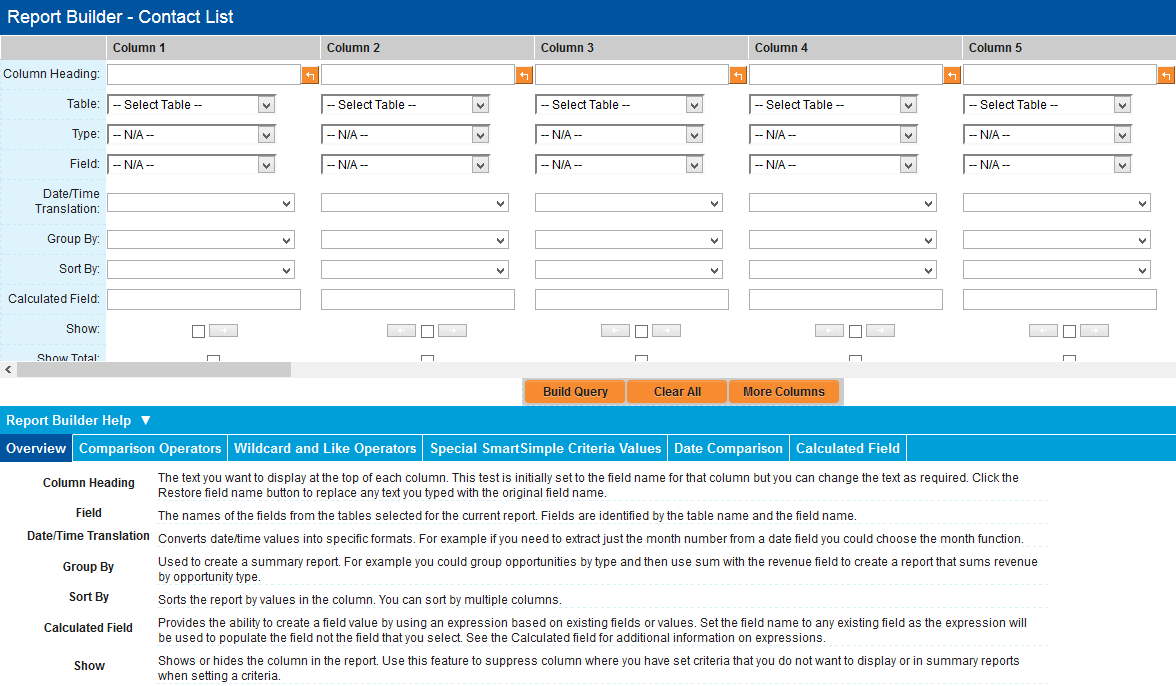
The '''Report Builder''' window is displayed. | The '''Report Builder''' window is displayed. | ||
| − | [[Image:Tble2.png]] | + | [[Image:Tble2.png|link=]] |
{{PrevNextStart}} [[Creating a Basic Report]] | {{PrevNextStart}} [[Creating a Basic Report]] | ||
Revision as of 09:40, 2 May 2013
 Click here to watch a video on SmartSimple's integrated reporting subsystem.
View It Here
The first step is always to add the tables required to the report.
1. Scroll and set the Primary table option for the Contacts table.
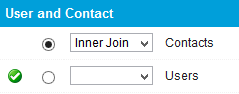
Selecting the primary table automatically selects that table for the report.
Accessing the Report Builder
Now that the table is selected you can launch the Report Builder and start to create the report.
1. Click the Report Builder button.
The Report Builder window is displayed.