Difference between revisions of "Adding Custom Fields to an Applicant Profile"
| (One intermediate revision by one other user not shown) | |||
| Line 1: | Line 1: | ||
| − | |||
| − | |||
1. Click the '''Edit''' button for [[Internal]] Applicant [[Role|role]]. | 1. Click the '''Edit''' button for [[Internal]] Applicant [[Role|role]]. | ||
[[Image:Cust.png]] | [[Image:Cust.png]] | ||
| − | + | ||
2. Click the [[Custom Fields]] tab. | 2. Click the [[Custom Fields]] tab. | ||
| Line 12: | Line 10: | ||
[[Image:Cust2.png]] | [[Image:Cust2.png]] | ||
| − | + | ||
The New Field window is displayed. | The New Field window is displayed. | ||
[[Image:Cust3.png]] | [[Image:Cust3.png]] | ||
| − | + | ||
==Custom Field Settings== | ==Custom Field Settings== | ||
| − | |||
1. Create the following field. | 1. Create the following field. | ||
[[Image:Cust4.png]] | [[Image:Cust4.png]] | ||
| − | + | ||
* Using this field type, the applicant can select one of the options you added to the '''Values''' list. | * Using this field type, the applicant can select one of the options you added to the '''Values''' list. | ||
| Line 28: | Line 25: | ||
[[Image:Cust5.png]] | [[Image:Cust5.png]] | ||
| − | + | ||
The [[Custom Field|custom field]] is saved. | The [[Custom Field|custom field]] is saved. | ||
[[Image:Cust6.png]] | [[Image:Cust6.png]] | ||
| − | + | ||
3. Add the following additional field: | 3. Add the following additional field: | ||
[[Image:Cust7.png]] | [[Image:Cust7.png]] | ||
| − | + | ||
| − | The Text line field will be displayed as a text box. | + | The Text line field will be displayed as a text box. The applicant must enter their employee number in this box. |
4. Click the '''Save''' button. | 4. Click the '''Save''' button. | ||
| Line 44: | Line 41: | ||
[[Image:Cust8.png]] | [[Image:Cust8.png]] | ||
| − | + | ||
You will now add some [[Custom Fields|custom fields]] to the [[External|external]] applicant [[Role|role]]. | You will now add some [[Custom Fields|custom fields]] to the [[External|external]] applicant [[Role|role]]. | ||
| Line 56: | Line 53: | ||
8. Add the following fields. | 8. Add the following fields. | ||
| − | + | ||
[[Image:Cust9.png]] | [[Image:Cust9.png]] | ||
| − | [[Category:System Management | + | [[Category:System Management]][[Category:Applicant Tracking]][[Category:Custom Fields]] |
Latest revision as of 11:07, 31 May 2019
1. Click the Edit button for Internal Applicant role.
2. Click the Custom Fields tab.
The custom fields list for the Internal Applicant role is displayed – currently none.
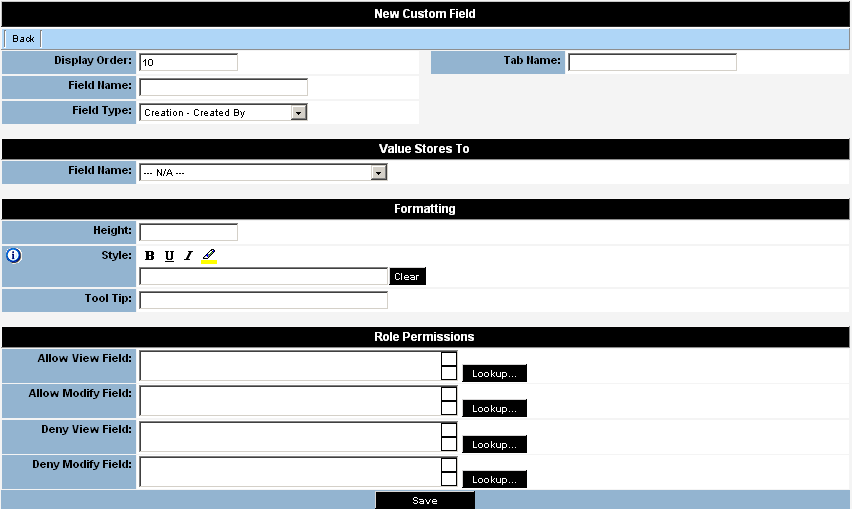
3. Click the New Field tab.
The New Field window is displayed.
Custom Field Settings
1. Create the following field.
- Using this field type, the applicant can select one of the options you added to the Values list.
2. Click the Save button.
The custom field is saved.
3. Add the following additional field:
The Text line field will be displayed as a text box. The applicant must enter their employee number in this box.
4. Click the Save button.
Two custom field are now added to the internal applicant profile.
You will now add some custom fields to the external applicant role.
5. Click the Configuration, Roles & Permissions menu.
The Roles window is displayed.
6. Click the External Applicant Edit button.
7. Click the Custom Fields tab.
8. Add the following fields.


