Branding & Visual Settings for Arcadia
From SmartWiki
Revision as of 09:50, 13 July 2017 by Ciaran Donnelly (talk | contribs)
Contents
Branding & Terminology page
- Click on Global Settings under the Configuration menu
- Click on the Branding tab
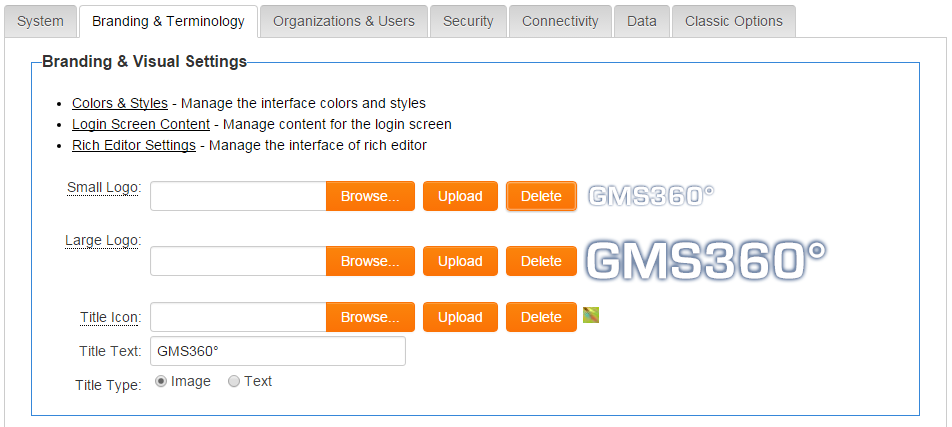
Branding & Visual Settings
- A Small Logo can be uploaded that will be used on the administration interface, the default portal, the Arcadia interface and the default login page.
- If a Large Logo is uploaded, it will be used in place of the Small Logo everywhere in the system except for the top left corner of the administration interface (where the Small Logo is used).
- The Title Icon field allows you to add a favicon which will be displayed on the Internet browser tab (on compatible browsers).
- The Title Text field allows you to specify the text that will be displayed on the top of the Internet browser tab (on compatible browsers).
- The Title Type radio option allows you to specify whether an image or text is shown in the top left-hand corner of your SmartSimple home page. If "Text" is selected, the text typed into the "Title Text" box will be used in place of a logo.
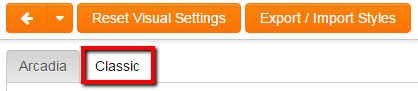
Colors & Styles
- Click on the Colors & Styles link to review and edit the visual settings.
- You will see a number of tabs along the top.
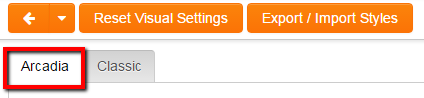
- Click on the Arcadia tab to review and edit the Arcadia visual settings.
NOTE: The Arcadia settings will inherit the following settings form the Classic interface settings, but these can be overwritten
- header background & foreground
- title background & foreground
- button background, foreground & border
- subtitle background & foreground
- Any visual settings that are not used in Arcadia will be hidden in the Arcadia settings page.
- Click Save to have any changes applied to the Arcadia interface.
- Click on the Classic tab to return to the Classic Settings page.
Login Screen Content
You can “brand” the login page. By doing the following:
1. Under the Configuration menu, click on Global Settings
2. Click on the Branding & Terminology tab
3. Click on Login Screen Content
4. You will be presented with 2 tabs:
- Primary: a list of all configured login pages, including the Language name and ID for that login page
- Alternate: a list of all configured Content Management login pages, including the alias and ID for that login page
5. Stay on the Primary tab and click on the New Login Page button to access the new Login page.
6. You can use the Sample Template button to populate the content of the Rich Editor field, and then modify as necessary
7. Click Save
