Translation Import/Export
Contents
Overview
People collaborate using SmartSimple Cloud in many languages. For example your applicants, reviewers and program managers may work together in over 30 different languages.
This article will provide you an overview of the configuration of custom fields in multiple languages.
System Administrators are able to export custom field translation settings and import custom field translation setting files. The Translation Import and Translation Export tabs are available within any Custom Fields Settings page.
Best Practices
- The usual process to deploy a system in multiple languages would be to first configure all of the processes in one language. Then, all of the custom fields are translated in the additional language(s). External user pages are enabled in multiple languages more often than entire systems.
- Unless you are a native speaker, use a translation service to provide the translated field captions.
- The exported translation file can contain tags such as HTML formatting or sslogic so when translating the content, remember to retain the original format.
- For Custom Field Type: Select One – Combo Box, ensure your translation file retains the store-value=display-value syntax.
- Some custom field types such as Custom Field Type: Special - Advanced Data Table benefit from manual updating rather than import of the translation file.
Configuration – Essentials
1. Go to the UTA, in this case we will go to the Submission Manager
2. Go to Configuration Settings
3. Go to Level 1 Custom Fields
4. We want to Create a Translation File for all custom fields in this UTA.
5. Select the check box at the top to Select All custom fields.
6. Click the "Create Translation File" button at the top.
7. Select the file format, for this case we will use Excel 2010.
8. Delete the first column of each Setting/Property as the second (duplicate) column will be what the translation will be, followed by copying all in the excel sheet.
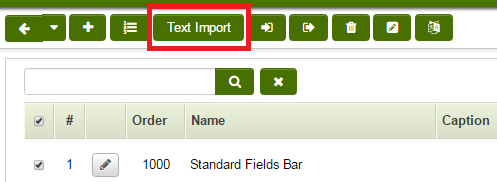
9. Go back to the Custom Field page and click the "Text Import" button at the top.
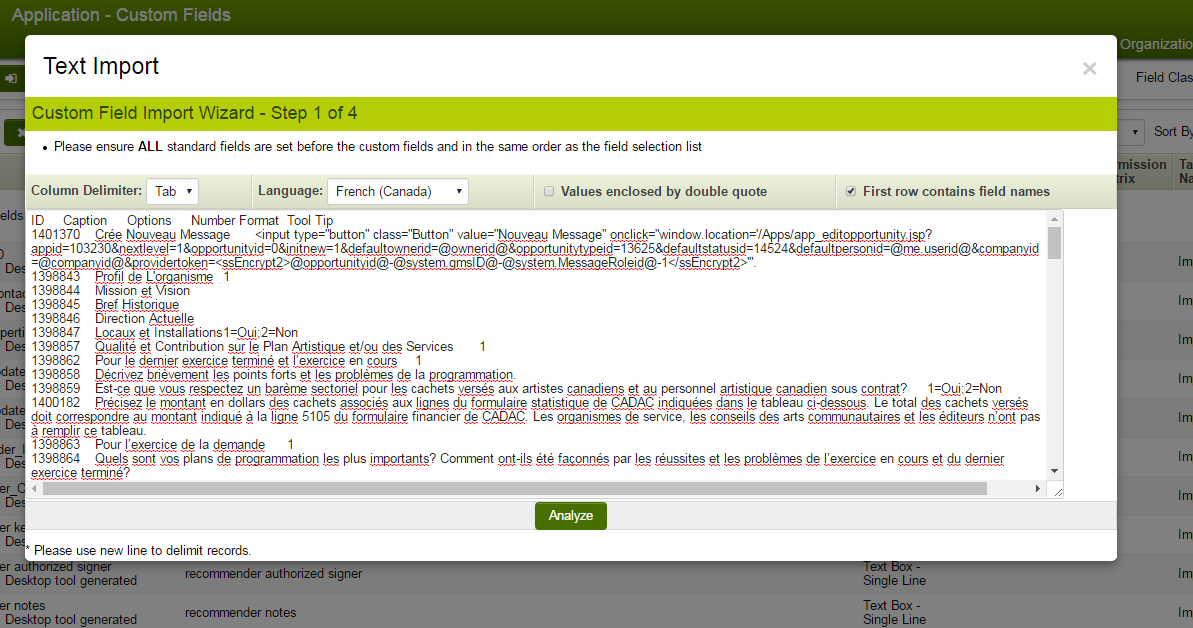
10. Paste the data from above in the box shown. Make sure to select the Column Delimiter, we will select the Tab in this case. Select the appropriate options in the box and click the "Analyze" button.
11. Map the columns to match the columns in the excel sheet followed by clicking the "Parse Data" button.
12. This window will make sure that the fields are mapped correctly, if there seems to be an error in any of these, it will not be parsed into the instance. Once checked, click the "Upload" button, it will then show if the fields are Successful or Failed.


