Using the Automatch Feature
The Automatch by organisation name and address option will allow for the users in this upload to be matched to previously uploaded organisations.
1. Click the Automatch by organisation name and address check box.
2. Click the First row contains field names check box.
3. Click the Analyze Structure button.
You are prompted to continue with the selected role.
4. Click OK to continue.
The data is analyzed and presented.
The first field is the department name – you will use this field for matching.
5. Set the first field to Company name for matching.
6. Map the remaining fields.
7. Click the Analyze Data button.
The user list is displayed.
Sending Imported User’s Passwords by E-mail
1. Scroll to the bottom of the list.
You can automatically enable and send the uploaded users their usernames and passwords. In this case you will not send usernames or passwords.
2. Click the No button.
3. Click the Upload button.
The status of the upload is displayed.
4. Click the Organisation, Internal People menu.
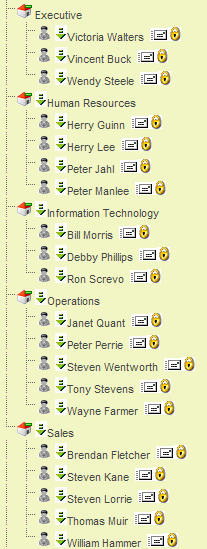
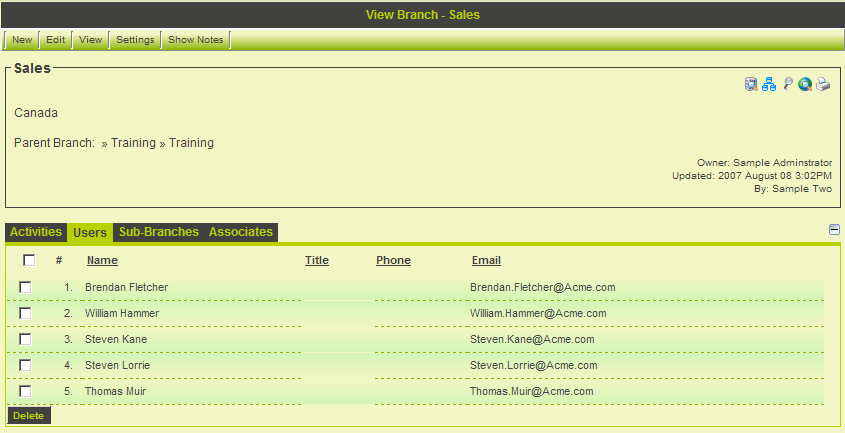
5. Click on any Organisation icon to display the new users you just added.
Undoing a User Upload
Note the arrow icon to the left of each person’s name.
This icon indicates these are the most recently uploaded user records. If these records were uploaded in error you can undo the upload by clicking the Undo Employee Upload tab.
All the users records last uploaded will be removed.


