Login Page
Contents
Overview
After a User has been added to the system or they have signed up, they will then be able to login to the system through a customizable login page. Generally, the username and password are embedded in the website.
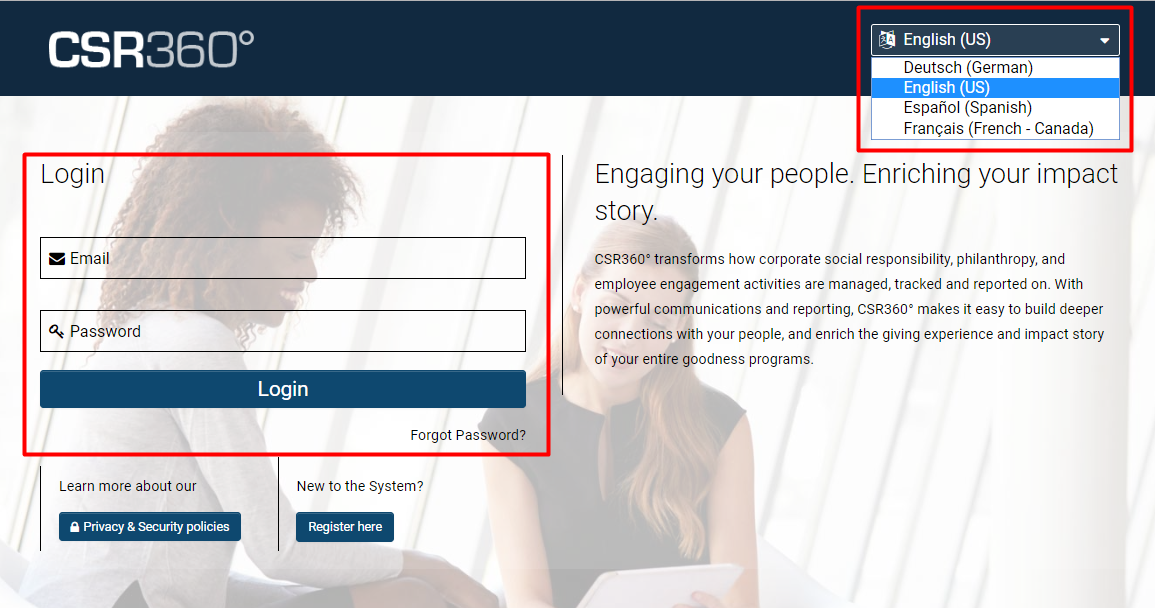
- Note: Language-specific login pages can be created and can be accessed using a drop-down when a person tries to login.
In this above example, the login page consists of numerous components: an actual login section for username and password, a registration button, a privacy and security policies hyperlink, language options, and Branding that customizes the background, logo, and description.
Configuration - Essentials
Creating a New Login Page
1. Click on the 9-square menu icon on the top right of your page.
2. Under the heading Configuration, select Global Settings.
3. Click on the second tab - it will be labelled Branding.
4. Click on the hyperlink for Login Pages.
5. The list of login pages available in your system will be displayed; if there are none, this page will be displayed as blank.
You will be presented with two tabs:
- Primary: A list of all configured login pages, including the language name.
- Alternate: A list of all configured content management login pages, including the alias and ID for that login page.
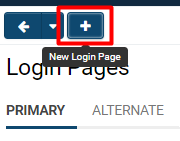
6. Staying on the Primary tab, click the + icon on the top in order to make a new Login Page.
Login Screen Content
Once you click the + icon to make a New Login Page, you will be redirected to the Login Screen Content to modify and format your new login page.
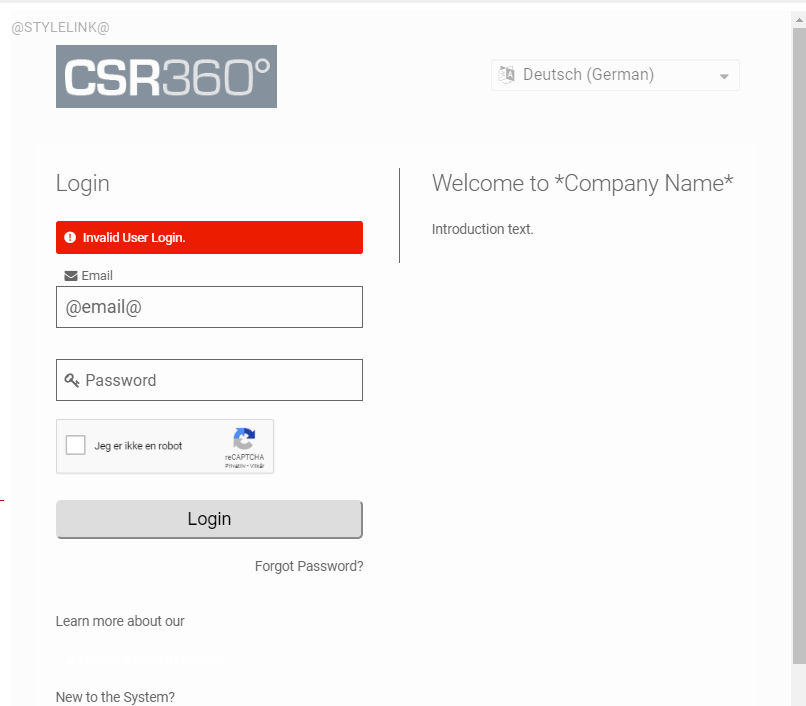
It will open on the first General tab, where settings and formatting can be modified on the right side of the screen, while the left side displays a preview with placeholder variables:
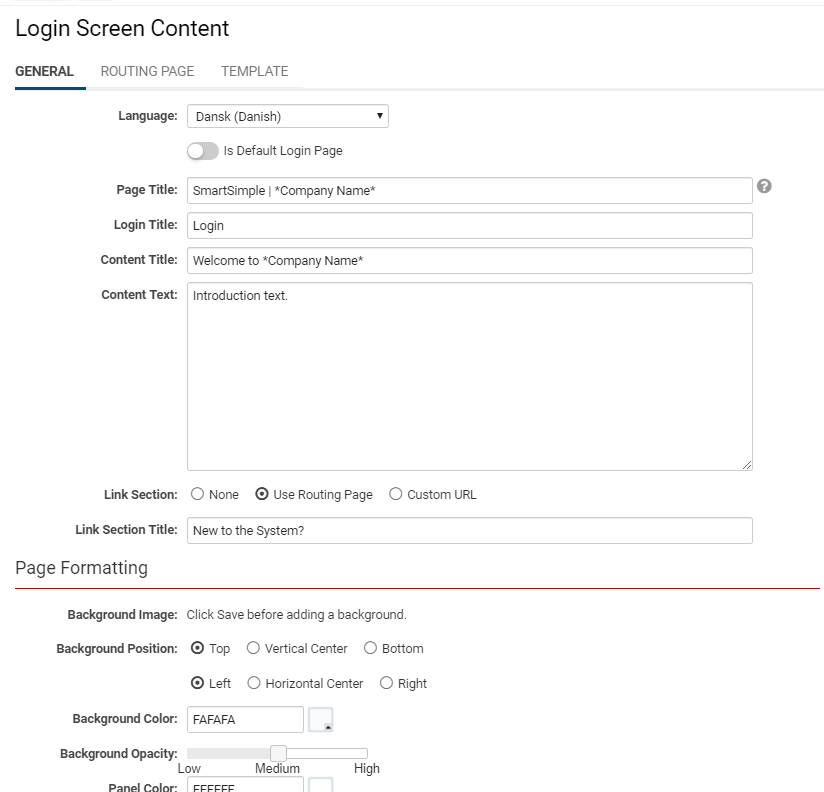
The following settings are available on the General page:
| Language |
Select from a drop-down list of languages available that you can change your login page to:
|
| Page Title | This is the text that appears in the title bar at the top of your browser. |
| Content Title | A generic content title might be "Welcome to *Company Name*" - this is the text that will appear on the main body of the login page next to the actual login username and password fields. |
| Content Text | This is the text that will appear below the content title. Best practice is to provide a summary of the company or an introduction towards what the user should expect from this site. |
| Link Section |
None Use Routing Page Custom URL |
| Link Section Title | Add a title that will go above the link from the Link Section. For example, if you used a signup routing page, your title for that link section could be, "New to the System?" |


