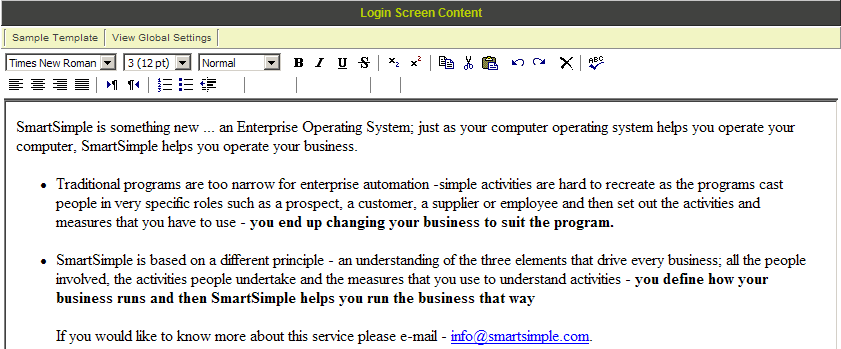
Login Screen Content
You can “brand” the login page by creating your own login page.
1. Click the Login Screen Content link.
The Login screen content is displayed.
2. Modify the content as required.
3. Click the Save button.
You are returned to the Global Settings page.
SmartSimple recommends that users should log in through their web site.
In order to add the username and password boxes to your web site, download the instructions from the SmartSimple Wiki – www.smartsimple.org
Title Type
The Title Type defines whether text or a login should be displayed in the top left corner of the main window.
When the organisation first registers, the title text displayed on the top left of the SmartSimple page is set to the organisation name.
Title Image
This setting is used to upload and display a logo, or other image files that you may wish to display on the login page, and in the top left corner of the SmartSimple main window.
For the best presentation, this image should be pre-sized to 133 by 46 pixels.
If you need to resize the image you can use a program such as Adobe Photoshop that allows you to set an exact height and width in pixels.
Title Text
You can define alternative text to be displayed on the login page, and in the top left corner of the SmartSimple main window as an alternate to the image.
JavaScript
The following JavaScript can be added to the page:
=Forgot Password
HTML:
Forget your password? Please click <a href="javascript:passwdwin()">here</a>.
JavaScript:
function passwdwin(){
  window.open('/s_requestpassword.jsp','pwdwin',
  'left=200,top=200,toolbar=0,width=300,height=214,directories=no,status=no,
  scrollbars=no,resizable=no,menubar=no,alwaysRaised=yes');
}
