Types
From SmartWiki
Types provide a method of delineating between different types of Level 2 and Level 3 items.
- Types at Level 2 and Level 3 are the equivalent of Templates at Level 1.
NOTE: Level 3 Types are configured the same manner as Level 2 Types. Any difference are noted below.
Contents
Creating Types
You can configure Level 2 Types via the Types link on the Settings page of your UTA:
![]()
- Existing Types are listed on the left of the page.
- Details of each type are displayed on the right of the page and new types are added to the right of the page.
Type Settings
Each type of Level 2 Entity or [[[Level 3 Entity]] has the following settings:
- Name - Display name for the Type.
- Display Order - The order in which the types are listed in the type combo box.
- Colour Code - A colour code used to display different types in the list view.
- People Workflow (Level 2 only) - Allows you to attach a Tracking Activity Assignment Workflow to this Type.
- Is Default Type (Level 2 only) - Allows you to select which Type will be the default when a new Level 2 is created.
- Display as Tab - This Type will be displayed on a separate tab in the list of Level 2 activities at the bottom of a Level 1 record.
- (or in the list of Level 3 activities at the bottom of a Level 2 record)
- Tab Label (Level 2 only) - Allows you to define a name for the tab if Display as Tab is select.
- If you use the same tab name for multiple Types they will appear on the same tab, allowing you to group related Level 2 Types.
- Show External (Level 2 only) - This check box indicates whether or not this type of activity should be shown to external users.
- Access Roles - Select the Roles that can create this type of activity.
- Level 2/Level 3 Formula - A set of expressions used to calculate values when the Level 2 or Level 3 item is saved. Similar to the Level 1 Template formula. (See Template / Type Formulas)
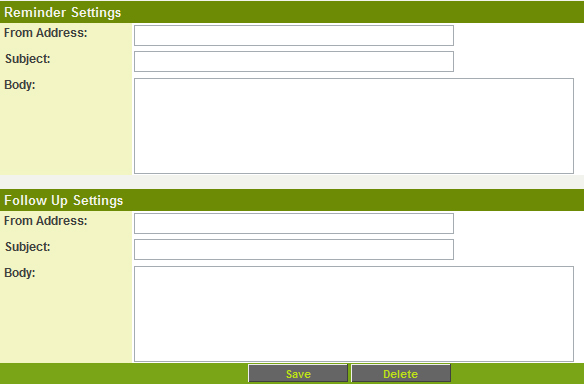
- Reminder Settings - The subject and content of the Reminder message. These fields are only applicable if you have included reminder standard fields in your Level 2 Entity.
- Follow Up Settings - The subject and content of the Follow up message. These fields are only applicable if you have included follow up standard fields in your Level 2 Entity.
- Restrict Contact Assignment by Contact - Allows you to restrict contact assignment for this Level 2 Type to named contacts.
- For example, if the Level 2 Type is "Dissertation Review", and if there are 2 people in your company that look after all dissertation reviews you would specify them here by name so that only they could be assigned to level 2 records of this type
- Restrict Contact Assignment by Role: Allows you to define which contact Roles can be assigned to this Level 2 Type.
- For example, if the Level 2 Type is "Legal Contract", you may wish to specify that only contacts with the role of "Lawyer" can be assigned to records of this type.
Reminder & Follow-up Settings
- By default, if there is no owner standard field - as is the case with calendar activities - then the last person to update the activity will be set as the owner.
- If there is an owner standard field enabled, then the owner will be selected when creating reminders or follow-ups.
Type Custom Fields
You can define Custom Fields that will appear only on the Level 2 records of a given Level 2 Type.
- To define these fields, click on the Fields button next to the relevant Level 2 Type. Then create the desired custom fields in the normal fashion.
- The Display Order of the Custom Fields you create on a Level 2 Type works in conjunction with the Display Order on any general Level 2 Custom Fields that have been defined.
- For example, if you have a Custom Field on a Level 2 Type with Display order of 15, it would appear between the global Level 2 custom fields with display orders of 10 and 20.


