Difference between revisions of "Setting Standard Fields for Level 3"
Julia Decker (talk | contribs) |
Mark Bridger (talk | contribs) m (next buttons) |
||
| (One intermediate revision by one other user not shown) | |||
| Line 62: | Line 62: | ||
[[Image:Uta124.png]] | [[Image:Uta124.png]] | ||
| + | |||
| + | |||
| + | {| cellpadding="5" style="background-color:#F0F0F0;border-style: solid; border-width: 2px" | ||
| + | | [[Image:Previous.png|link=Activating Level 3]] [[Activating Level 3]] | ||
| + | | | ||
| + | | [[Calculating Information between Levels]] [[Image:Next.png|link=Calculating Information between Levels]] | ||
| + | |} | ||
| + | |||
| + | |||
[[Category:Universal Tracking Application]][[Category:Applications]] | [[Category:Universal Tracking Application]][[Category:Applications]] | ||
Latest revision as of 12:13, 27 July 2016
Contents
Setting Standard Fields for Level 3
In this article you will set the standard fields for Level 3.
1. Click the Standard Fields link.
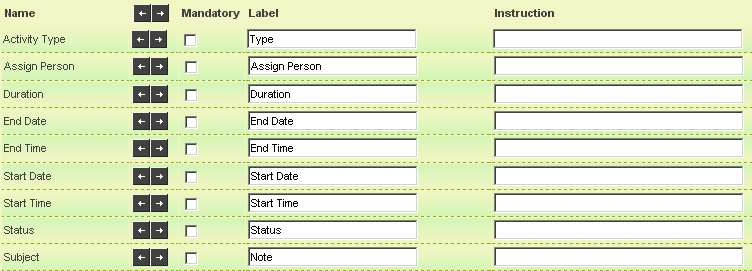
The Standard Fields list is displayed. This is exactly the same list as for Level 2.
2. Set the following fields:
Not all fields are shown above, only the ones that need to be set.
3. Click the Save button.
Setting Types
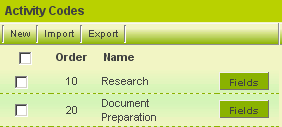
Next you need to create the types of actions for Level 3.
1. Click the Settings tab.
2. Scroll to the Action Settings section.
3. Click the Types link.
The Action Types page is displayed.
4. Create two action types: Research and Documentation Preparation.
Setting Statuses
Finally, you will set the two statuses required to indicate the status of the actions – In progress and Complete. As the Level 2 and Level 3 items share the same statuses it will be necessary to adjust the scope of the statuses that you previously created for the Level 2 items.
1. Click the Activity Settings (Level 2) Statuses link.
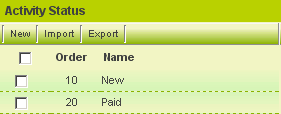
The two current statuses are displayed.
Level 2/3 Status Availability Options
Note the Status Availability Options.
If you don’t explicitly set the status it will be available at Level 2 and Level 3. But by choosing the appropriate options button you can restrict the availability to either Level 2 or Level 3.
1. For the two existing statuses set the Not available for Actions.
2. Add the following statuses and set their Not available for Activities.
The Status Availability will look as follows:
| |
Calculating Information between Levels |


