Difference between revisions of "Screen Share"
| (One intermediate revision by the same user not shown) | |||
| Line 3: | Line 3: | ||
They can then share and select a user on the same instance to share it with. | They can then share and select a user on the same instance to share it with. | ||
| − | The Use case is someone is on the phone with support, who wishes to show support what they are seeing. Such users will now have the ability to share their screen | + | The Use case is someone is on the phone with support, who wishes to show support what they are seeing. Such users will now have the ability to share their screen. |
| Line 57: | Line 57: | ||
[[Image:Screen_Share_Accepted.png|border]] | [[Image:Screen_Share_Accepted.png|border]] | ||
| − | 10. The Administrator | + | 10. The Administrator has access to the screenshot and has the option to save the screenshot to their computer. |
[[Image:Screen_Share_Save_Screenshot.png|400px|border]] | [[Image:Screen_Share_Save_Screenshot.png|400px|border]] | ||
Latest revision as of 13:24, 17 January 2022
The Screen Share feature allows users to take screenshots of the current screen and store it to database for given interval.
They can then share and select a user on the same instance to share it with.
The Use case is someone is on the phone with support, who wishes to show support what they are seeing. Such users will now have the ability to share their screen.
Permissions
Users must be in a role that has permission to access the Screen Share feature.
Go to the Global Settings - Security tab, access the System Feature Permissions section.
Click on the Feature Permission tab, go to the Enable Screen Capture section and update the Role options as required.
Click Save at the bottom of the page.
Users with the relevant role should not be able to see the Request Screen Capture option when they click on the User Menu.
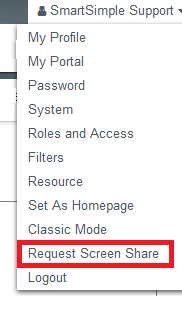
1. The Administrator clicks on the Request Screen Capture option under the User Menu.
2. A modal window opens showing a list of people logged into the current instance.
3. The Administrator can click on one of the listed users to select the user who wishes to send a screenshot.
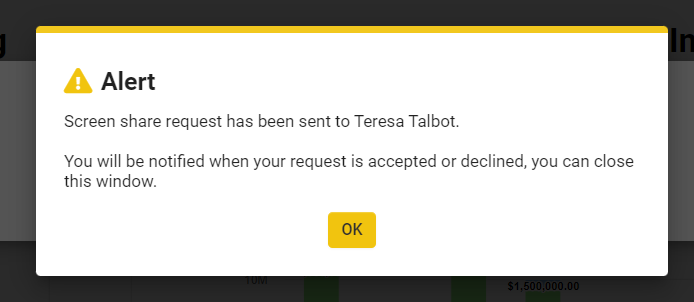
4. The Administrator receives a confirmation message that the message has been sent.
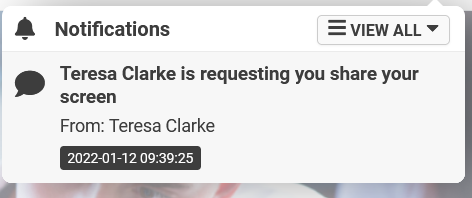
5. The selected User receives a notification that the Administrator is requesting a screen capture.
6. When the selected User clicks on the notification, they can choose to Accept or Decline the screen capture.
7. If the user chooses to share their screen they will see the share screen button.
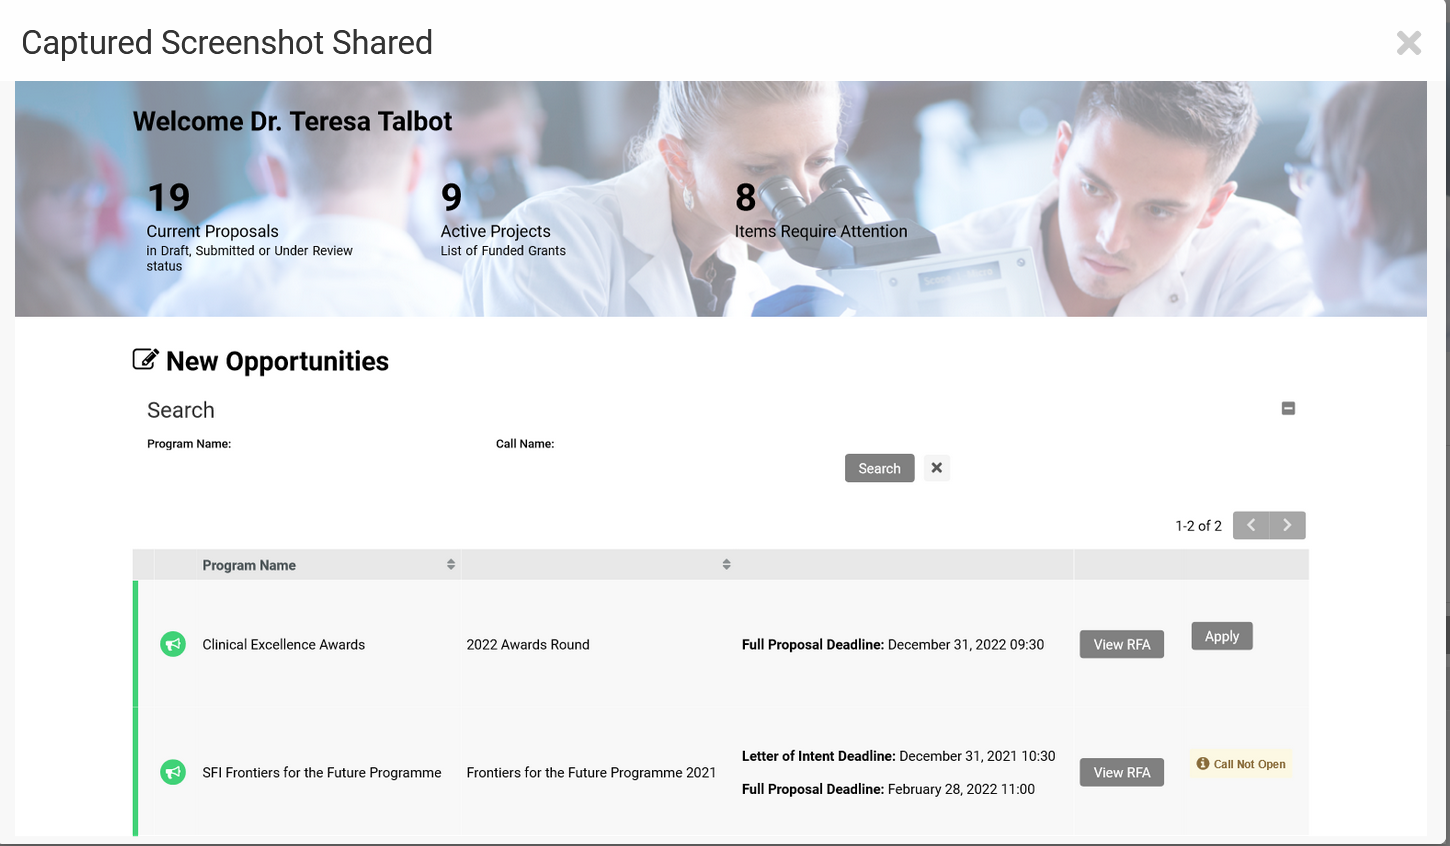
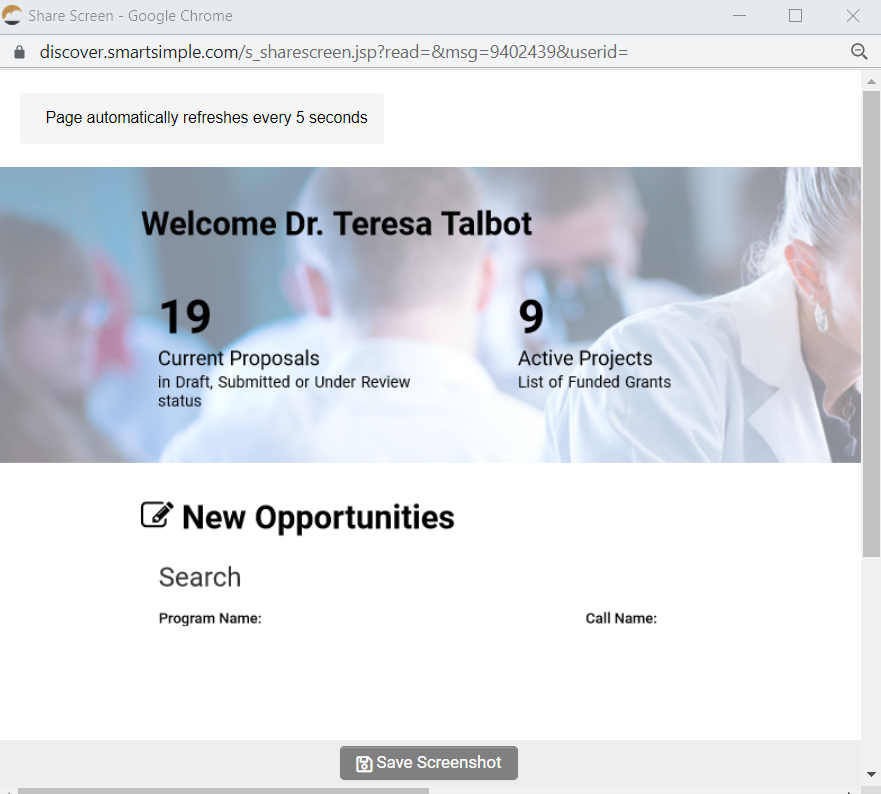
8. When they press the Share Screen button a screenshot is taken of the users screen and is stored to the database.
9. The Administrator will receive a notification that the screen capture request was accepted.
10. The Administrator has access to the screenshot and has the option to save the screenshot to their computer.
