Difference between revisions of "Manager Permissions"
From SmartWiki
(→See Also) |
|||
| Line 44: | Line 44: | ||
* [[Accessing the UTA Settings Tab]] | * [[Accessing the UTA Settings Tab]] | ||
* [[System Summary]] | * [[System Summary]] | ||
| − | |||
| − | |||
Revision as of 11:57, 13 July 2017
Contents
[hide]Setting Manager Permissions
System and application manager functions are controlled through role based permissions. You will need to set these permissions before you can fully configure the system.
These permissions control both permissions and restrictions:
- Permissions – enhanced functionality for people in a role associated with the permission.
- Restrictions – reduced functionality for people in a role associated with the restriction.
- Universal Tracking Application (UTA) Permissions – When you start to add your own application to the system you will use the Manager Permissions settings page to control access to these applications.
1. Click the Configuration, Roles & Permissions menu.
The Permission Settings are located at the bottom of the page.
2. Click the Manager Permissions link.
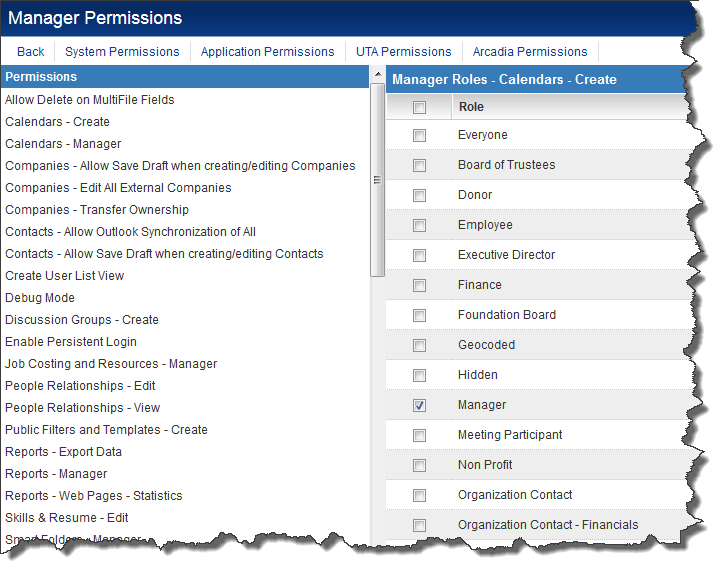
The Manager Permissions page is displayed.
Not all roles displayed may exist in your instance.

Manager Permissions have been divided out into a number of tabs:
Applying Manager Permission Changes
Permission changes require that you log out and re-log in to the system.
System Overview of Current Configuration of Manager Permissions
To access an overview of the current Manager Permission configurations, system administrators can go to Global Settings > Business & System Configuration > System Summary.

