Using Quick Messaging
Contents
Using Quick Messaging
You can also send stored messages to people within your copy of SmartSimple.
- These messages are stored in the recipient’s inbox, and are also displayed in the sender’s quick message outbox.
- You can send a quick message to someone that is currently online by clicking on his or her name in the People Online list.
- If the person is not online then you can click on the quick message icon for that person in the organisation chart, in the all users list or external contacts list.
Sending Quick Messages
1. Click on a username in the People Online list.
The Quick Message window is displayed.
The username is set to the name selected from the People Online list.
You can switch a quick message to an email message by clicking the Switch to Email button – provided you have previously set up an email account.
2. Type the Subject.
3. Type the Message Body.
Adding a Complementary Copy
You can complementary copy multiple people into the message.
1. Click in the CC list.
2. Type the start of another user’s name.
3. Click the Check button.
SmartSimple will attempt to resolve the username.
The following message is displayed.
4. Click the OK button.
5. Click the Send button.
Quick Message – In and Out Box
The message is sent, and a copy is stored in your outbox. You will know when a message is read by reviewing your outbox.
1. Click the Communications, Quick Messages menu.
The inbox is displayed.
Note the button at the top of the page displays your Sent items.
Replying to Quick Messages
There are a number of indications that a message has arrived:
- The message alert is displayed below the People Online list.
- The message is displayed in your inbox with a New Item icon.
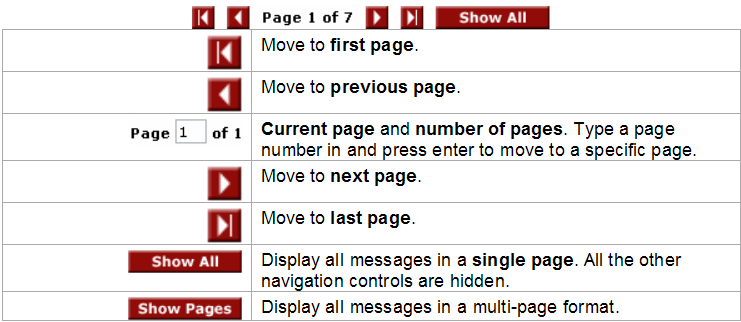
At the top and bottom of the message list the navigation controls are displayed.
The Inbox also displays the Delete button and the Select/Deselect check boxes.
1. Click the Select All check box.
All the messages are selected.
2. Click the Delete button.
All messages are deleted.
Terminate User Session
Global Administrators have the ability to immediately disconnect a logged in user through the Quick Messaging application.
See Terminate User Session

