Difference between revisions of "Template:Setting up +AI Integration"
From SmartWiki
| Line 1: | Line 1: | ||
| − | == | + | ==Enabling AI within your system== |
Before you can start using '''+AI''' functionality within your SmartSimple Cloud environment, you must reach out to your account manager as there may be an additional fee. To set up the +AI integration, follow these steps: | Before you can start using '''+AI''' functionality within your SmartSimple Cloud environment, you must reach out to your account manager as there may be an additional fee. To set up the +AI integration, follow these steps: | ||
Latest revision as of 10:07, 30 November 2023
Enabling AI within your system
Before you can start using +AI functionality within your SmartSimple Cloud environment, you must reach out to your account manager as there may be an additional fee. To set up the +AI integration, follow these steps:
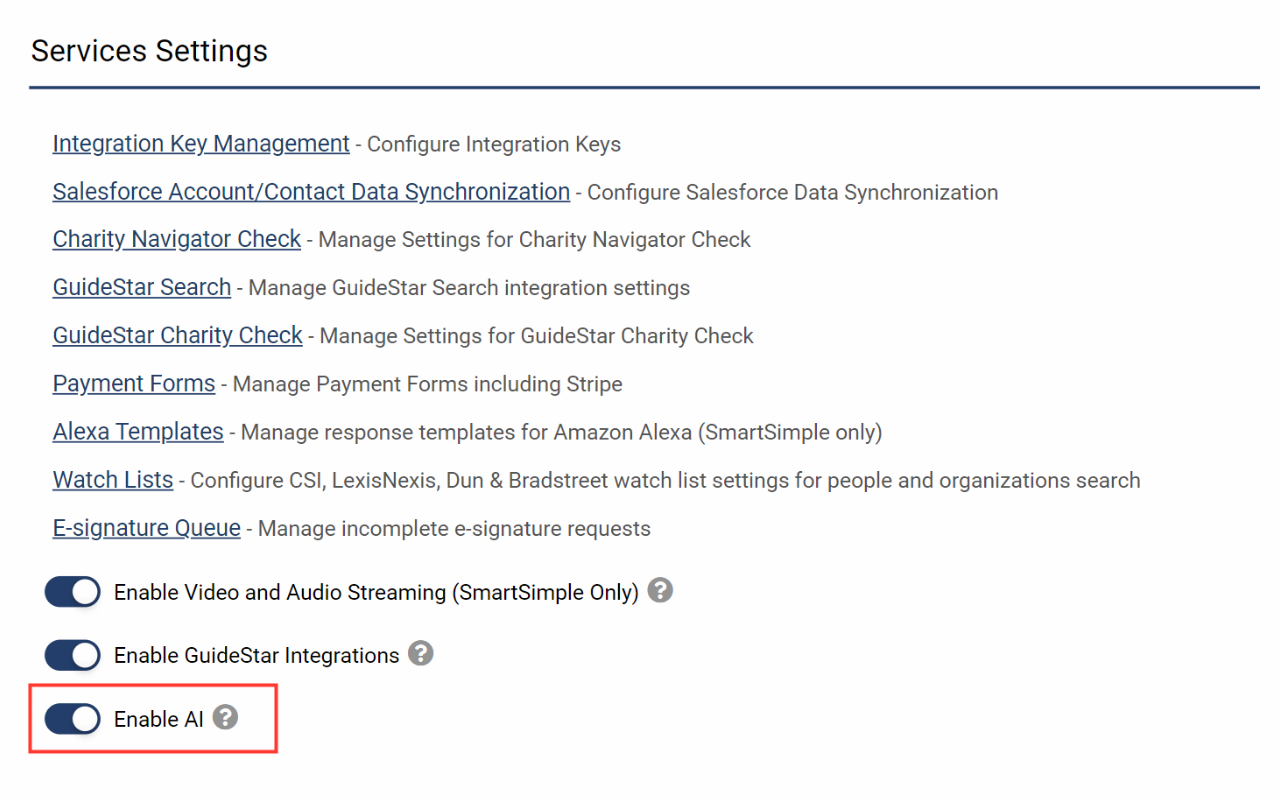
- SmartSimple will enable the +AI feature within your environment by going to Menu Icon > Global Settings > Integrations tab > Toggle on Enable AI.
- Next, you will need to purchase your own license from your desired third-party LLM vendor. For example, if you wanted to use OpenAI for the currently supported chat feature, you can go to openai.com to see the available pricing options.
- Add your license to an integration key by going to Menu Icon > Global Settings > Integrations tab > Integration Key Management > Add an integration key with the Type set to "OpenAI".
- Enter the API key provided by OpenAI and click Save.

