Difference between revisions of "Saving a Contact Filter"
From SmartWiki
Julia Decker (talk | contribs) |
Julia Decker (talk | contribs) |
||
| Line 2: | Line 2: | ||
1. Click the '''Save Filter''' button. | 1. Click the '''Save Filter''' button. | ||
| + | |||
| + | [[Image:Filt.png]] | ||
The '''Save Filter''' window is displayed. | The '''Save Filter''' window is displayed. | ||
| + | |||
| + | [[Image:Filt1.png]] | ||
If you do not have the manager permission for '''Filters''' and '''Templates''', the '''Is Public''' check boxes will not be displayed, and you will only be able to save the filter for your personal use. | If you do not have the manager permission for '''Filters''' and '''Templates''', the '''Is Public''' check boxes will not be displayed, and you will only be able to save the filter for your personal use. | ||
| Line 12: | Line 16: | ||
The filter is saved. | The filter is saved. | ||
| + | |||
| + | [[Image:Filt2.png]] | ||
4. Click the '''Close''' button. | 4. Click the '''Close''' button. | ||
| Line 19: | Line 25: | ||
The filter is displayed. | The filter is displayed. | ||
| − | + | [[Image:Filt3.png]] | |
[[Category:System Management]][[Category:View It]] | [[Category:System Management]][[Category:View It]] | ||
Revision as of 14:12, 2 November 2007
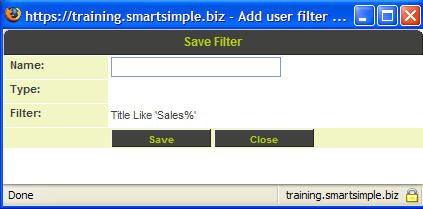
1. Click the Save Filter button.
The Save Filter window is displayed.
If you do not have the manager permission for Filters and Templates, the Is Public check boxes will not be displayed, and you will only be able to save the filter for your personal use.
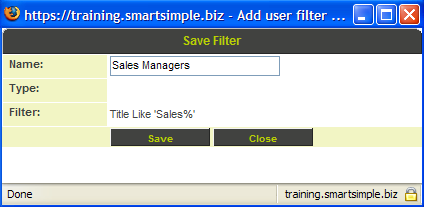
2. Set the name to Sales Managers.
3. Click the Save button.
The filter is saved.
4. Click the Close button.
5. Click the Standard tab.
The filter is displayed.


