Difference between revisions of "Label Display Options"
From SmartWiki
| Line 1: | Line 1: | ||
The following are examples of the results of different selections of the Label Display setting within a [[custom fields|custom field]]: | The following are examples of the results of different selections of the Label Display setting within a [[custom fields|custom field]]: | ||
| + | '''Label on Left''' | ||
[[Image:labeldisplayoptionleft.png|link=|500px]] | [[Image:labeldisplayoptionleft.png|link=|500px]] | ||
[[Image:labeldisplayleft.png|link=]] | [[Image:labeldisplayleft.png|link=]] | ||
---- | ---- | ||
| + | '''Label Above''' | ||
[[Image:labeldisplayoptionabove.png|link=|500px]] | [[Image:labeldisplayoptionabove.png|link=|500px]] | ||
[[Image:labeldisplayabove.png|link=]] | [[Image:labeldisplayabove.png|link=]] | ||
---- | ---- | ||
| + | '''Blank Label''' | ||
[[Image:labeldisplayoptionempty.png|link=|500px]] | [[Image:labeldisplayoptionempty.png|link=|500px]] | ||
[[Image:labeldisplayempty.png|link=]] | [[Image:labeldisplayempty.png|link=]] | ||
---- | ---- | ||
| + | '''Hide Label''' | ||
[[Image:labeldisplayoptionhide.png|link=|500px]] | [[Image:labeldisplayoptionhide.png|link=|500px]] | ||
[[Image:labeldisplayhide.png|link=]] | [[Image:labeldisplayhide.png|link=]] | ||
Revision as of 13:00, 18 June 2013
The following are examples of the results of different selections of the Label Display setting within a custom field:
Label on Left
![]()

Label Above
![]()
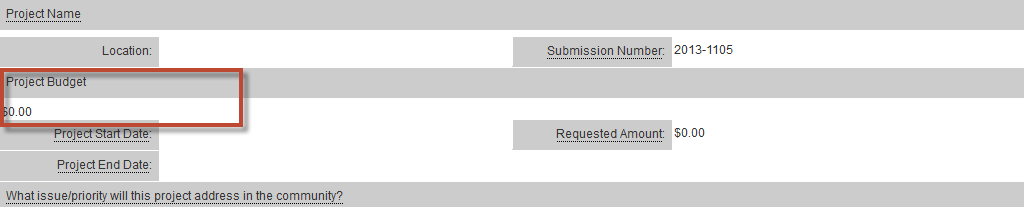
Blank Label
![]()

Hide Label
![]()
