Enhanced Quick Entry
Quick Entry is a method of creating multiple Level 2 records associated with a specific Level 1 record simultaneously.
Enhanced Quick Entry is activated on the main settings tab of the UTA Settings Page. The option is called Show Enhanced Quick Entry Tab.
Once enabled, three things will happen:
1. An additional section will appear on the main settings tab of the UTA Settings Page:
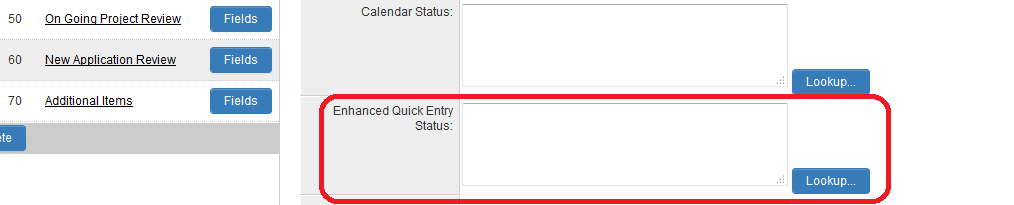
2. An additional section labelled "Enhanced Quick Entry Status" will appear on the level 2 Types page. This will allow you to define the available statuses for the specific level 2 type when creating via Quick Entry. If no statuses are defined then it will use the statuses defined in the Available Status for the specific level 2 type. If no statuses are defined there, then the Quick Entry will show all Level 2 statuses:
3. The option to create Enhanced Quick Entries will appear on the New button on the Navigation Bar Tab on Level 1 records. Unlike Basic Quick Entry, the fields that are available on the Enhanced Quick Entry page must be configured in the Quick Entry settings above.
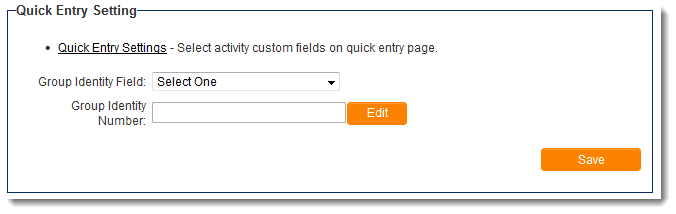
When you click on the Quick Entry Settings link, the following page will display:
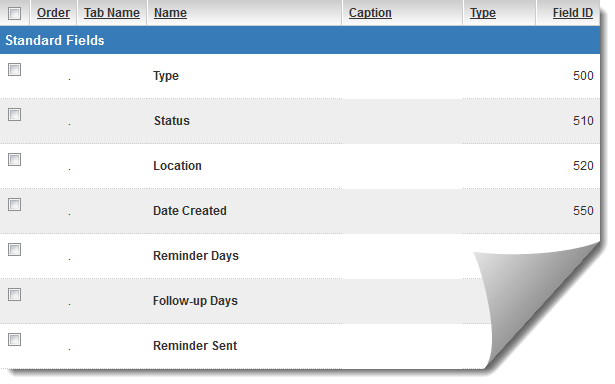
Choose the fields that you want to display when you create multiple Level 2 records and hit "Save."
The Group Identity Field is used, in conjunction with the Group Identity Number setting, to assign an auto-number to all records at the time of creation:
- Select a Level 2 text field from the Group Identity Field dropdown which you want to be populated with an auto-number for records created with Enhanced Quick Entry.
- Enter a start number for the auto-number in the Group Identity Number field.
- Hit Save.