Difference between revisions of "Enhanced Quick Entry"
From SmartWiki
| Line 6: | Line 6: | ||
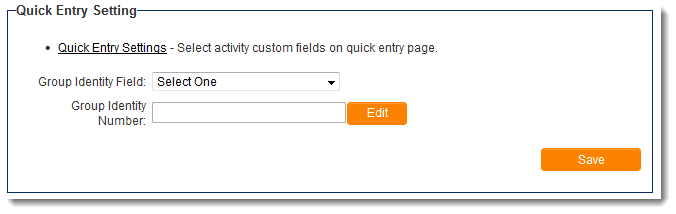
1. An additional section will appear on the [[UTA_Settings_-_Settings#Level_1_Settings|main settings tab]] of the [[UTA Settings Page]]:<br> | 1. An additional section will appear on the [[UTA_Settings_-_Settings#Level_1_Settings|main settings tab]] of the [[UTA Settings Page]]:<br> | ||
[[Image:QuickEntrySettings.png|link=]]<br> | [[Image:QuickEntrySettings.png|link=]]<br> | ||
| − | 2. The option to create Enhanced Quick Entries will appear on the New button on the [[Tabs#Navigation_Bar_Tabs|Navigation Bar Tab]] on {{l1}} records. | + | 2. The option to create Enhanced Quick Entries will appear on the New button on the [[Tabs#Navigation_Bar_Tabs|Navigation Bar Tab]] on {{l1}} records. Unlike [[Basic Quick Entry]], the fields that are available on the Enhanced Quick Entry page must be configured in the Quick Entry settings above. |
| − | |||
| − | [[ | ||
==See Also== | ==See Also== | ||
* [[Quick Entry]] | * [[Quick Entry]] | ||
| − | * [[ | + | * [[Basic Quick Entry]] |
* [[UTA Settings - Settings]] | * [[UTA Settings - Settings]] | ||
[[Category:UTA Settings]][[Category:Universal Tracking Application]] | [[Category:UTA Settings]][[Category:Universal Tracking Application]] | ||
Revision as of 15:18, 26 June 2013
Quick Entry is a method of creating multiple Level 2 records associated with a specific Level 1 record simultaneously.
Enhanced Quick Entry is activated on the main settings tab of the UTA Settings Page. The option is called Show Enhanced Quick Entry Tab.
Once enabled, two things will happen:
1. An additional section will appear on the main settings tab of the UTA Settings Page:
2. The option to create Enhanced Quick Entries will appear on the New button on the Navigation Bar Tab on Level 1 records. Unlike Basic Quick Entry, the fields that are available on the Enhanced Quick Entry page must be configured in the Quick Entry settings above.