Copy Option
Contents
Overview
The Copy Option can be enabled within a UTA for any or all level entities. It allows users with access to the feature to make a duplicate of an existing record. Copies can be made one at a time or in batches.
Configuration - Essentials
Enable the option
To enable the Copy Options feature:
- Open the UTA Configuration Settings.
- Click on the Security tab.
- Within Security Settings, select Feature and Function Permissions.
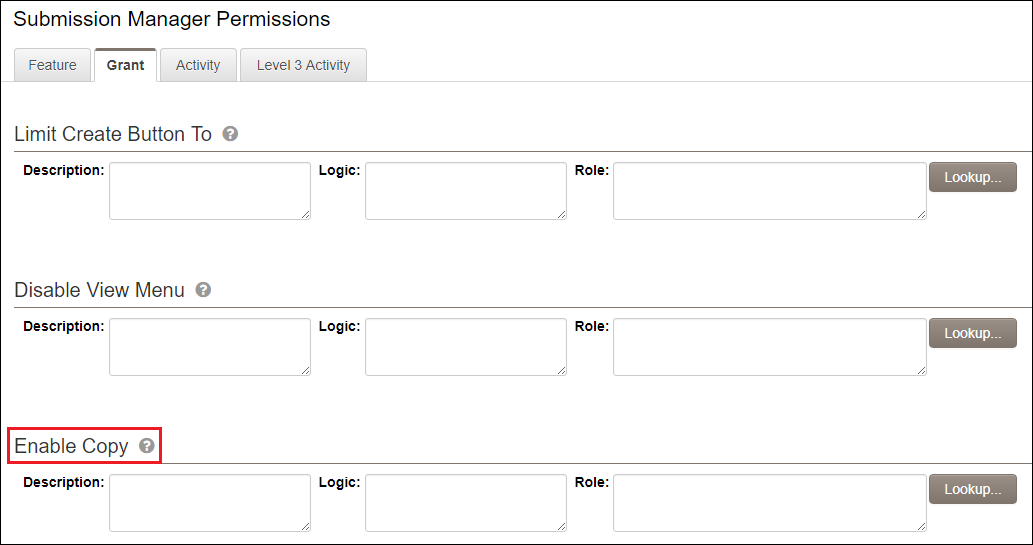
- The Enable Copy Option will display for each level. You can permission it by Role or using Logic.
Configuration - Advanced
Specifying fields to copy
You can specify which fields are always copied and which ones are optional using the Copy Option Settings. These can be defined on each level and allow you to select from all available fields on the form. 1, Open the UTA Configuration Settings.
2. Select the desired entity tab (ex. Grants/Level 1).
3. Scroll down to the Features and Options section.
4. Select Copy Option Settings.
5. Using the checkboxes to the left, select the field(s) you wish to copy. For a field value copy to be Optional (allow user to specify when copying) check the box to the right of the field.
6. Scroll to the bottom of the page to Save your selection.
Copy Restriction
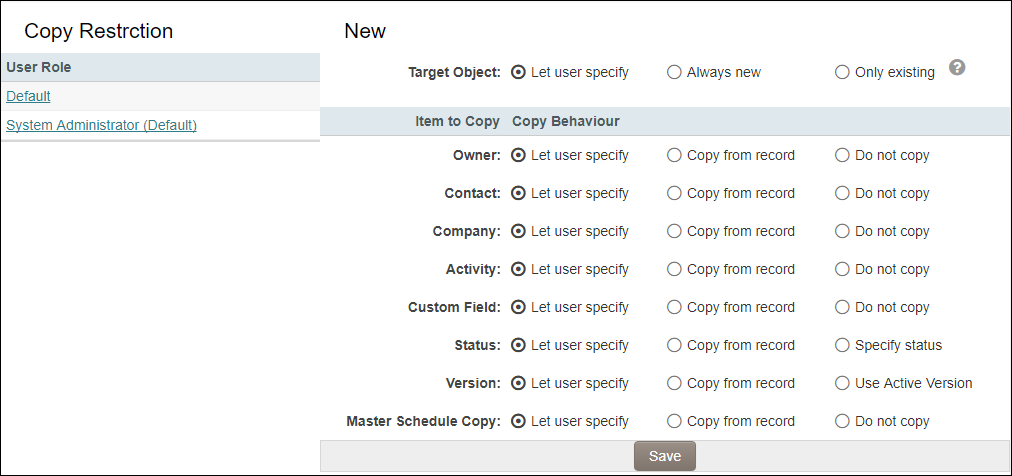
Additional restrictions can be applied on the copy feature to determine if a set of fields/values should be copied or not (or if the user initiating should have control over this decision). Restrictions can be configured to apply to all users or a specific role. This configuration settings is found within the Copy Options Settings page.
1. Select the Copy Restrictions button.2. The Copy Restrictions page will display with several options
- A list of roles will display to the left. This is the list of roles that currently have access to the Copy Option for that entity within the UTA.
- To the right you can specify which section(s) will Let user specify, Copy from record or Do not copy.
3. Once you have completed making the desired restrictions, click on Save to store the changes.
Enabling Batch Copy
The Copy Option setting can be expanded to allow for the duplication of multiple records at a time. This is called Batch Copy and can be enabled on a specific List View.
- Edit the desired list view to which the Batch Copy feature is to be enabled.
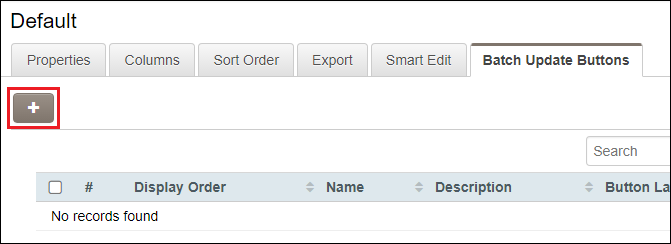
- Select the Batch Update Buttons tab and click on the + icon to create a new button on the list view.
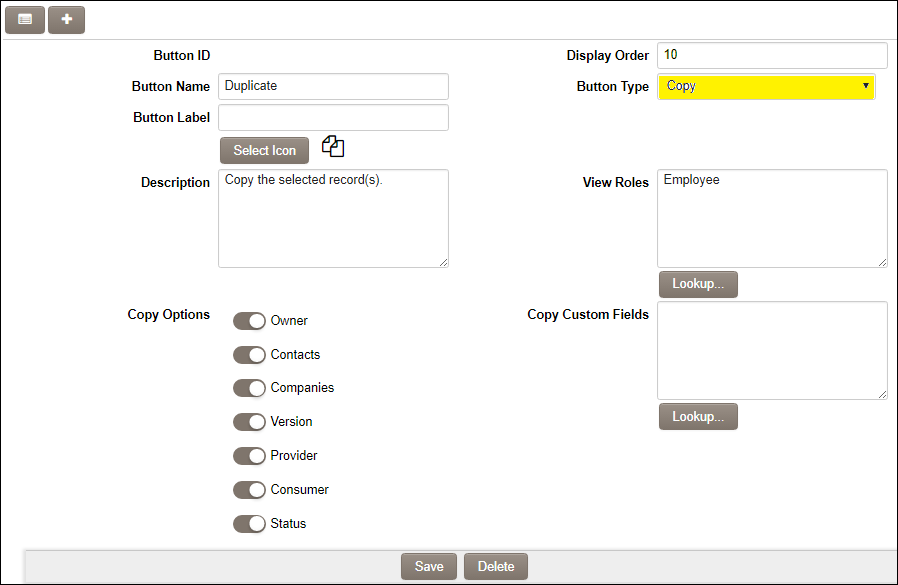
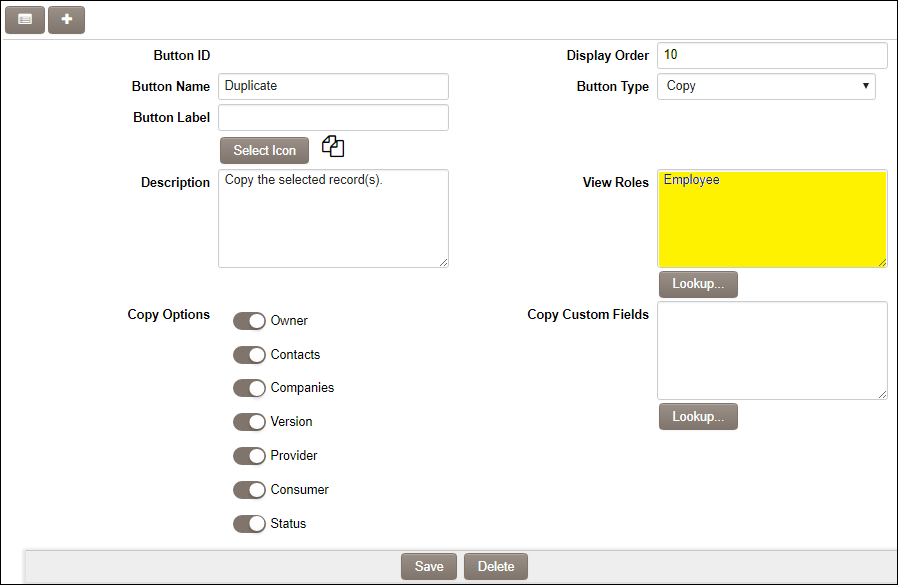
- Provide a Button Name and change the Button Type to "Copy".
- Specify which role(s) will have access to the button within the list view by selecting the role(s) within the View Roles section.
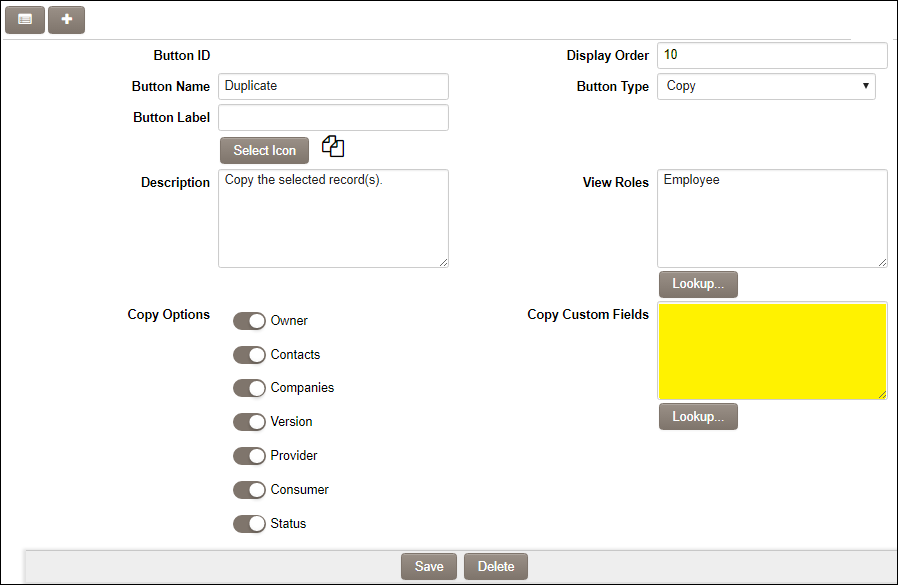
- You can specify which custom fields are copied by adding them within the Copy Custom Fields section.
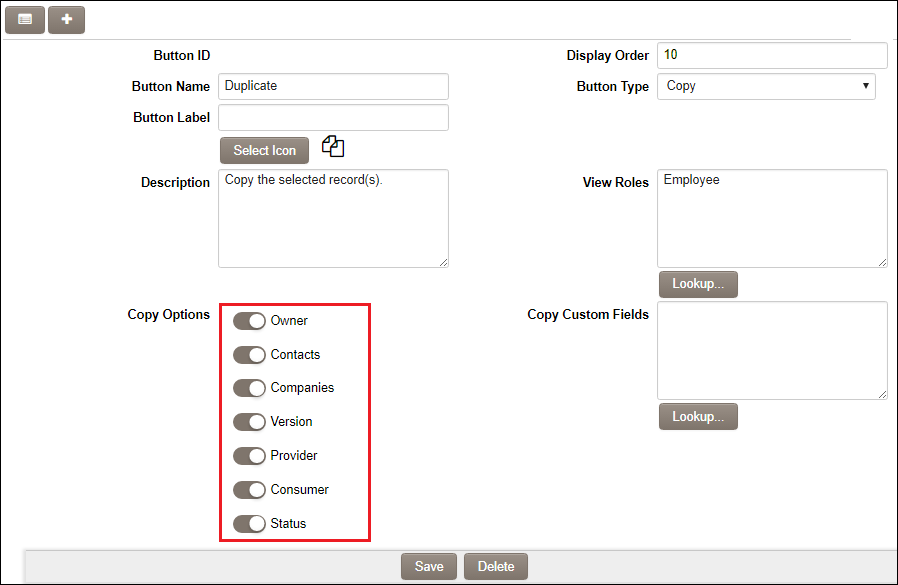
- You can specify which standard fields are copied using the provided switches within the Copy Options section.
- Click Save to apply the changes.
Using the Copy Option Feature
Copying a single record
Once you have the feature enabled you can copy a single record and its Level 2 record by following these steps:
1. Open the record you wish to copy.
2. Select Copy from the Options button menu.3. Accept the prompt confirming you wish to copy the record.
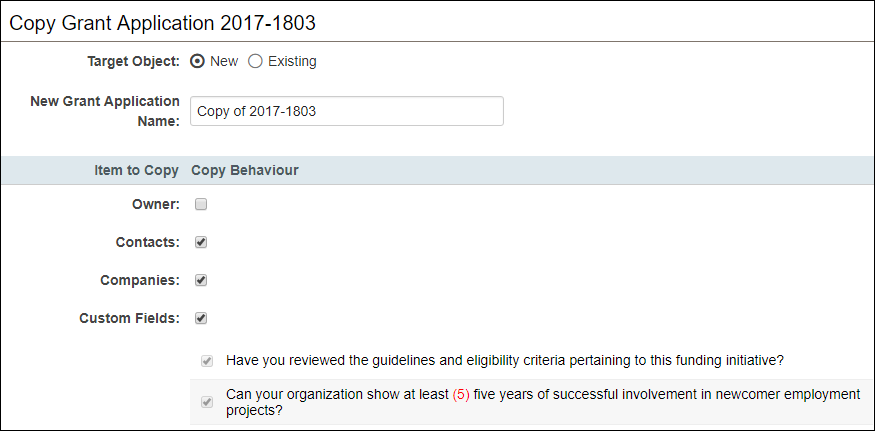
4. A list of fields will display allowing you to confirm the fields to be copied as well as make changes if the option is available to your role.
5. If Copy Restriction has copy L2 enabled, a L2 type and status filter will be displayed and the user can use it to filter the L2s to copy.
6. Click Copy when you have finished specifying how to copy the record.
7. If you choose not to copy L2, then a duplicate will then be created. If choose to copy L2, the copy button will change its label to "Next". Clicking on it goes to the copy L2 page where you can select the L2 fields to be copied. Clicking on the Copy button on Copy L2 page will create the L1 along with the selected L2s underneath.
Copying multiple records
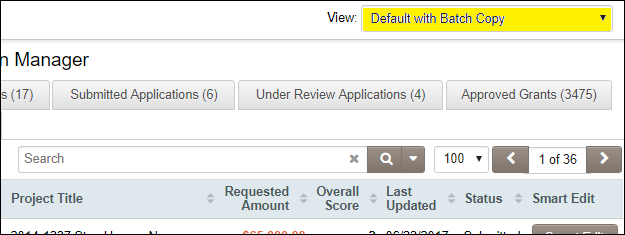
Copying multiple records at one time is accomplished through the list view. The list view must have the Batch Copy button enabled for your role in order to access the feature.
- Open the list view configured to use Batch Copy (list view name will vary depending on your configuration).
- Select the record(s) you wish to copy using the check boxes provided to the left of the record.
- Click on the Batch Copy icon as configured on the list view (icon and label displayed depends on that selected for the function within the list view configuration).
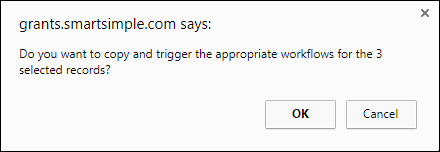
- A prompt will display confirming the number of records included in the batch copy. Click OK to continue.
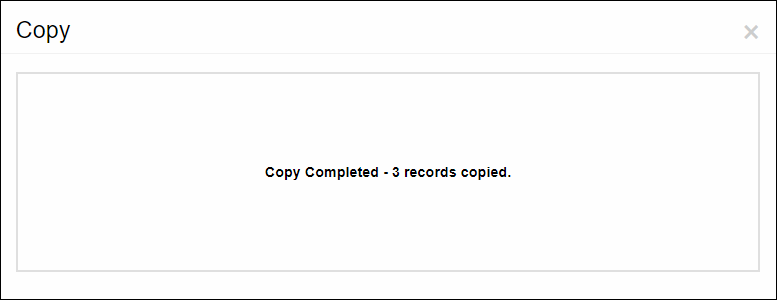
- Once the copy has completed, a final prompt will appear confirming this on the screen.
