Attaching an Acknowledgment Workflow to an Object
Once you have created the workflow you can attach it to the object that it was designed for. If you wish, you can use the same workflow for multiple similar objects.
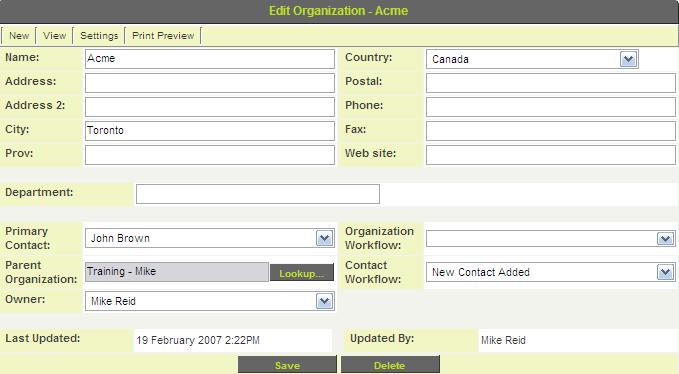
Workflows associated with folders and companies are inherited by lower level folders and companies. In this example, you will attach the New Contact Added workflow to an external company but the workflow will be triggered whenever a new contact is added to that company or any of its sub-companies.
1. Click Organizations, External Contacts.
2. Create a new external company named Acme and save the new company.
Click the Contact Workflow combo box. The New Contact Added workflow is displayed. Only workflows with an object type of User will be displayed.
3. Select the New Contact Added workflow and click Save.
4. The workflow is now linked to the company.
Testing a Workflow
1. Click New Contact to create a new contact in Acme.
2. Enter a First Name and Last Name and click Save.
3. The workflow step is triggered.
4. An instant message prompt is displayed.
5. Click the quick message link to view the message.
6. Click the Close button.
