Attaching a Web Form to an Event
From SmartWiki
Revision as of 16:21, 23 November 2007 by Julia Decker (talk | contribs)
Finally, you will attach the form to the event, and set the maximum number of registrations.
1. Click the Communications, Calendars menu.
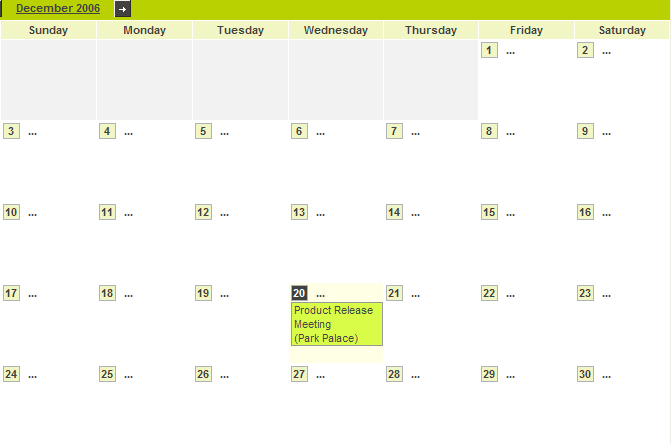
2. Display the New Product Workshops calendar.
3. Click the Product Launch event.
The event details are displayed.
4. Click the Add Forms tab.
The Add Forms window is displayed.
You can add more than one form to the same event.
5. Type 10 in the Respondent Limit text box.
6. Click the Add button.
The form is attached to the event.
- You can select the form and click the delete button to remove the form from the event.
- Normally, the event will be indicated as full when the number of respondents is reached. However, you can “close’ the registration at any time by clicking Mark Full to indicate that the event is fully booked.
7. Click the Close button.
You can now register for this seminar in your second browser session.


