Difference between revisions of "Adding Styles to XML Worksheets"
From SmartWiki
(→Further Examples) |
(→Further Examples) |
||
| Line 57: | Line 57: | ||
}</pre> | }</pre> | ||
| − | [[Image:XMLStyleExample-RightAlignedHeading.png|link=|450px]] | + | |
| + | ...will be presented as: | ||
| + | |||
| + | :[[Image:XMLStyleExample-RightAlignedHeading.png|link=|450px]] | ||
==See Also== | ==See Also== | ||
[[Category:XML]] | [[Category:XML]] | ||
Revision as of 12:19, 2 December 2013
Styles can be added to your XML Worksheets by adding CSS classes to the XSL Template in the XML custom field.
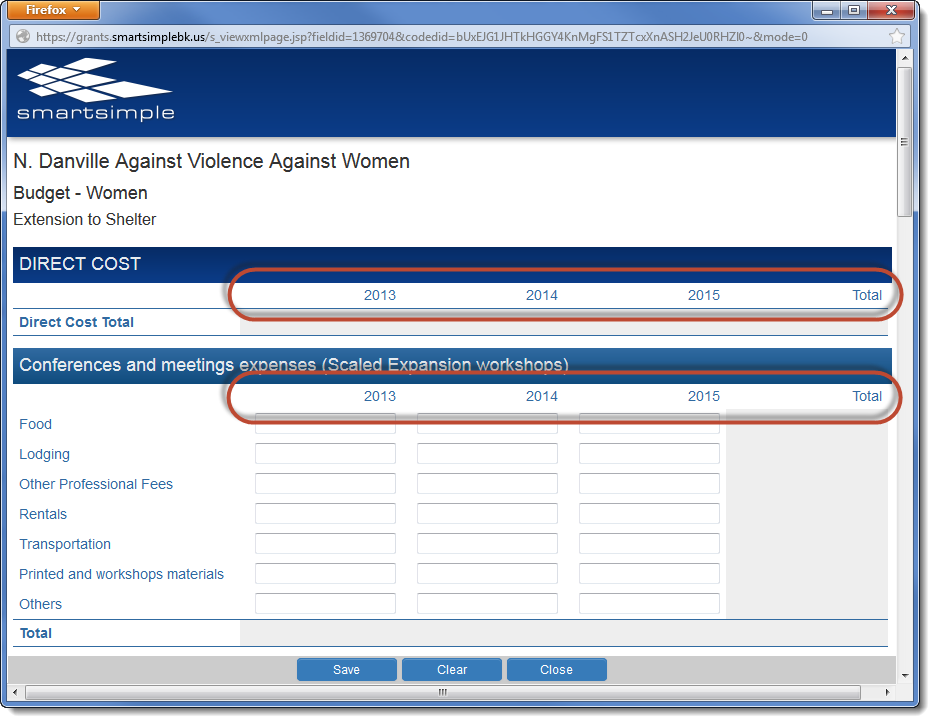
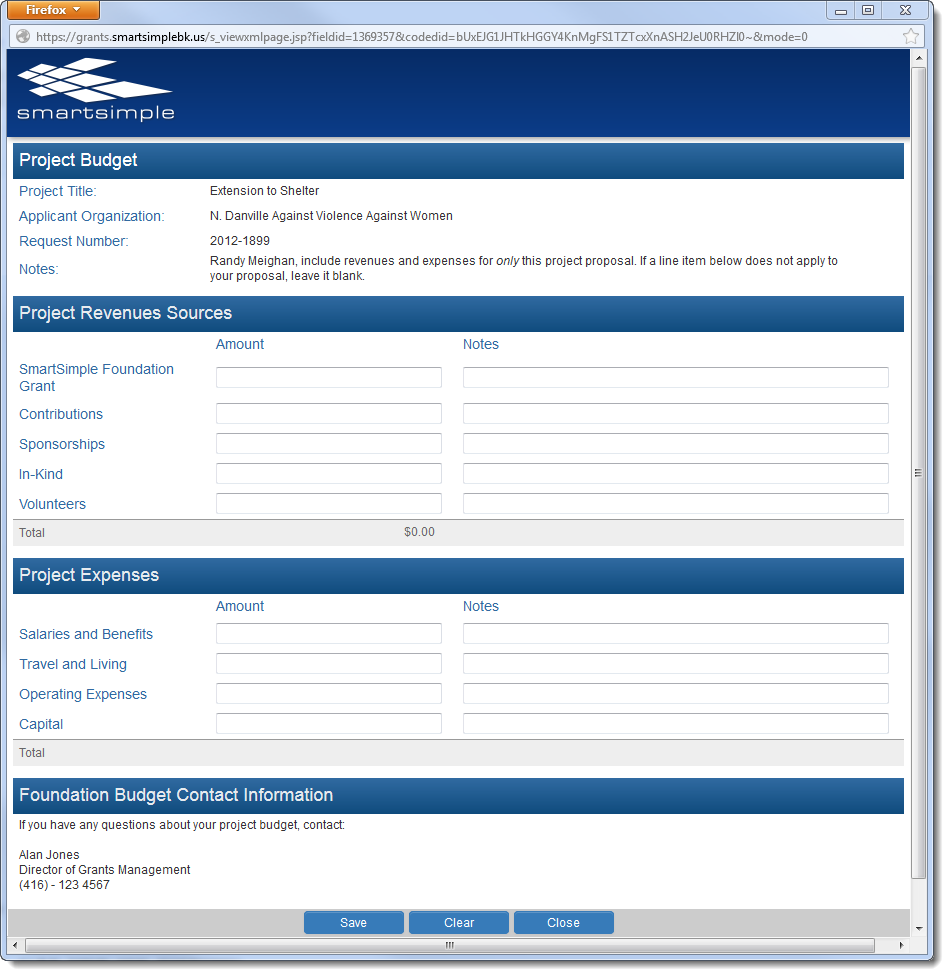
The following is an example worksheet generated by an XML custom field. Note that the Total rows are shaded in and have a horizontal line above them.
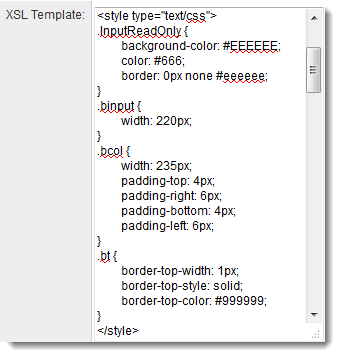
The styles are defined in the XSL Template section of the XML custom field. The bt style adds a line above the row. The InputReadOnly style adds a background color. The bcol style defines the node's width.
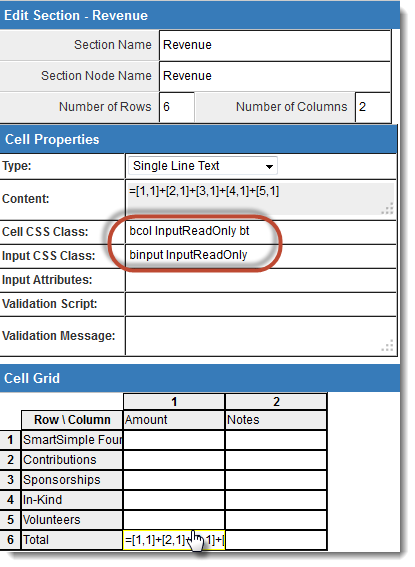
The defined styles are then added to the desired XML nodes in the XML Section Builder.
Further Examples
Subject Heading
The following style:
.sub {
	font-size: 14px;
	font-weight: normal;
	background-color: #b1d3f2;
	padding: 6px 4px 4px 6px;
	color: #306aa1;
}
...will be presented as:
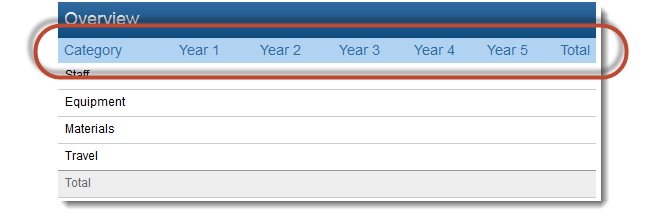
Right-Aligned Heading
The following set of styles:
.bcol {
	width: 150px;
	padding-top: 4px;
	padding-right: 6px;
	padding-bottom: 4px;
	padding-left: 6px;
}
.sub {
	font-size: 14px;
	font-weight: normal;
	background-color: #FFFFFF;
	padding: 6px 4px 4px 6px;
	color: #306aa1;
}
.tar {
	text-align: right
}
...will be presented as: