Level 2 Types
From SmartWiki
Level 2 Types provide a method of delineating between different types of Level 2 items.
- Level 2 Types are the equivalent of Templates at Level 1.
You can configure Level 2 Types via the Types link on the Settings page of your UTA:
- Existing Types are listed on the left of the page.
- Details of each type are displayed on the right of the page and new types are added to the right of the page.
Type Settings
Each type of Level 2 Entity has the following settings:
- Name - Display name for the template.
- Display Order - The order in which the types are listed in the type combo box.
- Colour Code - A colour code used to display different types in the list view.
- Access Roles - Select the roles that can create this type of activity.
- Providers - In some circumstances only certain type of people can provide a specific type of service and therefore only their names should appear when you attempt to assign someone to the Level 2 item. For example, perhaps only a lawyer can be assigned to produce the contract addendum.
- Show External - This check box indicates if this type of activity should be shown to external users.
- Level 2 Formula - A set of expressions used to calculate values when the Level 2 item is saved. Similar to the Level 1 Template formula.
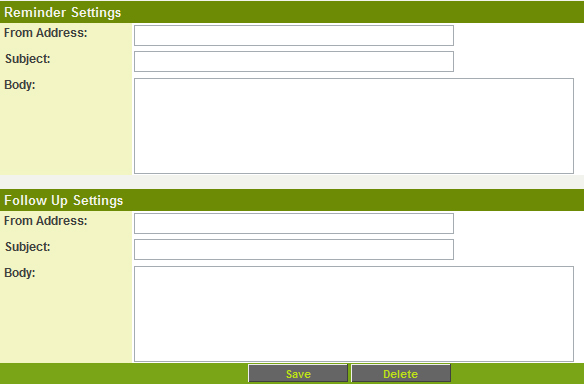
- Reminder Settings - The subject and content of the Reminder message. These fields are only applicable if you have included reminder standard fields in your Level 2 Entity.
- Follow Up Settings - The subject and content of the Follow up message. These fields are only applicable if you have included follow up standard fields in yourLevel 2 Entity.
Adding Activity Types
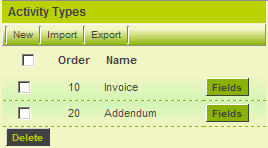
1. Create the following types:
Reminder & Follow-up Settings
- By default, if there is no owner standard field - as is the case with calendar activities - then the last person to update the activity will be set as the owner.
- If there is an owner standard field enabled, then the owner will be selected when creating reminders or follow-ups.
Type Custom Fields
You can define Custom Fields that will appear only on the Level 2 records of a given Level 2 Type.
- To define these fields, click on the Fields button next to the relevant Level 2 Type. Then create the desired custom fields in the normal fashion.
- The Display Order of the Custom Fields you create on a Level 2 Type works in conjunction with the Display Order on any general Level 2 Custom Fields that have been defined.
- For example, if you have a Custom Field on a Level 2 Type with Display order of 15, it would appear between the global Level 2 custom fields with display orders of 10 and 20.


