Transaction Attribution
Transaction Attribution is a means of linking Personal Transactions, stored against a users profile, with a UTA object.
The same Personal Transaction can be linked with multiple objects, reducing the amount of duplicated effort when entering data.
Enabling Transaction Attribution
1. Go to Global Settings.
2. Go to the Business & System Configuration section.
3. Click on the Advanced Logic hyperlink.
4. In the resulting screen select the Show Attribution Button option from the Object drop-down list.
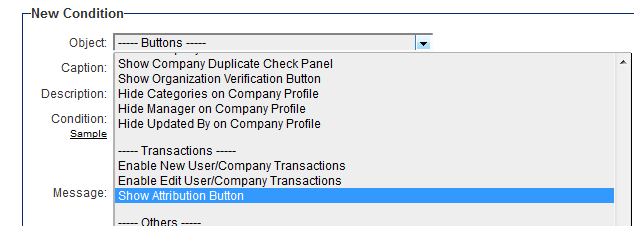
5. Populate the Condition field with appropriate conditional statements.
6. Click the Add Condition button.
Using Transaction Attribution
1. Navigate into your User profile. You should see tabs for any transactions your role is permitted to see.
2. Click on one of these tabs.
3. Now when you access the Transaction list view you should see the Attribution tab.
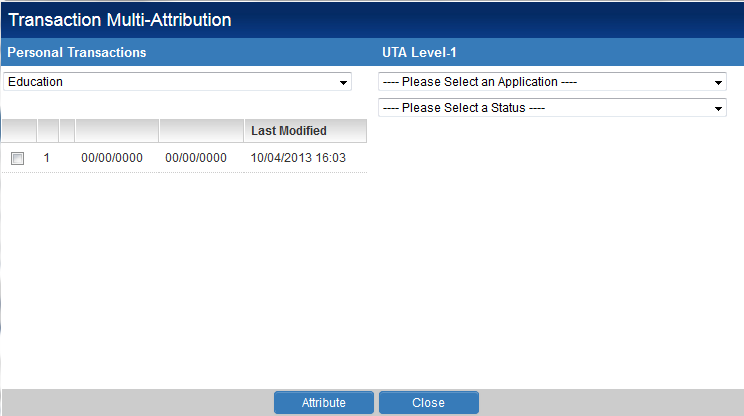
4. Click on the Attribution tab to launch the Transaction Multiple-Attribution window.
5. Select the Transaction you wish to attribute to a UTA form the first drop-down list.
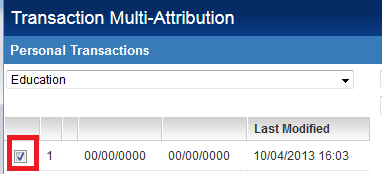
6. Once the transaction has been selected you should be presented with all records in your user profile for the selected transaction type. Check the box adjacent to the transaction records you wish to add to the UTA.
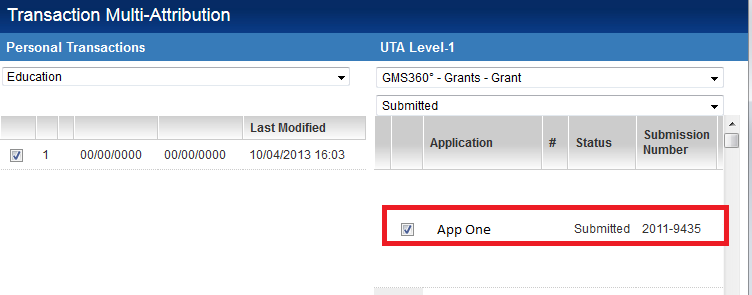
7. On the right hand side of the screen select the UTA you wish to add the records against, and the status of the level one that you wish to attribute them to.
8. Once the UTA and status have been selected you should be presented with all appropriate level one records based on your permissions. Check the box adjacent to the level one you wish to add to the transaction record against.
9. Click the Attribute button.
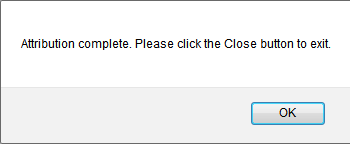
10. You should be notified that the attribution has been successful. Click OK.
11. Now when you access the Transaction list views against the level one then you should see the transaction record you have just attributed.

