Difference between revisions of "Creating a Level Two Workflow"
| Line 11: | Line 11: | ||
For '''Tracking Activities''' [[Workflow|workflows]], the '''Trigger When''' and '''Termination Trigger''' fields display all '''Level Two''' statuses for all [[UTA]]s. | For '''Tracking Activities''' [[Workflow|workflows]], the '''Trigger When''' and '''Termination Trigger''' fields display all '''Level Two''' statuses for all [[UTA]]s. | ||
| − | [[Image: | + | [[Image:WorkFlowQA77.png]] |
4. Select the '''Level Two''' status for the [[UTA]] that you wish to have trigger the [[Workflow|workflow]]. A '''termination trigger''' is not mandatory for '''Tracking Activities''' [[Workflow|workflows]]. | 4. Select the '''Level Two''' status for the [[UTA]] that you wish to have trigger the [[Workflow|workflow]]. A '''termination trigger''' is not mandatory for '''Tracking Activities''' [[Workflow|workflows]]. | ||
Revision as of 09:48, 15 June 2016
1. In the workflow list, click New Workflow.
2. Select the Tracking Activities from the Workflow Type combo box. All Level Two workflows are created from the Tracking Activities workflow type and not by the UTA name.
3. Enter the Name and Description of the workflow.
For Tracking Activities workflows, the Trigger When and Termination Trigger fields display all Level Two statuses for all UTAs.
4. Select the Level Two status for the UTA that you wish to have trigger the workflow. A termination trigger is not mandatory for Tracking Activities workflows.
5. Click Save to save the workflow.
6. Complete the workflow by creating a task and connecting the task to the Start and Complete event.
7. In the UTA, click Level Two New button.
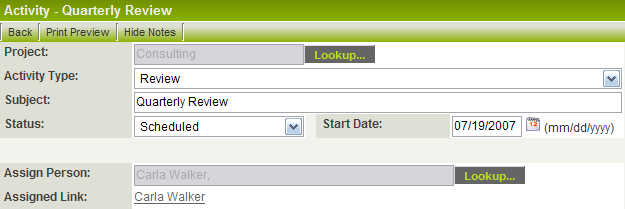
8. Create a Level Two item and select the status that will trigger the workflow.
9. Save the Level Two activity to trigger the workflow.


