Difference between revisions of "Notes Permissions"
| Line 84: | Line 84: | ||
:* For Contacts - use the '''Hide Notes on User Profile''' option | :* For Contacts - use the '''Hide Notes on User Profile''' option | ||
[[Image:NotesAdvanced1.png]] | [[Image:NotesAdvanced1.png]] | ||
| + | |||
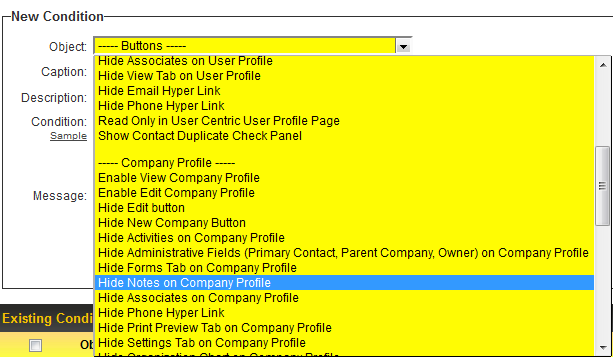
:* For Companies - use the '''Hide Notes on Company Profile''' option | :* For Companies - use the '''Hide Notes on Company Profile''' option | ||
| + | |||
[[Image:NotesAdvanced2.png]] | [[Image:NotesAdvanced2.png]] | ||
| Line 90: | Line 92: | ||
* Advanced Logic link on the Settings Page within each Universal Tracking Application - for rules specific to each UTA. | * Advanced Logic link on the Settings Page within each Universal Tracking Application - for rules specific to each UTA. | ||
This provides the user with the ability to enable Notes on all 3 levels within the UTA. | This provides the user with the ability to enable Notes on all 3 levels within the UTA. | ||
| + | |||
[[Image:NotesAdvanced3.png]] | [[Image:NotesAdvanced3.png]] | ||
Revision as of 08:41, 21 June 2013
General access to Notes are controlled through role based permissions. You will need to set these permissions before users can access notes.
Notes can then be made available against the individual entities (e.g. UTAs, Companies, Contacts, Calendars) in the system using Advanced Logic.
Setting Notes Permissions
These permissions control access to the individual Notes and allow the Global System Admin to define new Notes:
1. Click the Configuration, Roles & Permissions menu.
The Permission Settings are located at the bottom of the page.
2. Click the Notes Permissions link.
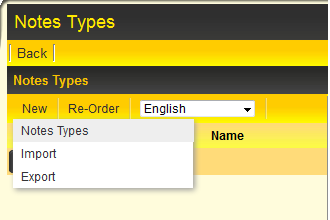
The Notes Permissions page is displayed.
3. Click on New to create a new Note.
4. Populate the basic Notes information in the fields provided:
- Name - the name for the notes. This name will also function as the caption unless the caption is set.
- Caption - An alternative caption to the name. If a caption is set it will be displayed rather than the name.
- Display Order - Determines the order in which the notes will be displayed in the Notes drop-down list.
- Description - Any comments or notes you wish to include. Note: These don't manifest anywhere except on this page.
- Color Code - An optional color code for the note type when displayed.
- Workflow - A workflow connected to this template. See Enabling Workflows in the UTA.
- No Update - With this box selected, once a note is added to the file it cannot be changed or deleted.
- Notes Options - User can select initial content for a note instead of typing in the content. These pre-created options are separated by a semi-colon.
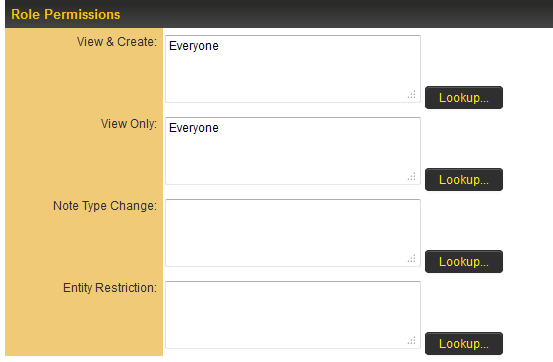
5. Set the Role Permissions. Access to a Note type is controlled by role based permissions.
- Allow View Field – If you associate this setting with roles, then the Note type will only be displayed to people with these roles. If you leave this field blank, then everyone will be able to see the Note type.
- Allow Modify Field – If you associate this setting with roles, then the Note type will only be modifiable by people with these roles. If you leave this field blank, then everyone will be able to modify the value on the Note type.
- Deny View Field – If you associate this setting with roles, then the Note type will not be displayed to people with these roles. If you leave this field blank, then everyone will be able to see the Note type.
- Deny Modify Field – If you associate this setting with roles, then the Note type will not be modifiable by people with these roles. If you leave this field blank, then everyone will be able to modify the value on the Note type.
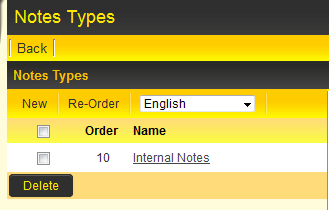
6. Click Save once all settings are complete. The Note Type will appear in the list of existing Note types.
Configuring Manager Permissions
If users in a specific role require read-only access to Notes, without the need to edit Notes, then this can be configured via the Manager Permissions section.
1. Click the Configuration, Roles & Permissions menu.
The Permission Settings are located at the bottom of the page.
2. Click the Manager Permissions link.
3. Scroll to the Restrictions section and click on the Notes - Read Only section.
4. Select the roles that should have read-only access in the resulting screen, then click Save.
Now users in that role will only be able to view Notes throughout the system.
Setting Advanced Logic
The Advanced Logic settings specific to Notes are available in 2 places:
- Advanced Logic link on the Global Settings page (In the Business & System Configuration section) - to establish system-wide rules.
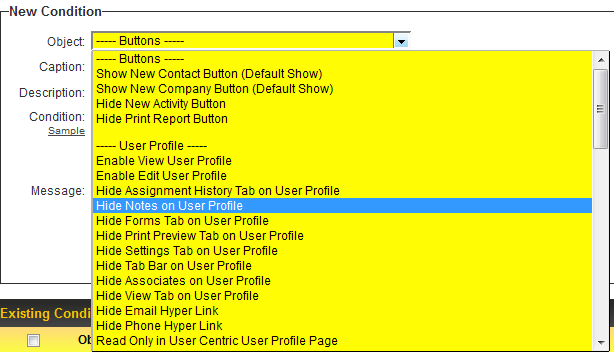
- For Contacts - use the Hide Notes on User Profile option
- For Companies - use the Hide Notes on Company Profile option
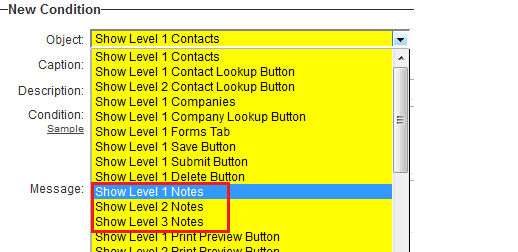
- Advanced Logic link on the Settings Page within each Universal Tracking Application - for rules specific to each UTA.
This provides the user with the ability to enable Notes on all 3 levels within the UTA.


