Difference between revisions of "Email & Email Broadcast Security"
(→Accessing Email & Email Broadcast Settings menu) |
(→Email & Email Broadcast Settings menu) |
||
| Line 25: | Line 25: | ||
=Email & Email Broadcast Settings menu= | =Email & Email Broadcast Settings menu= | ||
| + | :: [[File:Email settings security.png|800px|border]] | ||
| − | + | The Email Settings menu has the above options available under the heading '''Security.''' | |
| − | + | : * '''Note''': For the '''DKIM Domain''' field, this function enables DKIM signatures for emails in orde to improve their authenticity. The domain entered needs to match the domain of your SmartSimple server. It is currently limited to the following: smartsimple.ca, smartsimple.com, smartsimple.ie, smartsimple.us. The selector name for any of these will be 'dkim.' | |
| − | The Email | ||
| − | |||
| − | |||
| − | |||
| − | |||
| − | |||
| − | |||
| − | |||
=Enable Role Restrictions= | =Enable Role Restrictions= | ||
Revision as of 13:31, 18 June 2019
Contents
The Email & Email Broadcast Settings page can be reached in two ways.
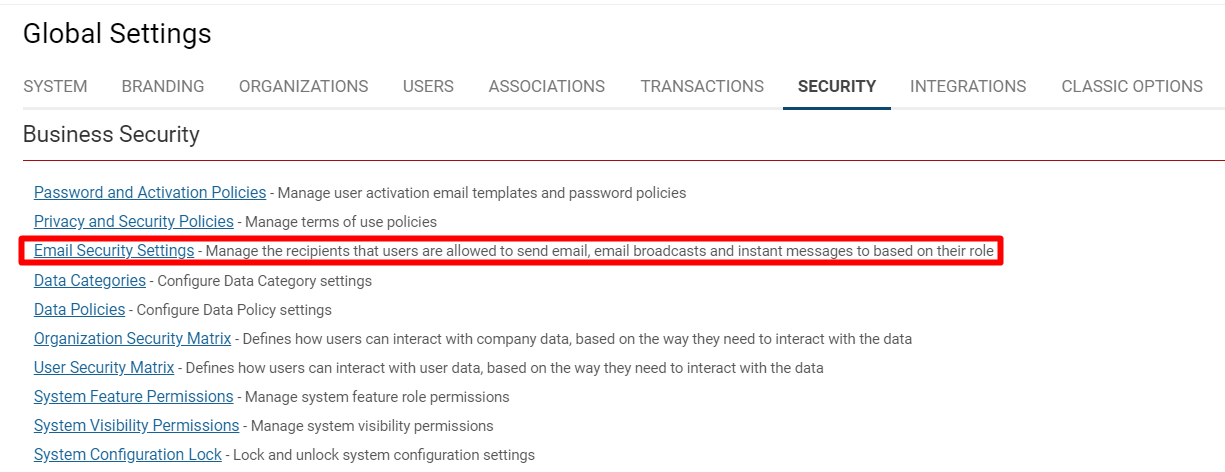
From Global Settings
1. Click the 9-square menu icon on the top right of your page.
2. Under the heading Configuration, select Global Settings.
3. Click on the tab labelled Security.
4. Under the first subheading, Business Security, click the hyperlink Email Security Settings.
From the Email Broadcast Feature
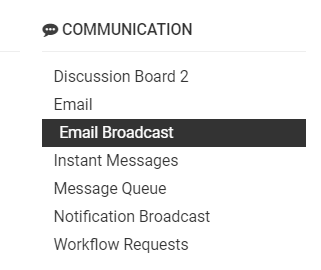
1. Click the 9-square menu icon on the top right of your page.
2. Under the heading Communications, click Email Broadcast.
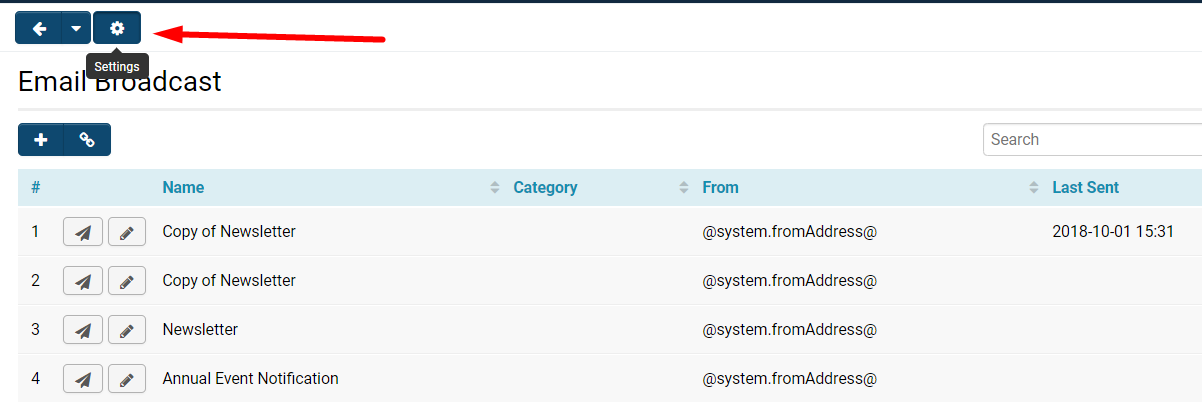
3. Once the Email Broadcast list is open, click on the cog icon at the top that will open up the Email Broadcast settings.
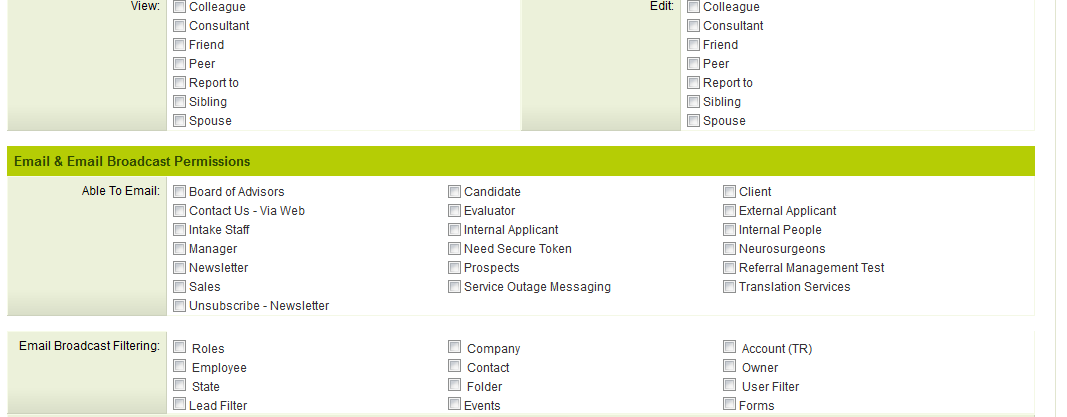
The Email Settings menu has the above options available under the heading Security.
- * Note: For the DKIM Domain field, this function enables DKIM signatures for emails in orde to improve their authenticity. The domain entered needs to match the domain of your SmartSimple server. It is currently limited to the following: smartsimple.ca, smartsimple.com, smartsimple.ie, smartsimple.us. The selector name for any of these will be 'dkim.'
Enable Role Restrictions
If the Enable Role Restrictions check-box is populated then a new Email & Email Broadcast Settings section will appear in the Edit Role screen
Enabling role restrictions limits who the users in that role can send email to. The email address field on new emails becomes read-only. The user must select users from the roles for which they have email permissions.
If a user clicks on an email address of a user that they are not permissioned to send email to, then they will receive the permission message that they don't have permission to contact that individual.
On the role settings the System Administrator can also select which filters will appear for the role. ie: User Filter, Roles, Accounts, etc.
See also - UTA - (Use Email Role Restriction) on the UTA application settings page
Disable From Address
Checking the Disable From Address option means the email broadcast From field will be made read only.
Managers will then be the only users able to set the From address field to a value other than their own email address
Enable On Behalf Of
Checking the Enable On Behalf Of option means that any emails sent from the system will be sent from a instance specific email address (i.e. alias@domain) on behalf of the From Address specified.
This is intended to help prevent emails being blocked.
Enable Failed Email Alert
1. Frequency - This will check for the failed emails in the Message Queue, and will in turn send an email notifying the recipients.
2. From Address - Must contain a from address email as a common issue with failed emails is caused from this.
3. To Address - If certain staff or the system administrator needs to be notified of failed emails, the recipient(s) will go here.
4. Subject - Subject of the Email e.g. Failed To Send Emails
5. Body - Body of the Email to recipients.
Once everything is filled out, make sure to hit save.


