Difference between revisions of "Template:Login Screen Content"
From SmartWiki
| Line 10: | Line 10: | ||
# Click on the '''Branding & Terminology''' tab | # Click on the '''Branding & Terminology''' tab | ||
# Click on '''Login Screen Content''' | # Click on '''Login Screen Content''' | ||
| + | # You will be presented with a list of all configured login pages, including the Language name and ID for that login page | ||
| + | # Click on the '''New Loing Page''' button to access the new Login page. | ||
# You can use the Sample Template button to populate the content of the Rich Editor field, and then modify as necessary | # You can use the Sample Template button to populate the content of the Rich Editor field, and then modify as necessary | ||
# Click '''Save''' | # Click '''Save''' | ||
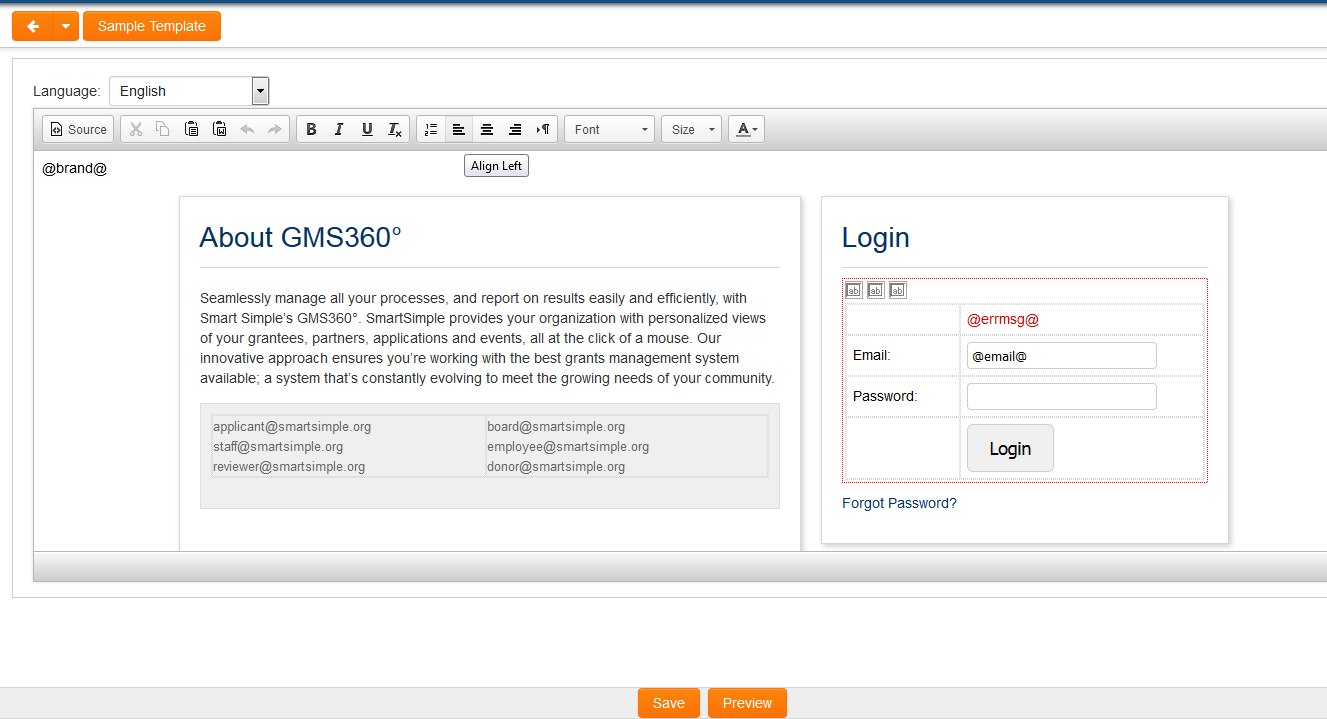
[[Image:login-editor.png|700px]] | [[Image:login-editor.png|700px]] | ||
Revision as of 15:47, 10 January 2017
Login Screen Content
You can “brand” the login page. By doing the following:
- Under the Configuration menu, click on Global Settings
- Click on the Branding & Terminology tab
- Click on Login Screen Content
- You will be presented with a list of all configured login pages, including the Language name and ID for that login page
- Click on the New Loing Page button to access the new Login page.
- You can use the Sample Template button to populate the content of the Rich Editor field, and then modify as necessary
- Click Save
